1. Overview
Special Price Time Countdown for Magento 2 extension displays countdown timers on the product page and catalog page for special price products and catalog price rule products. This Magento 2 Price Countdown extension is the efficient tool to run a promotion for an online store.
2. How Does It Work?
2.1. General Confis
Please go to Stores ⇒ Configuration ⇒ BSSCommerce ⇒ Special Price Time Countdown.
2.1.1. Enable
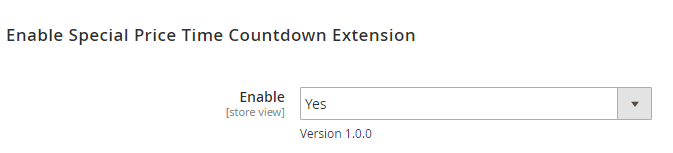
In Enable, choose Yes to enable the extension, or No to disable it.
2.1.2. Promotion Content
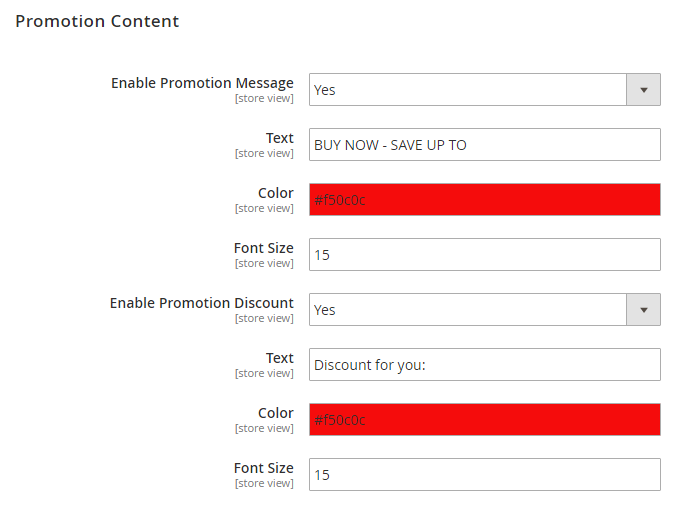
In Enable Promotion Message, choose Yes to enable the promotion message.
In Text, enter text for the promotion message.
In Color, pick a color for the promotion message.
In Font Size, define a font size for the promotion message.
In Enable Promotion Discount, choose Yes to enable the promotion discount.
In Text, enter text for the promotion discount.
In Color, pick a color for the promotion discount.
In Font Size, define a font size for the promotion discount.
*Note: The value of promotion message and promotion discount will be automatically calculated based on the special price.
For example: original price = $100, special price = $75
The promotion message value is: $25
The promotion discount value is: 25%
2.1.3. Start Time Countdown
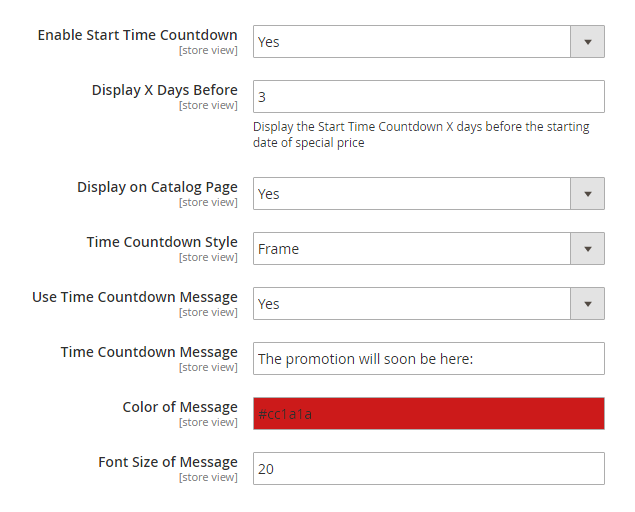
In Enable Start Time Countdown, choose Yes to enable Start Time Countdown. This countdown is used for notifying customers about the upcoming promotion.
In Display X Days Before, enter the number of days that the Start Time Countdown is displayed before the starting date of the special price.
For example:
The promotion is valid from May 10 to May 15. Set Display X Days Before = 2
Start Time Countdown is displayed on May 8.
In Display on Catalog Page, choose Yes to enable the Start Time Countdown on catalog page.
In Time Countdown Style, choose one of the 3 following styles: Default, Frame, and Square.
In Use Time Countdown Message, choose Yes to enable the Start Time Countdown message.
In Time Countdown Message, fill in the Start Time Countdown message.
In Color of Message, select a color for the Start Time Countdown message.
In Font Size of Message, define a font size for the Start Time Countdown message.
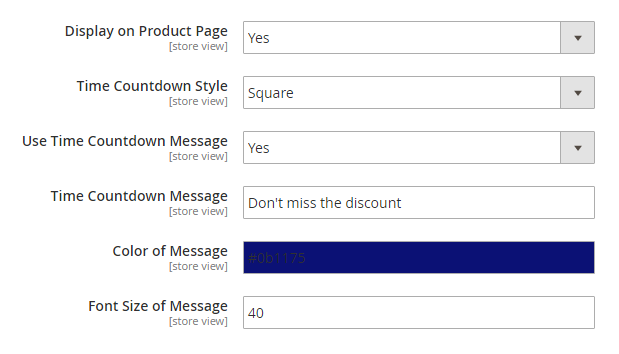
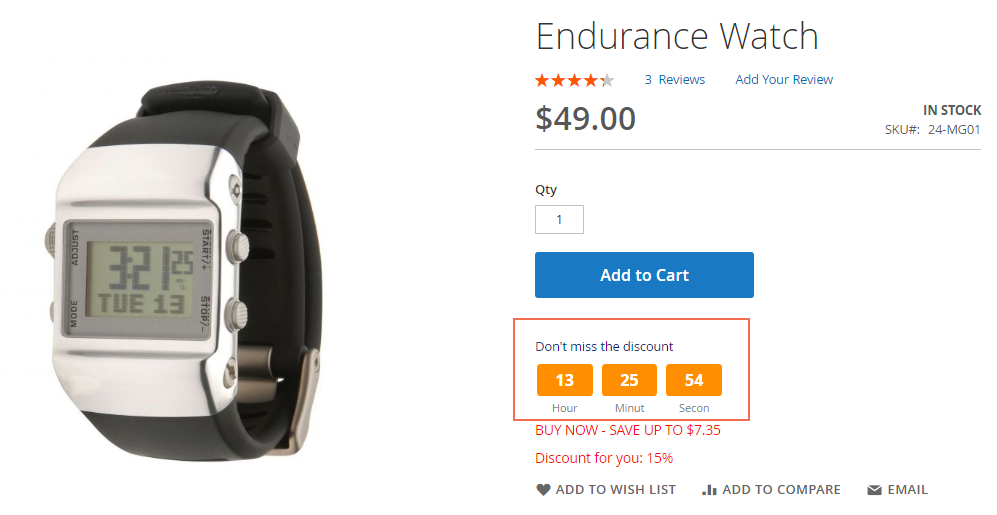
In Display on Product Page, choose Yes to enable the Start Time Countdown on the product page.
All the rest of the config is the same as the setup of Start Time Countdown on catalog page.
*Note: With different setup, you can specify different style, message and design for the Start Time Countdown on the product page and catalog page.
For example:
- Start Time Countdown on catalog page. Style: Frame, Message: The promotion will soon be here.
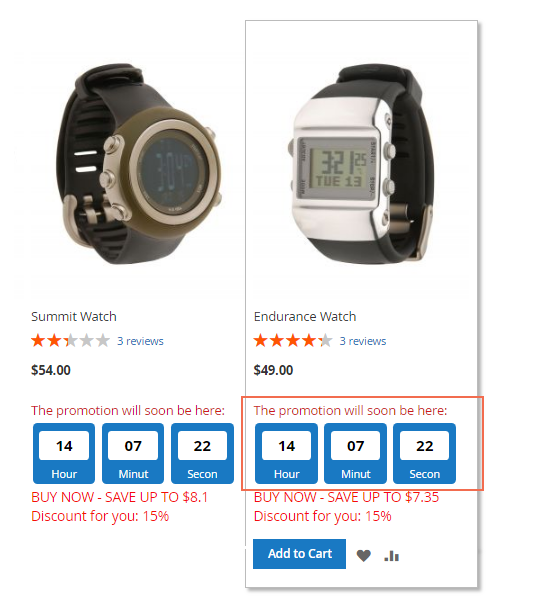
- Start Time Countdown on the product page. Style: Square, Message: Don’t miss the discount.
2.1.4. End Time Countdown
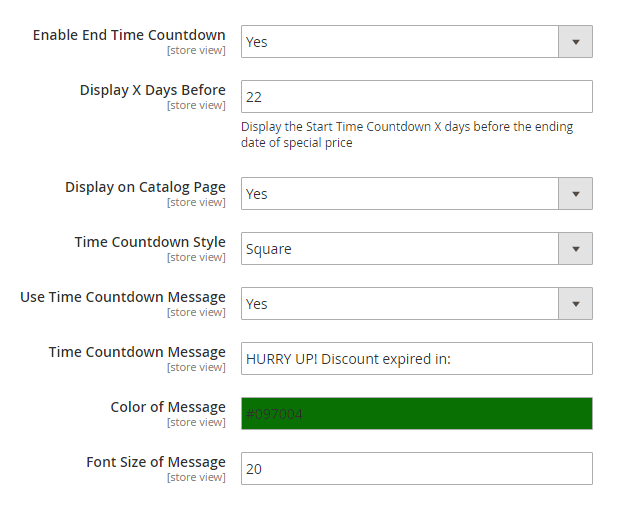
In Enable End Time Countdown, choose Yes to enable End Time Countdown. This countdown is used for reminding customers of the current promotion.
In Display X Days Before, enter the number of days that the End Time Countdown is displayed before the ending date of the special price.
For example:
The promotion is valid from May 10 to May 15. Set Display X Days Before = 3
End Time Countdown is displayed on May 12.
In Display on Catalog Page, choose Yes to enable the End Time Countdown on catalog page.
In Time Countdown Style, choose one of the 3 following styles: Default, Frame, and Square.
In Use Time Countdown Message, choose Yes to enable the End Time Countdown message.
In Time Countdown Message, fill in the End Time Countdown message.
In Color of Message, select color for the End Time Countdown message.
In Font Size of Message, define font size for the Start Time Countdown message.
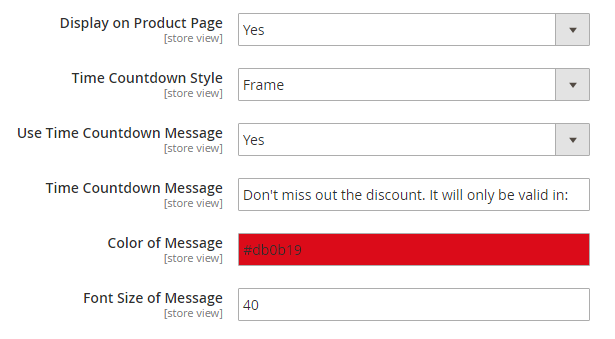
In Display on Product Page, choose Yes to enable the End Time Countdown on product page.
All the rest of config is the same as the setup of End Time Countdown on catalog page.
2.1.5. Search Engine Optimization
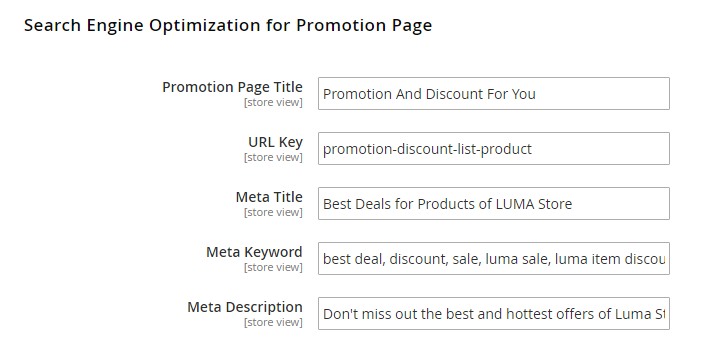
A promotion page is automatically generated to present all discounted products with countdown timer. This separated page is supported with basic SEO config:
In Promotion Page Title, enter the name placed on the header of the promotion page.
In URL Key, define the URL key for the promotion page.
In Meta Title, fill in meta title for the promotion page. The standard length of meta title is around 60 characters.
In Meta Keyword, fill in meta keywords for the promotion page.
In Meta Description, fill in meta description for the promotion page. The standard length of meta description is around 300 characters.
2.2. Set Special Price for Products
Go to Catalog ⇒ Products.
Find the product you want to set special price, click the Edit button to go to the Product Edit Page.
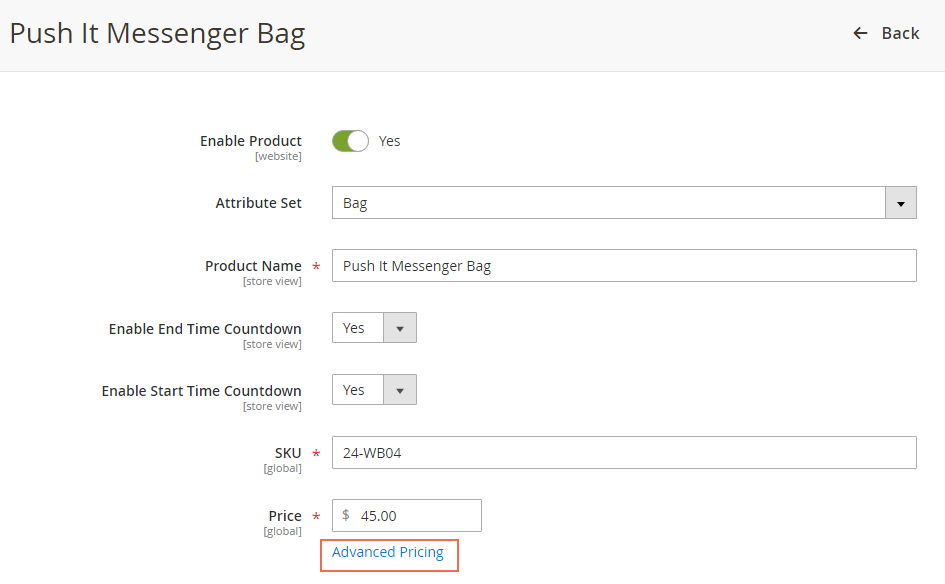
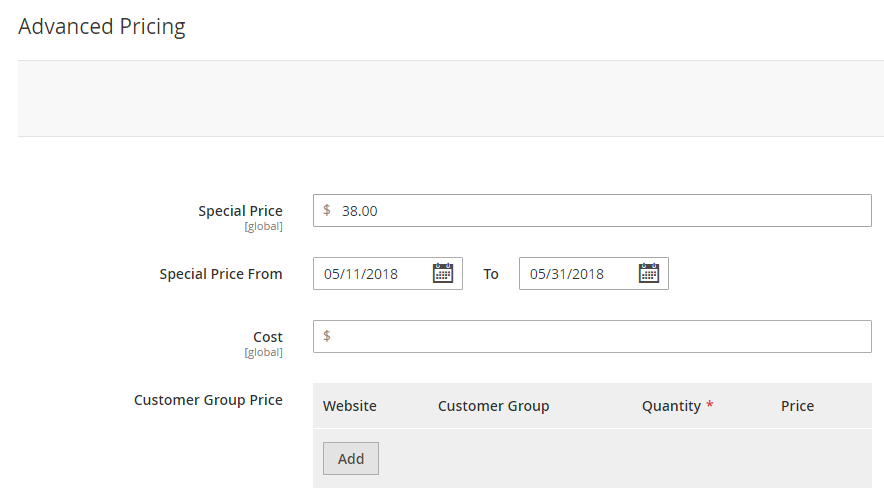
Enter the product special price in Special Price, then set the starting and ending date of the special.
In Enable End Time Countdown, the option is Yes by default. You can select No to disable End Time Countdown for each product.
In Enable Start Time Countdown, the option is Yes by default. You can select No to disable Start Time Countdown for each product.
2.3. Set Catalog Price Rule
Go to Marketing ⇒ Promotions ⇒ Catalog Price Rule.
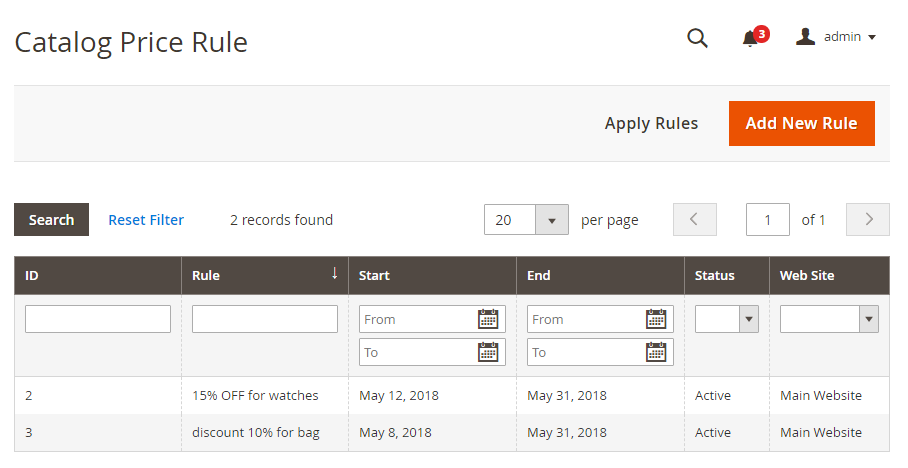
Click Add New Rule button. Then fill in the required fields in Rule Information, Conditions, and Actions.
Follow this example:
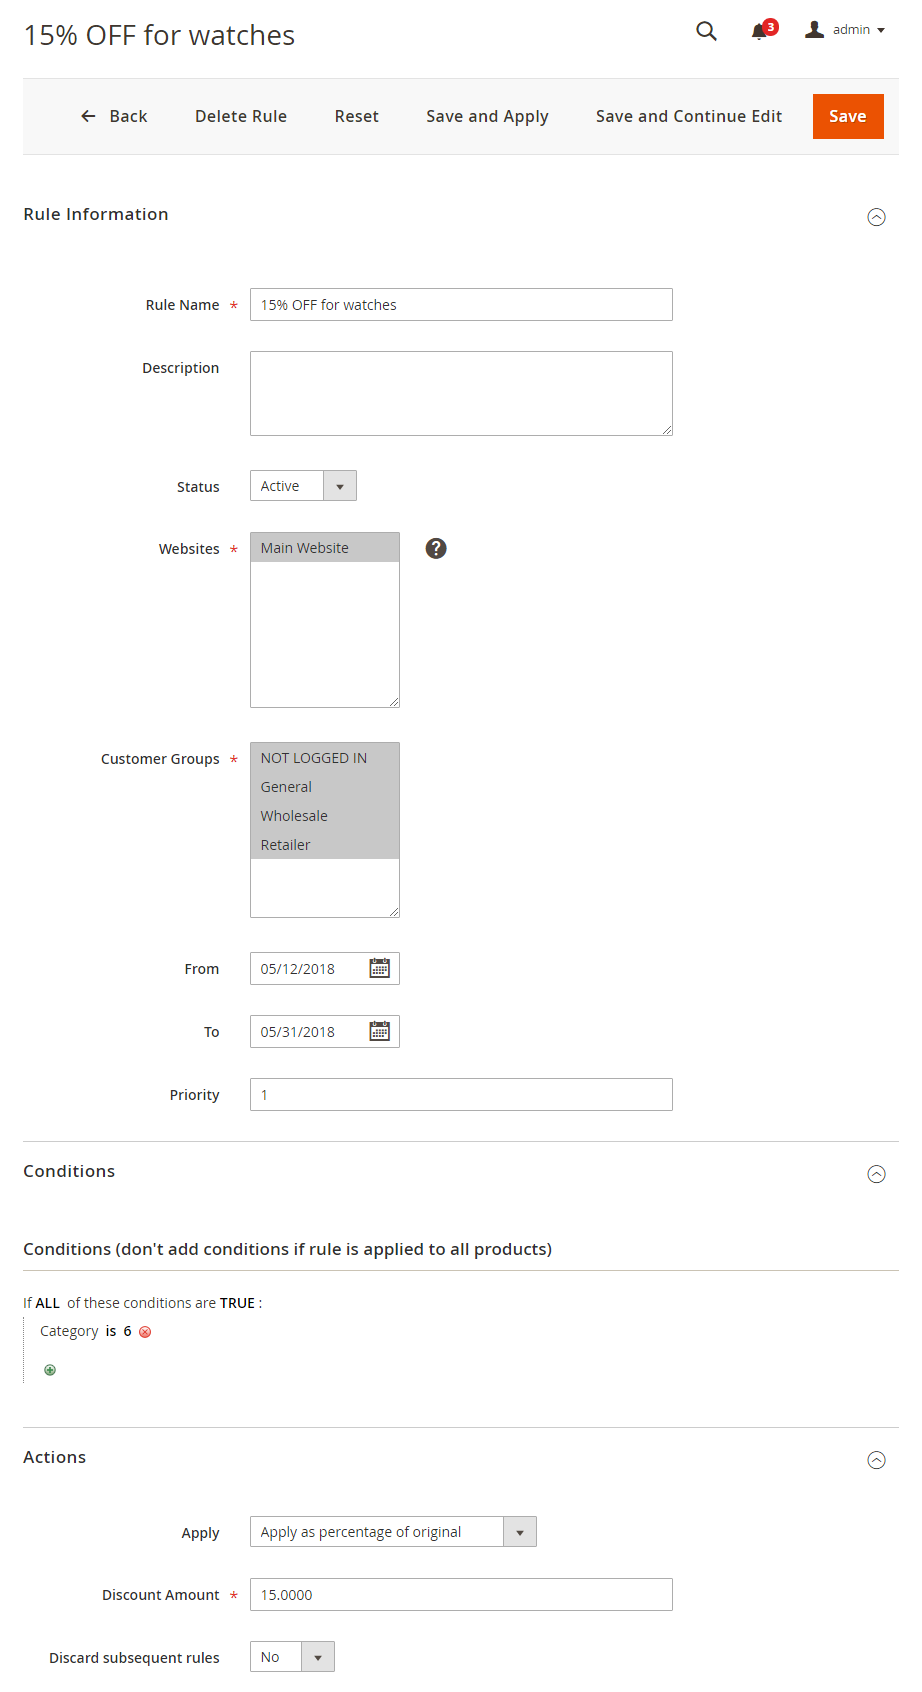
*Note: If a product follows both Special price rule and Catalog price rule, the extension will prioritize these 3 situations:
- Countdown will apply catalog price rule or special price depending on which one is in effect.
- With products with both rules and in the valid time, Countdown will be applied for a product with cheaper price.
- With products that are near the valid time, Countdown will be applied for the valid time that is earlier.
2.4. Insert Widget for Time Countdown
Go to Content ⇒ Elements ⇒ Widgets.
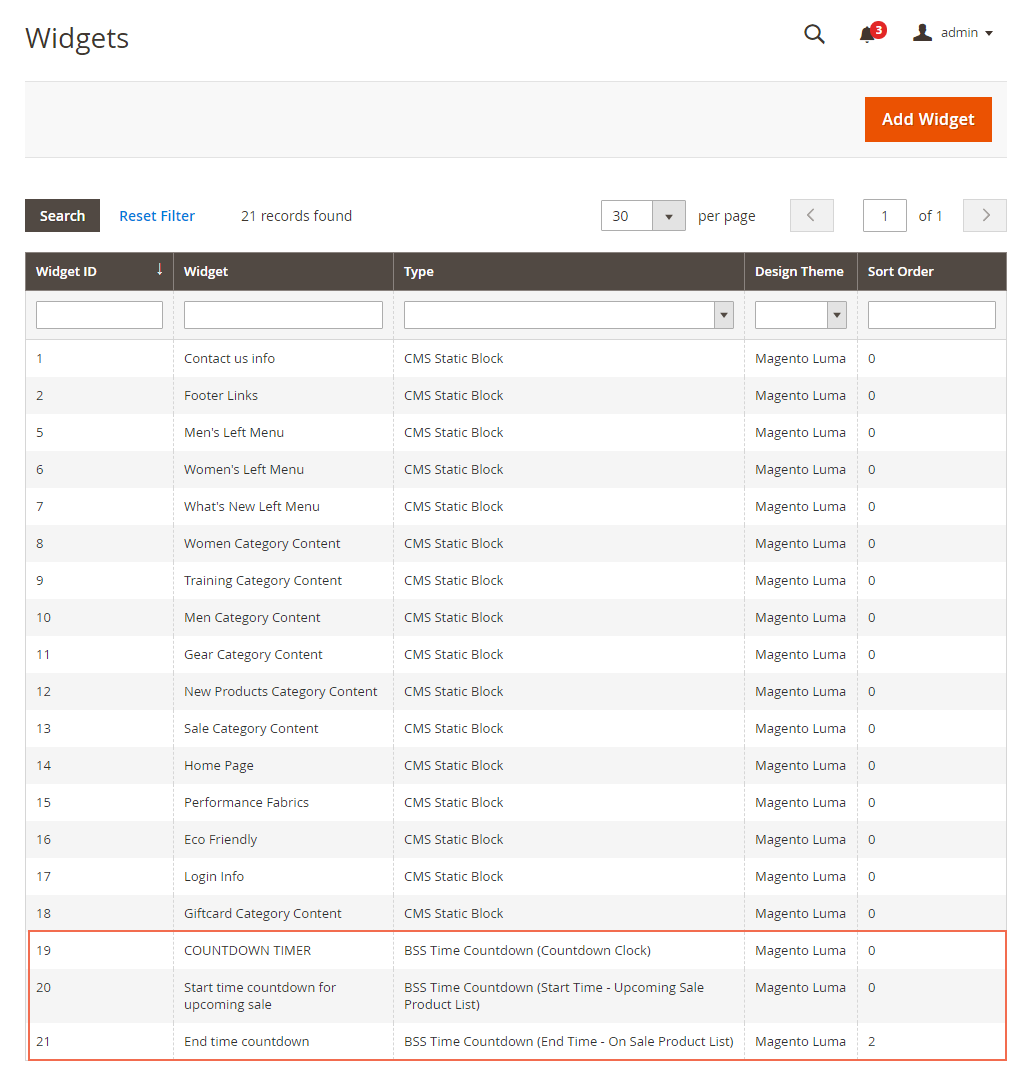
Click Add Widget button to create a new widget.

2.4.1. Countdown Clock Widget
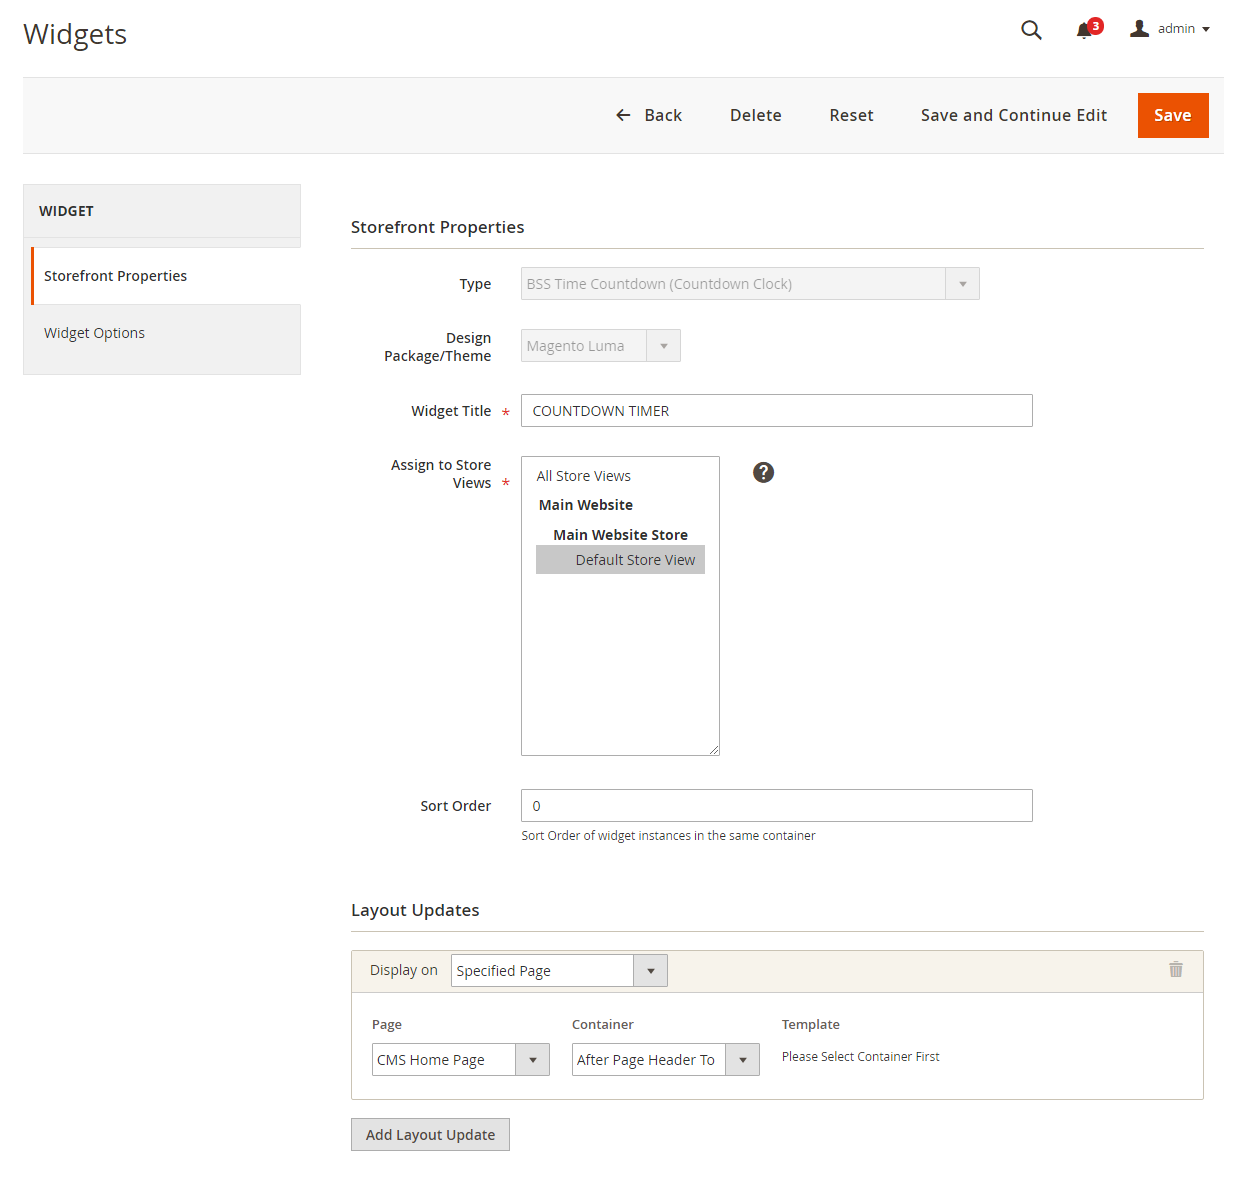
To create the Countdown Clock Widget, choose BSS Time Countdown (Countdown Clock) in Type.
Fill in the required field in Storefront Properties. Follow the example:
In Widget Options, follow this instruction:

In Enable Widget, choose Yes to activate the widget.
In Enable Start Time, choose Yes to enable the Start Time Countdown Clock.
In Start Date, select the starting date of your promotion.
In Use Time Countdown Message, if choose Yes these 2 following configs will be displayed:
- Time Countdown Message: Enter the message for the Start Time Countdown Clock.
- Color of Message: Choose the color of the Start Time Countdown Clock message.
In Time Countdown Style, choose one of the 2 styles (Default, Square) for the Start Time Countdown Clock.
In Enable End Time, choose Yes to enable the End Time Countdown Clock.
In End Date, select the starting date of your promotion.
In Use Time Countdown Message, if choose Yes these 2 following configs will be displayed:
- Time Countdown Message: Enter the message for the End Time Countdown Clock.
- Color of Message: Choose the color of the End Time Countdown Clock message.
In Time Countdown Style, choose one of the 2 styles (Default, Square) for the End Time Countdown Clock.
This is an example of Countdown Clock Widget:

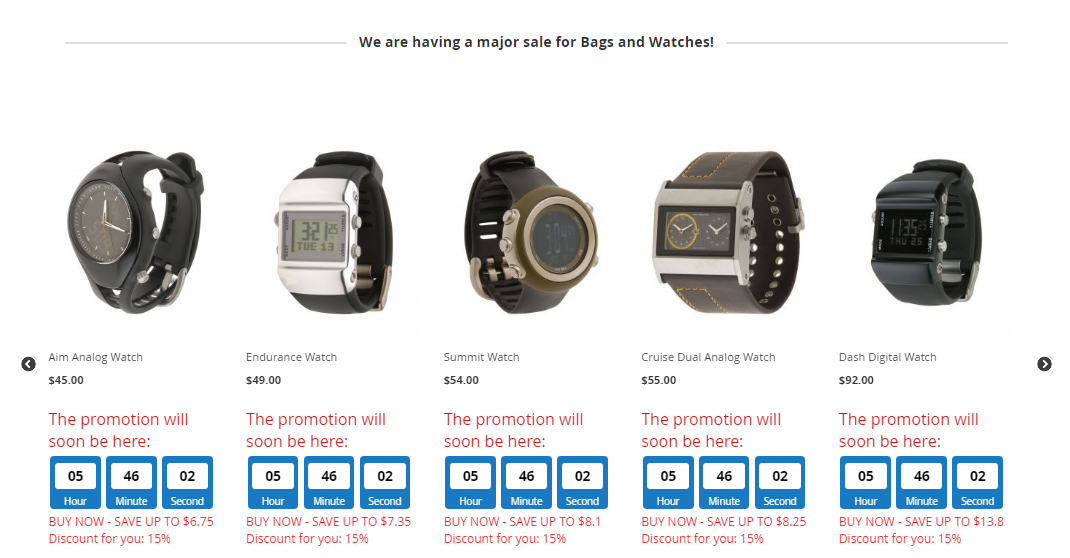
2.4.2. Start Time Countdown Widget – Upcoming Sale Widget
To create the Start Time Countdown Widget, choose BSS Time Countdown (Start Time – Upcoming Sale Product List) in Type.
Fill in the required field in Storefront Properties like the previous part.
To complete Widget Options, follow this instruction:
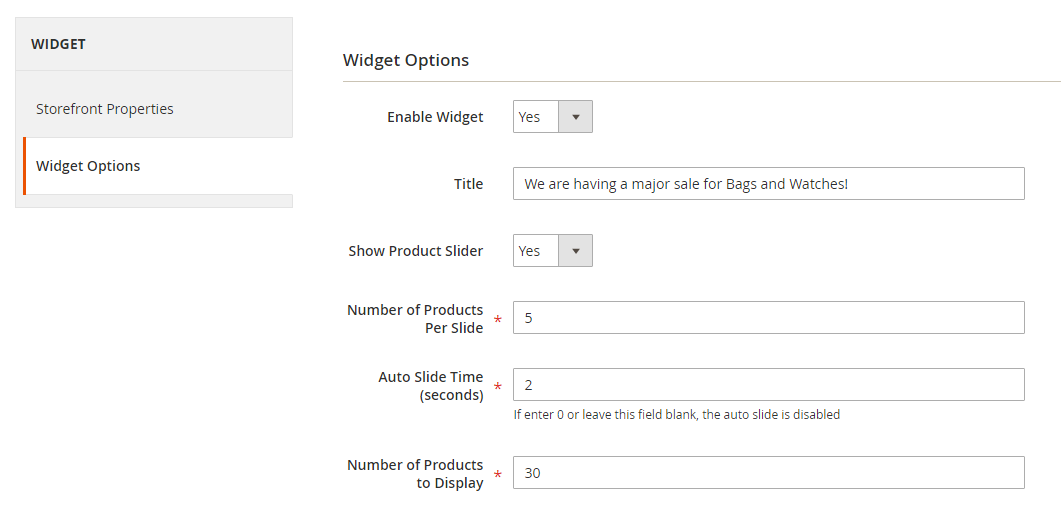
In Enable Widget, choose Yes to enable the widget.
In Title, fill in the title of the widget.
In Show Product Slider, choose Yes to display the discounted products in the slider.
In Number of Products Per Slide, restrict the number of products displayed on each slide.
In Auto Slide Time, decide the period of time each slide is automatically transited.
In Number of Products to Display, limit the number of products to be included in the slider. For example, you can display 30 products in total, and show 5 products per slide.
This is an example of Upcoming Sale Widget:
2.4.3. End Time Countdown Widget – On Sale Widget
The setup of On Sale Widget is the same as the Upcoming Sale Widget.
*Note: The Upcoming Sale Widget is calculated from the present time to the Start Time, while the On Sale Widget is calculated from the present time to the End Time.
If you make any change in the Catalog price rule, you need to reindex (reindex: System/Index Management).
This is an example of On Sale Widget: