1. Overview
Refund Request by Customer for Magento 2 extension allows customers to submit a refund request on the Customer Account Page. Admins receive the notification of new refund request and accept or reject that request on the Refund Request Grid.
2. How Does It Work?
2.1 General Configs
2.1.1 General
Go to Stores ⇒ Configuration ⇒ BSSCommerce ⇒ Refund Request by Customer.
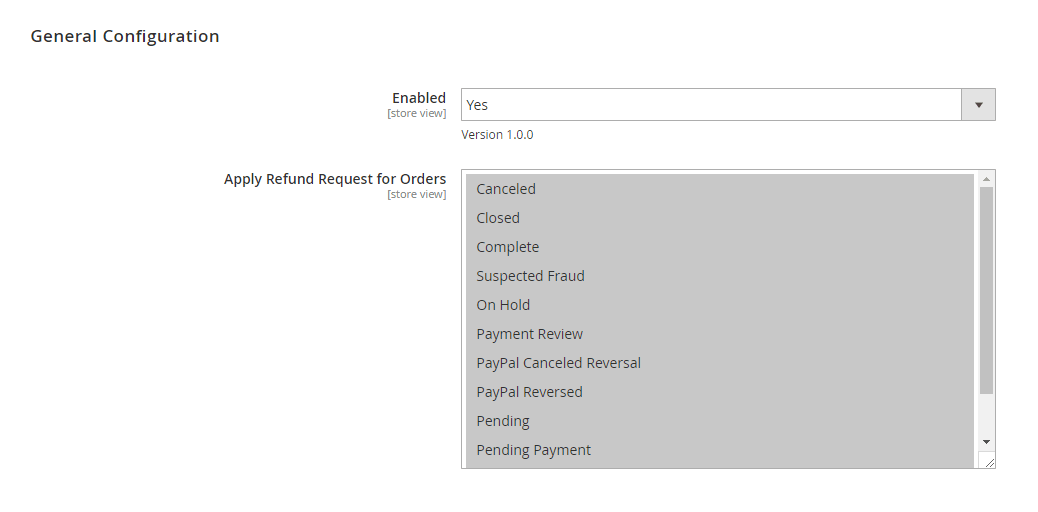
- In Enabled, choose Yes to enable the extension, or No to disable it.
- In Apply Refund Request for Orders, choose the types of orders to apply the refund function.
2.1.2 Refund Request Popup
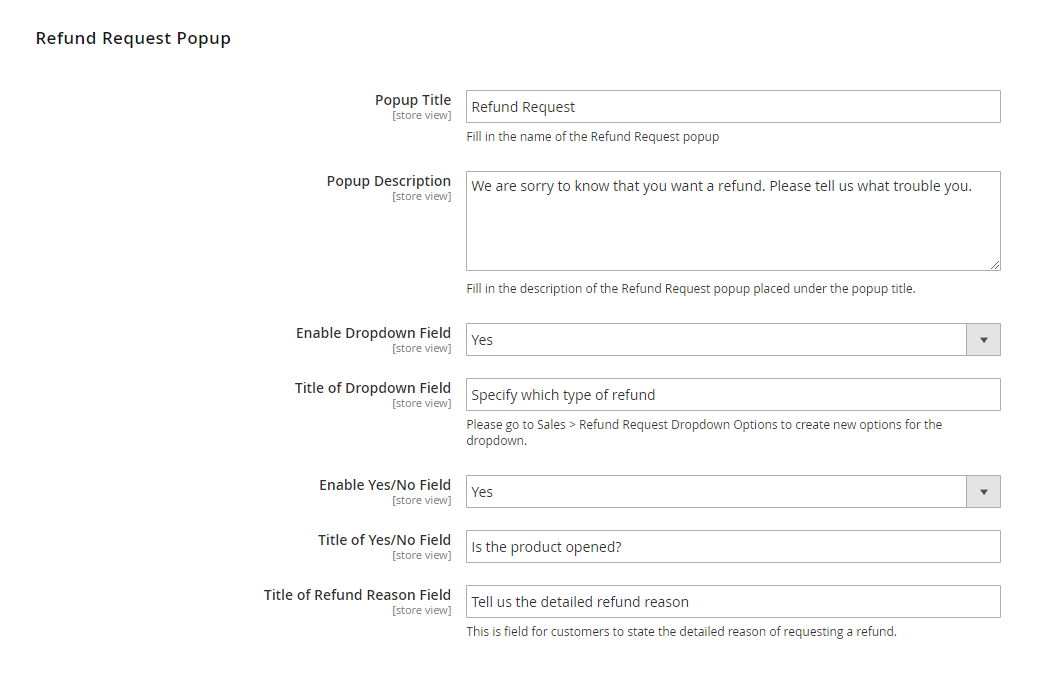
- In Popup Title, fill in the name of the Refund Popup.
- In Popup Description, fill in the description of the Refund Popup. This section is located under the Popup Title.
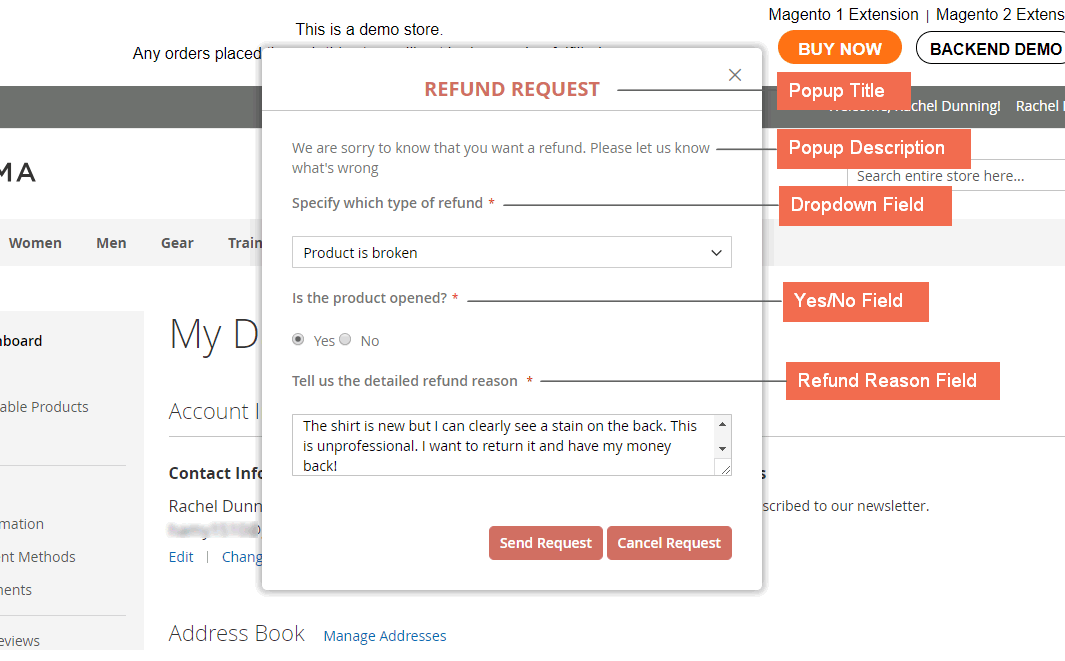
Refund Popup consists of title, description, and other fields (dropdown, yes/no, text area field) to effectively collect customers’ refund request.
- In Enable Dropdown Field, choose Yes to enable this field.
- In Title of Dropdown Field, fill in the title of this field.
Then go to Sales ⇒ Refund Request Dropdown Options to create the options for the dropdown field. See tutorial in 2.4.
- In Enable Yes/No Field, choose Yes to enable this field.
- In Title of Yes/No Field, fill in the title of this field.
- In Title of Refund Reason Field, fill in the tile for this field. This is actually the text area field for customer to state the detailed reason why they want to refund.
Let’s see an example to understand the component of Refund Popup:
2.1.3 Email Configs
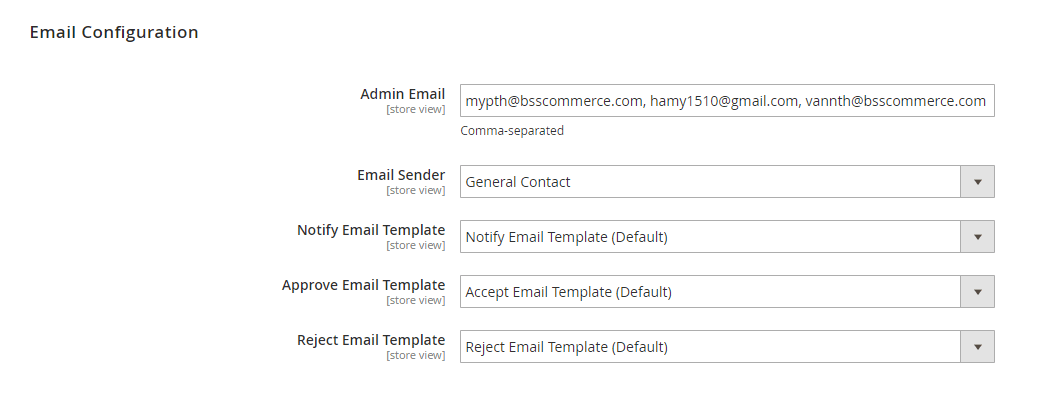
- In Admin Email, enter the mail of admin who will receive the notification email each time the new refund request is submitted. In case you want to enter various admin emails at the once, please use comma to separate each email address.
- In Email Sender, select a person who is entitled for sending email.
- In Notify Email Template, select a template for email notifying new refund request to admin.
- In Approve Email Template, select a template for email notifying customers that their refund request is accepted.
- In Reject Email Template, select a template for email notifying customers that their refund request is rejected.
See the tutorial in 2.5 to create the email template.
2.2 Order Grid
Go to Sales ⇒ Orders ⇒ Order Grid.
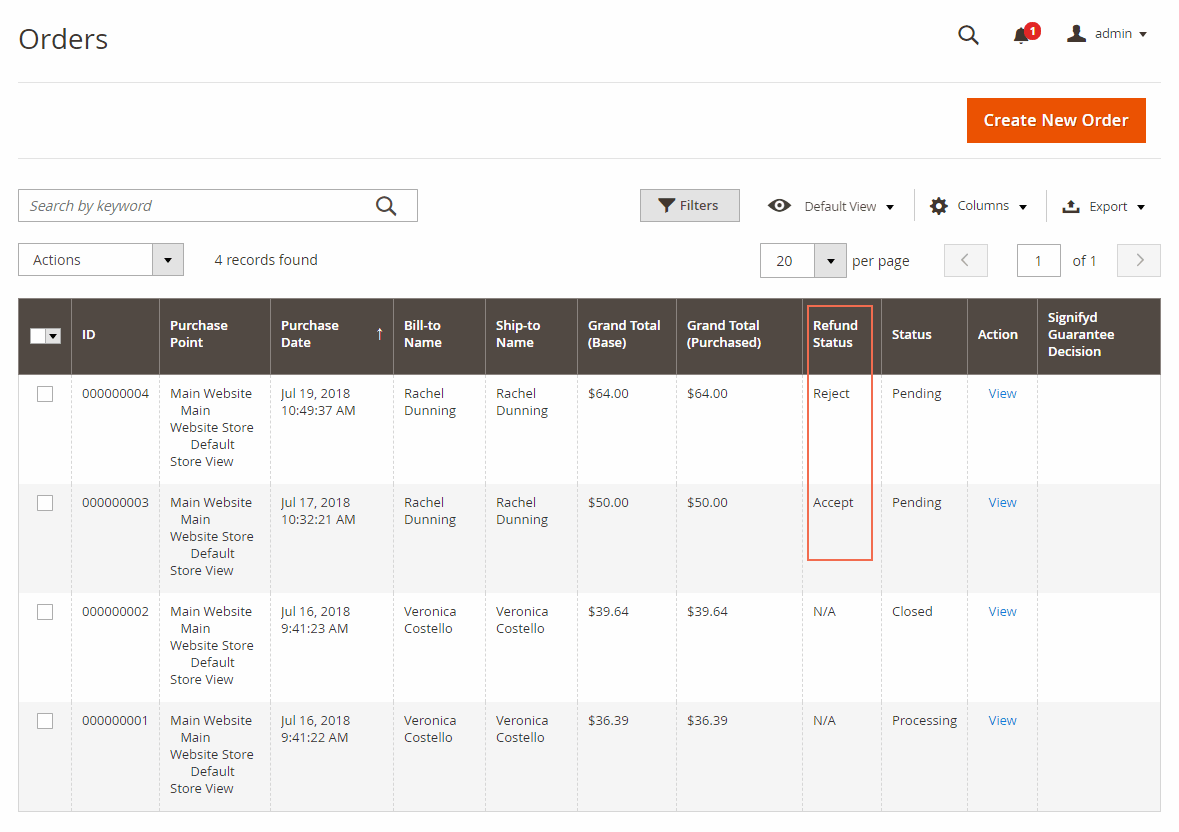
A new column named Refund Status is added to the Order Grid. This column reflects the status of refund for the orders, which includes 2 statuses: Reject and Accept.
2.3 Refund Request Grid
Go to Sales ⇒ Refund Request by Customer ⇒ Refund Request Grid.
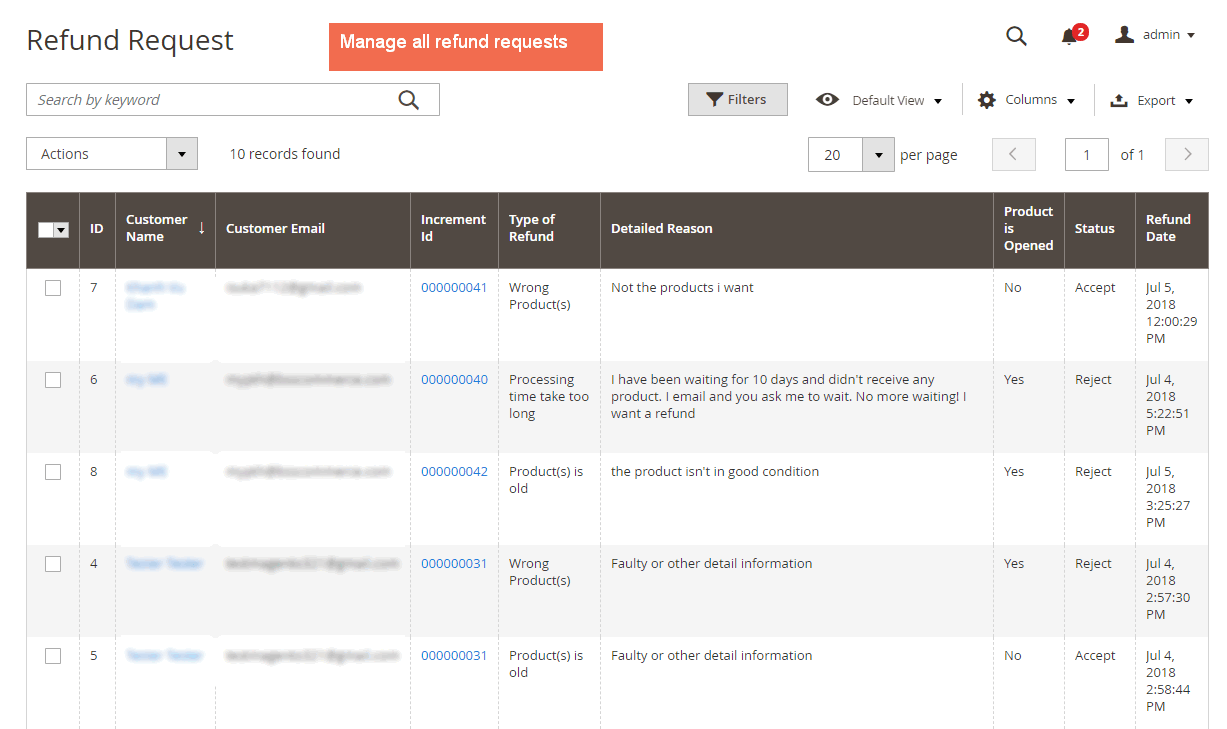
The Refund Request Grid displays all refund requests collected from the Refund popup form. This grid consists of information of customers and their refund request, including Customer Name, Customer Email, Increment ID, Type of Refund, Product is Opened, Detailed Reason, Refund Date, and Status.
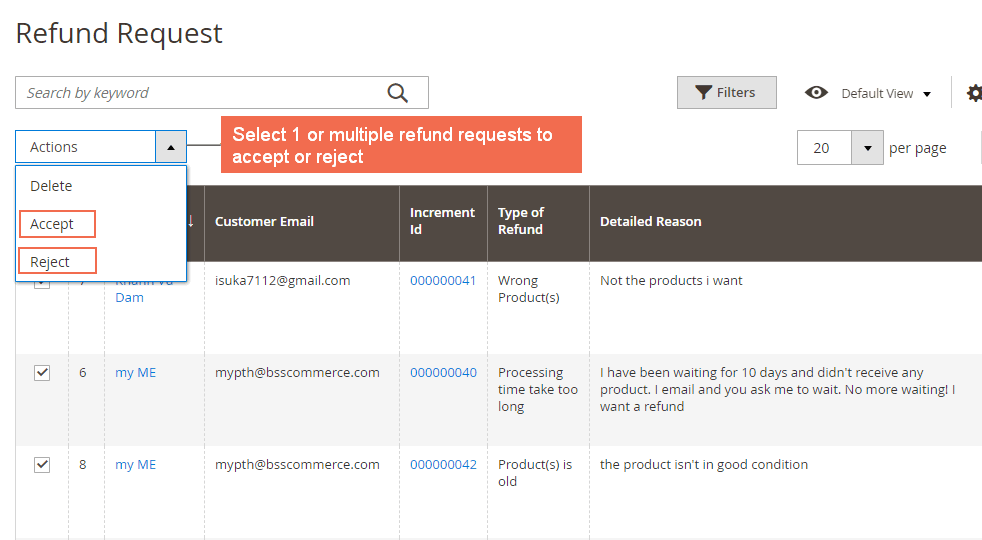
You can accept or reject the refund request here. Click on the request (you can choose multiple requests), then click on the Action dropdown to select 1 of 3 actions: Accept, Reject, and Delete.
2.4 Refund Request Dropdown Options
Go to Sales ⇒ Refund Request Dropdown Options
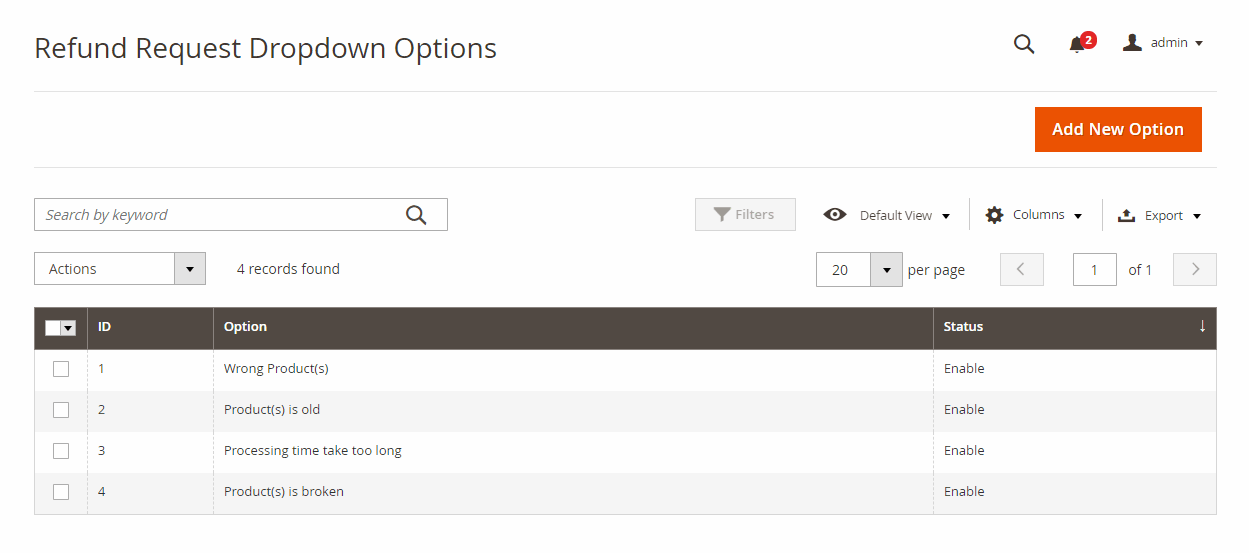
The Refund Request Dropdown Options Grid allows you to create new options for the dropdown field of Refund Popup.
- Click Add New Option to create a new option.
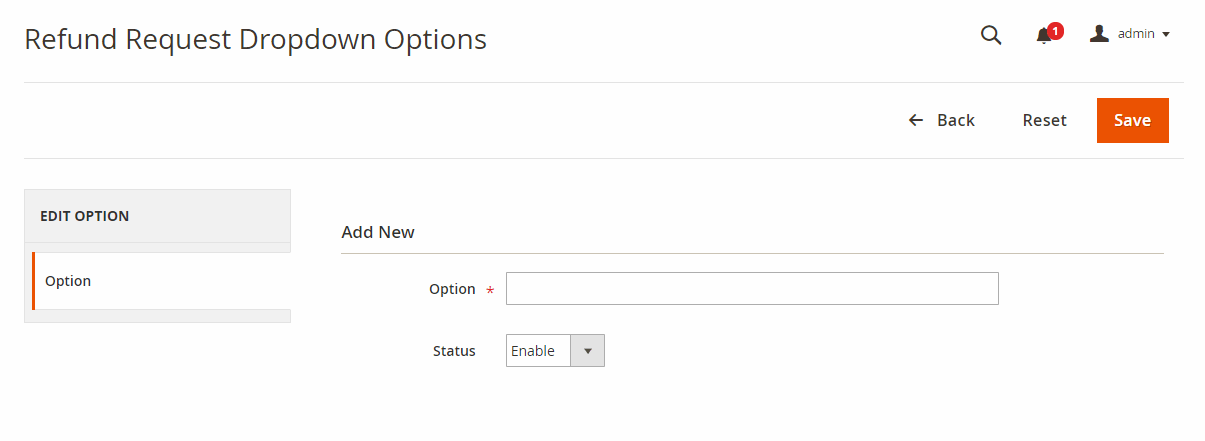
- In Option, fill in the name of the new dropdown option.
- In Status, choose Enable to make the option active.
- Click Save button to save the configuration.
2.5 Email Template
Please navigate to Marketing ⇒ Email Templates
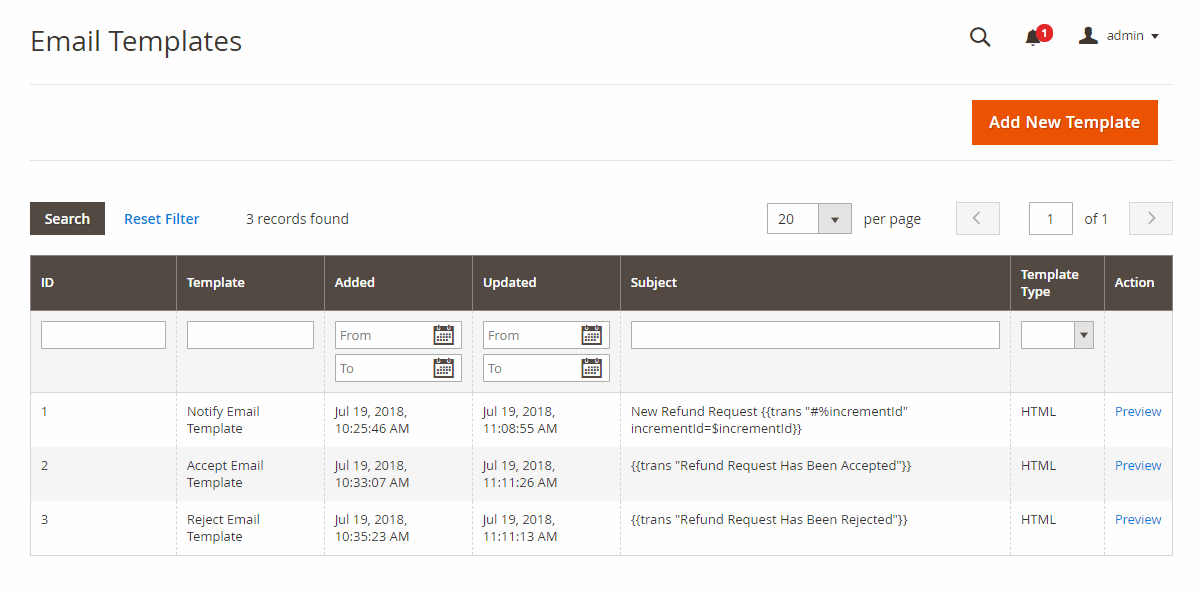
Click Add New Template button to create a new email template.
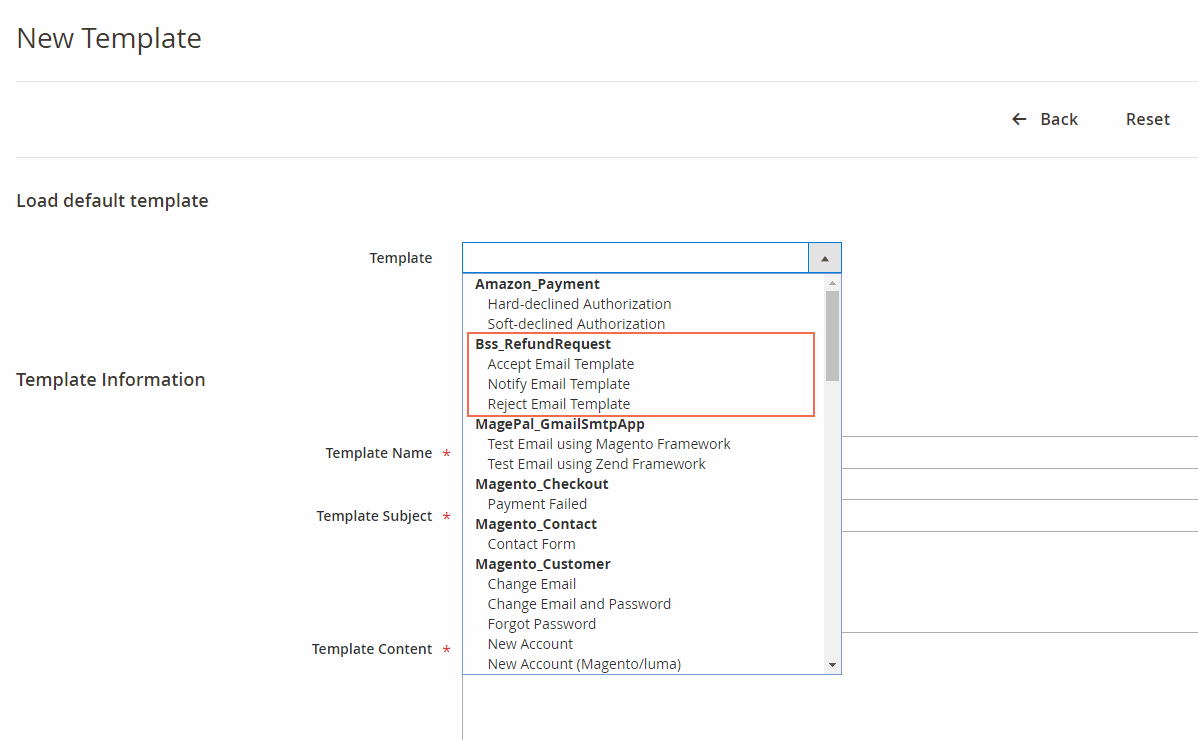
- In Template, select the option under Bss_Refund Request. Then click Load Template button.
- In Template Name, fill in the name for the template.
- The other fields are automatically filled in after you load the template. These following are three types of emails.
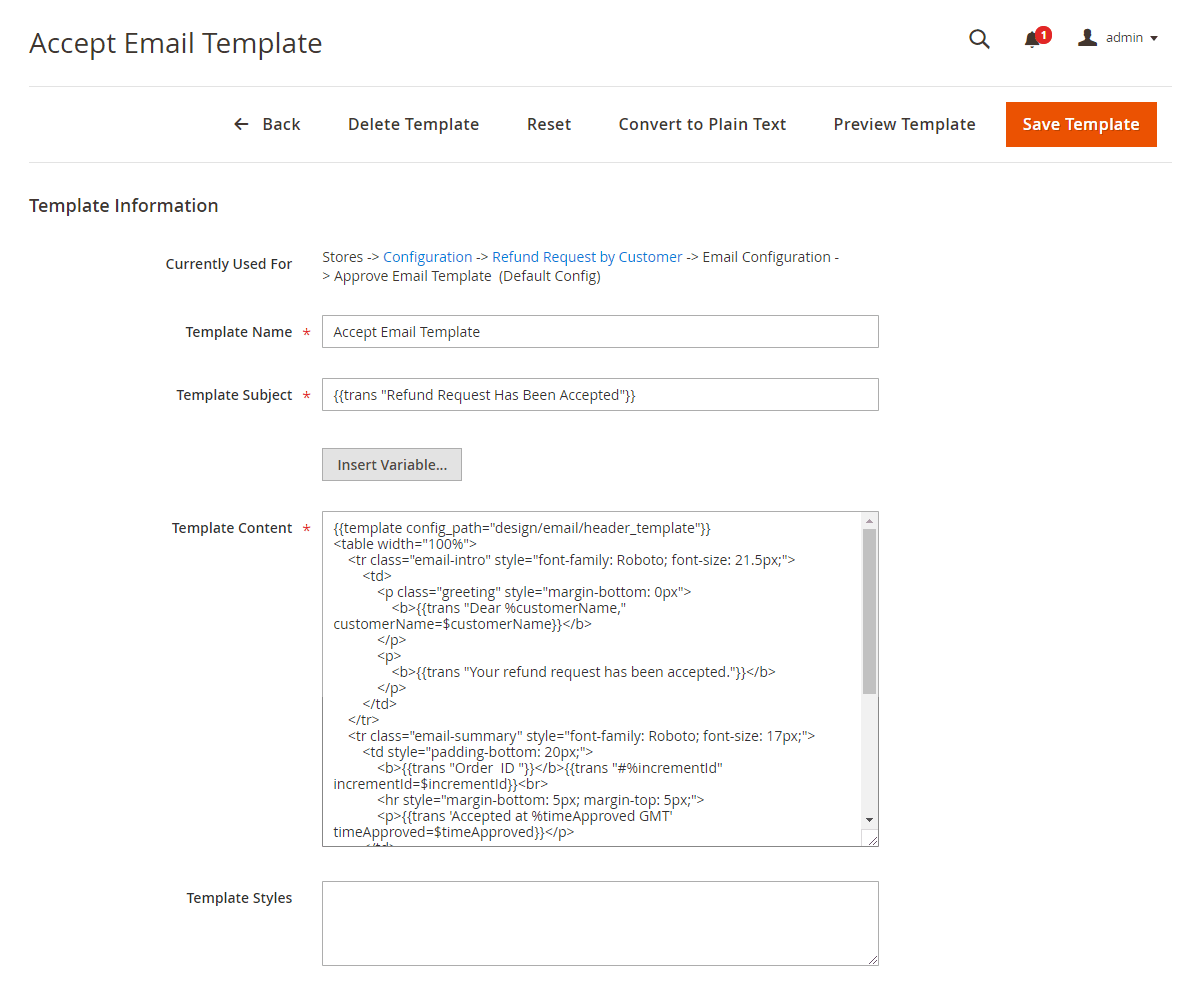
2.5.1 Notify Email Template
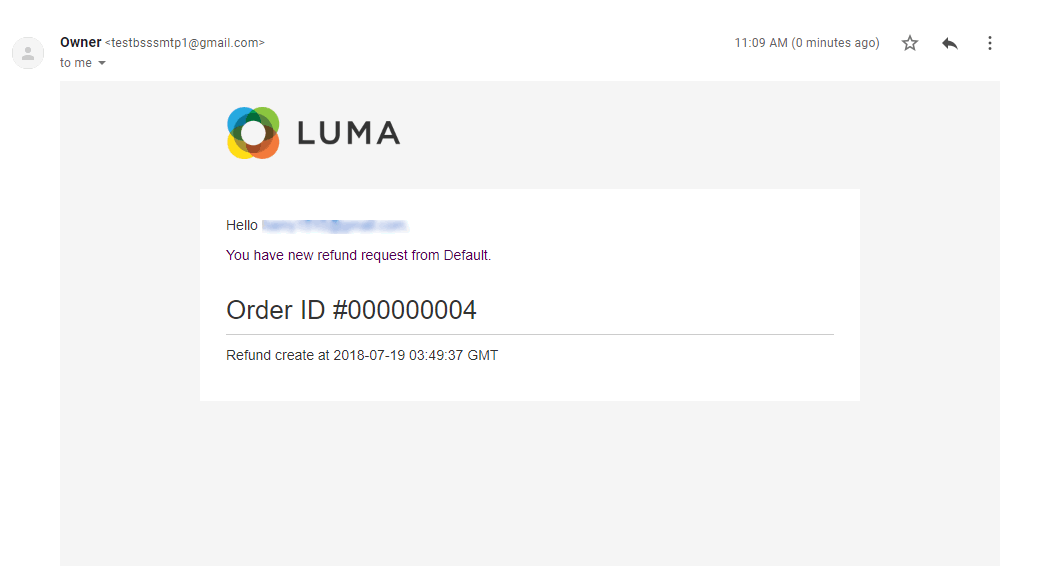 2.5.2 Accept Email Template
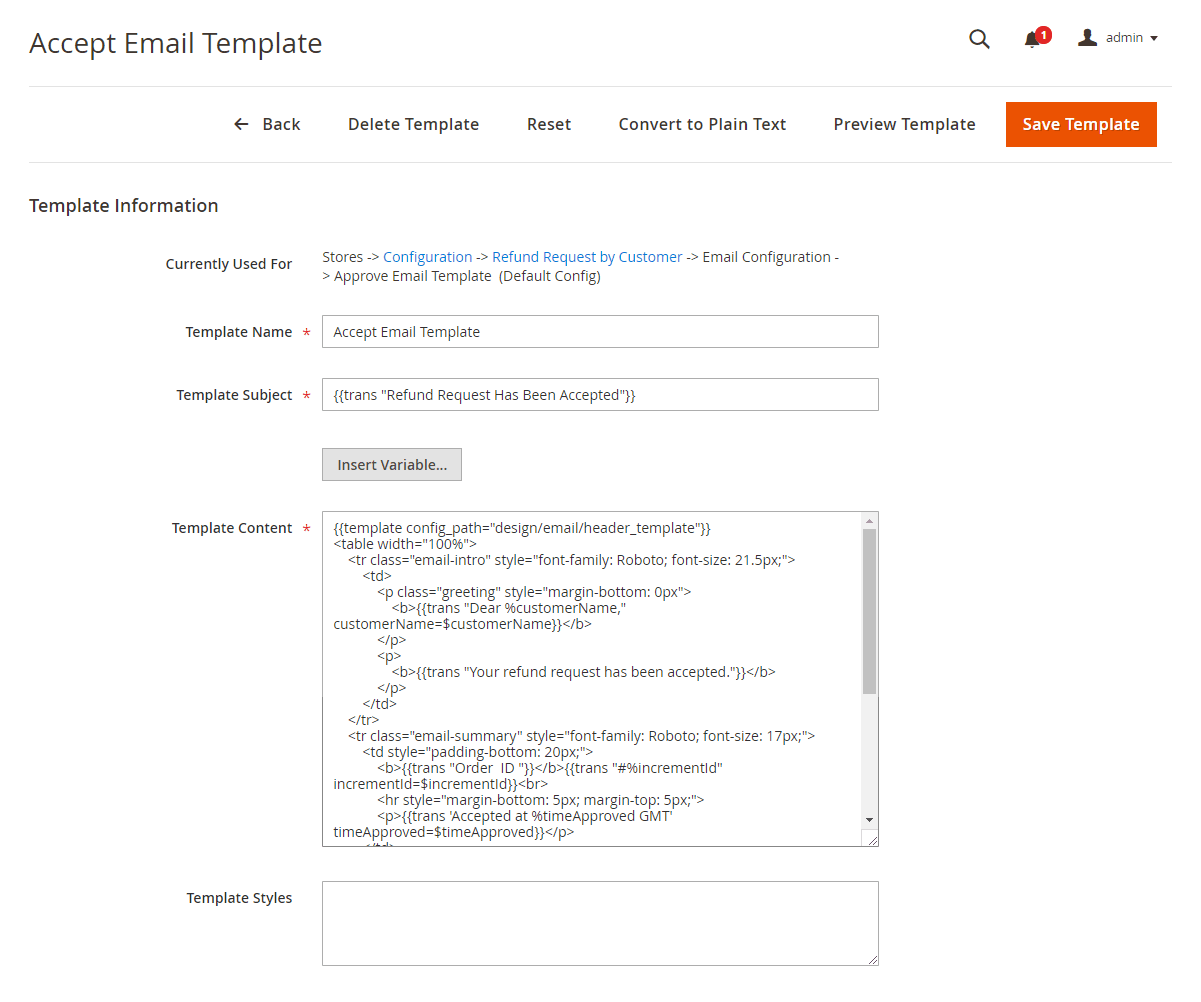
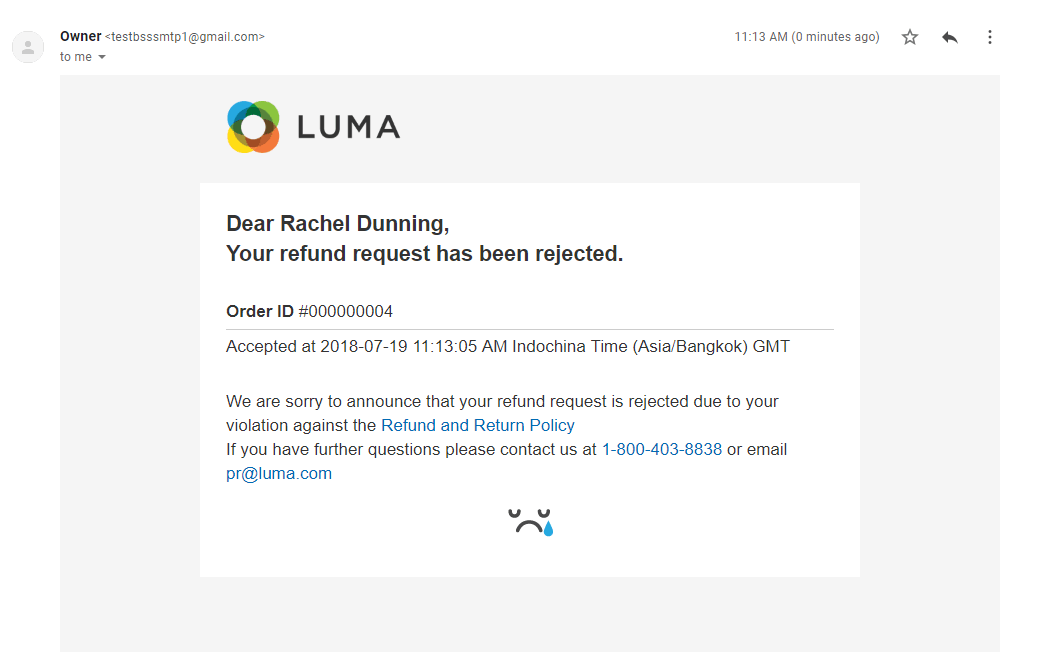
2.5.3 Reject Email Template
