
1. Overview
One Step Checkout for Magento 2 extension helps customers to checkout simply and quickly by displaying all elements in 1 page only. They do not need to experience two parts (Shipping Address and Reviews & Payments) as in default Magento 2 but fill all information in one place conveniently. Therefore, the checkout process becomes more user friendly, which can reduce the abandonment rate and bring a higher conversion rate for online stores.
*Note: Klarna payment is not yet supported from Magento 2.4.4.
2. How Does It Work?
Please go to Stores ⇒ Configuration ⇒ BSSCOMMERCE ⇒ One Step Checkout.
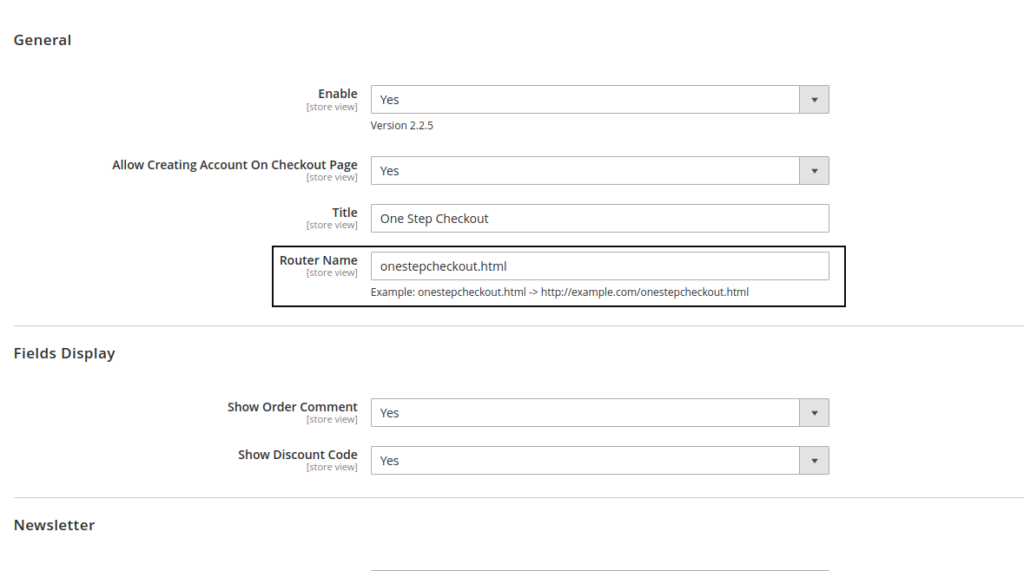
2.1 In General
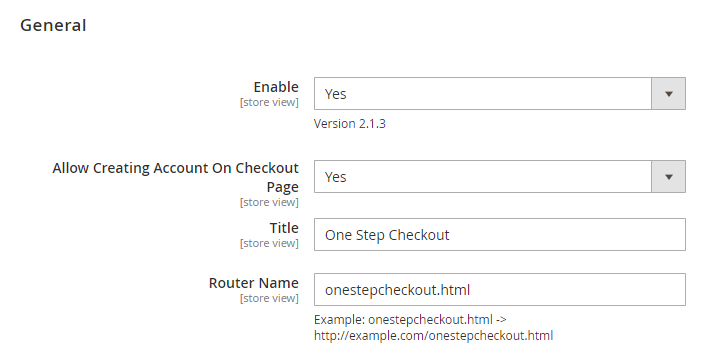
In Enable:
- Choose Yes to enable Magento 2 One Step Checkout extension.
- Choose No to disable this module.
In Allow Creating Account On Checkout Page:
- Choose Yes to allow customers to create their accounts right on the checkout page.
- Choose No to disable this function.
In Title: Write your wanted title for the checkout page.
In Router Name: Choose an URL name for your checkout page.
2.2 In Fields Display
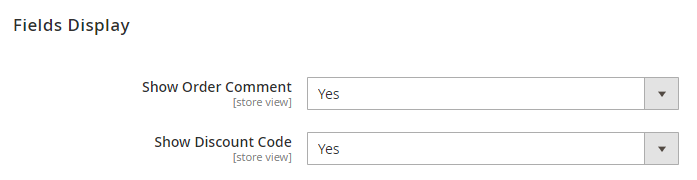
In Show Order Comment:
- Choose Yes to show a text box for customers to leave their comments for orders.
- Choose No to exclude this box from the checkout page
In Show Discount Code:
- Choose Yes to display a discount code box for entering coupon codes.
- Choose No to hide it.
2.3 In Newsletter
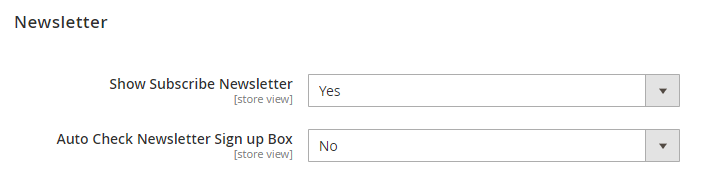
In Show Subscribe Newsletter:
- Choose Yes to allow customers to subscribe to the newsletter on the checkout page.
- Choose No to disable this function.
In Auto Check Newsletter Sign up Box: Choose Yes to automatically tick the Newsletter Sign up box or choose No to uncheck.
2.4 In Tracking Address by Google
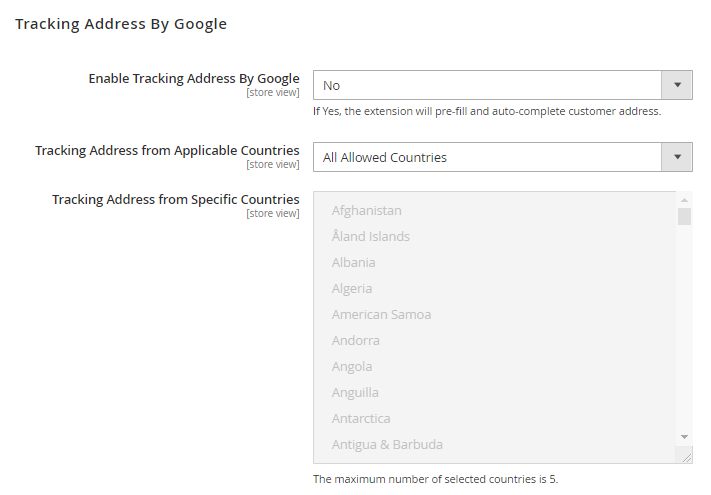
In Enable Tracking Address by Google:
- Choose Yes: Auto-detect and pre-fill customers' country, state/province, city - Google Suggest to autocomplete shipping address while typing.
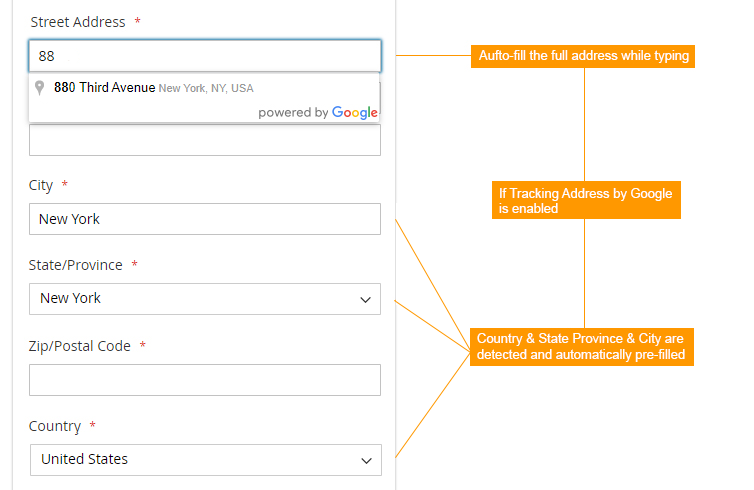
- Choose No: Customers have to find all street addresses and location information themselves.
In Google API Key: Fill in your API Key. In case you haven’t yet had an API Key, please click the link after this configuration to get it.
In Tracking Address from Applicable Countries: This configuration determines which countries to apply auto-suggesting customer addresses. There are 2 options to select:
- If you choose All Allowed Countries: auto-suggesting address function is applied to every country.
- If you choose Specific Countries: there is a list of countries in Tracking Address from Specific Countries and the maximum number of countries you can select is 5. Moreover, when you choose this option, Google just auto-suggests city name and country, not street name. This is the default function of Google auto-suggest.
*Notes:
- Admin has to work with Google and pay for Google Maps to activate the address autocompleting feature.
- Your websites must be "https://" to run the auto-fill function.
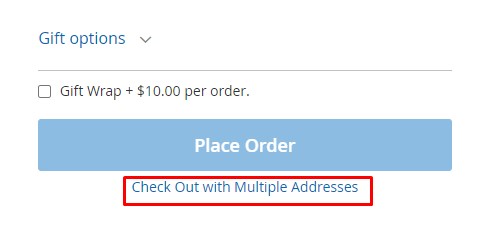
- Your login customers can checkout with multiple addresses.
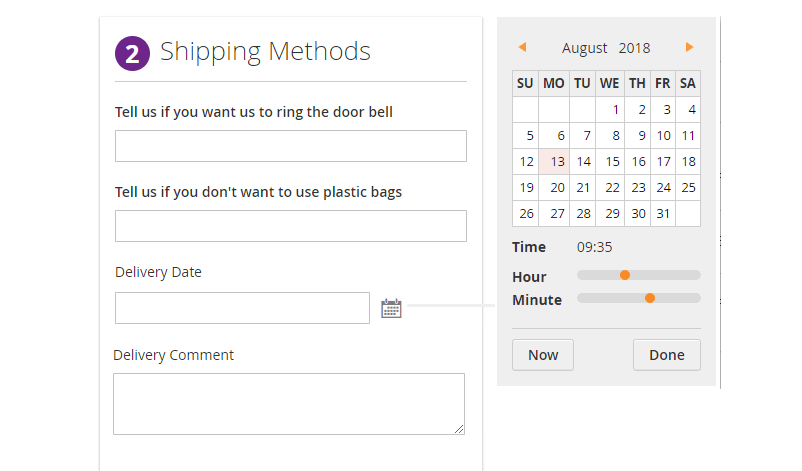
2.5 In Order Delivery Date
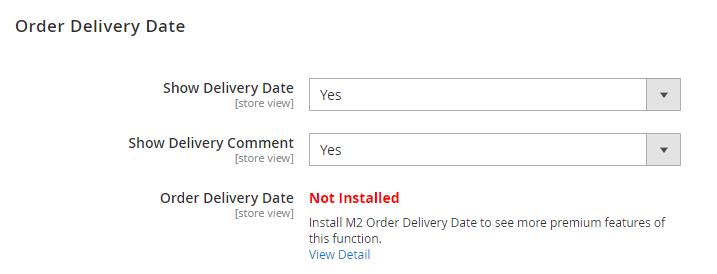
In Show Delivery Date:
- Choose Yes to display Order delivery date in the Shipping method section that allows customers to choose their own suitable dates and times to receive orders.
- Choose No to disable this function.
In Show Delivery Comment:
- Choose Yes to display a Delivery comment box in the Shipping Method section.
- Choose No to hide it.
*Install M2 Order Delivery Date to see more premium features of this function:
- In case M2 Order Delivery Date is installed: All features of M2 Order Delivery Date will be active. Customers can choose the delivery date and admin can give them certain delivery time slots:
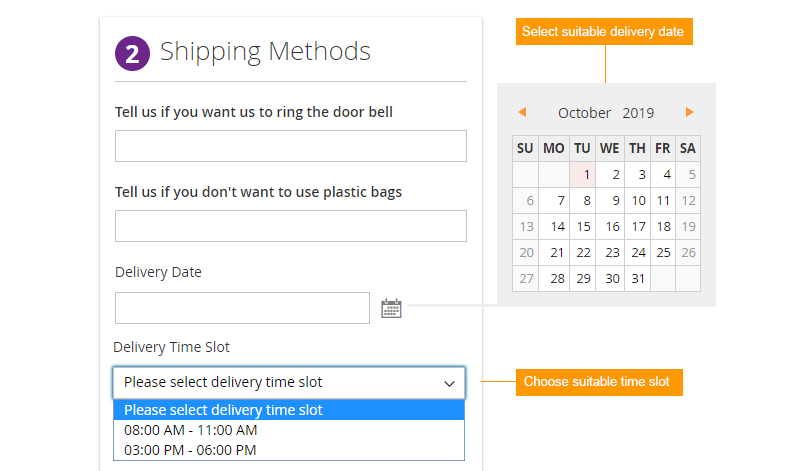
- In case M2 Order Delivery Date is not installed: All features of One Step Checkout delivery date will be active. Customers can choose whatever delivery date and time they want:
2.6 In Gift Message
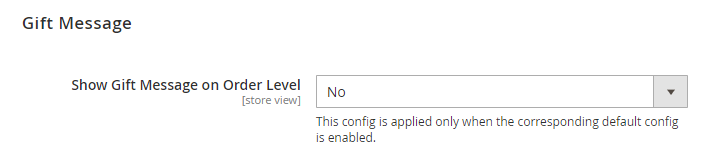
In Show Gift Message on Order Level:
- Choose Yes to allow customers to send a gift message to other people.
- Choose No to disable this function.
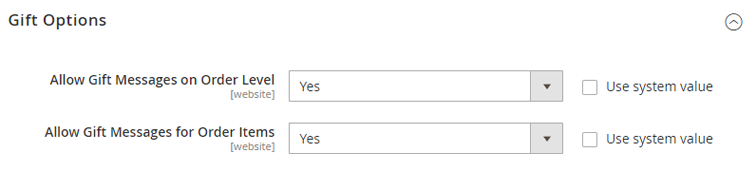
* Gift Message config is applied only when the corresponding default config is enabled. To enable the default config, please go to Stores ⇒ Sales ⇒ Sales ⇒ Gift Options and choose Yes to the suitable gift message level:
2.7 In Gift Wrap
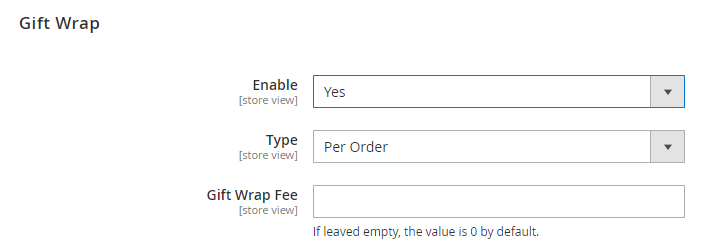
In Enable:
- Choose Yes to allow customers to request a gift wrap for their order.
- Choose No to disable this function.
In Type: This function currently supports gift wrap for each order only, so the value is Per Order by default.
In Gift Wrap Fee: Fill the price for gift wrap service. The entered value is a positive number and automatically rounded to two decimal places. If left empty or filled with a negative number, the value would turn to be 0.
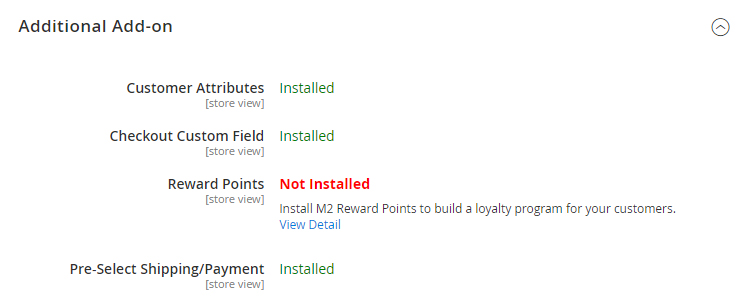
2.8 Additional Add-on
M2 One Step Checkout is already compatible with multiple related modules: M2 Customer Attributes, M2 Checkout Custom Field, M2 Reward Points, M2 Pre-Select Shipping/Payment. Install the suitable modules to better optimize M2 One Step Checkout.
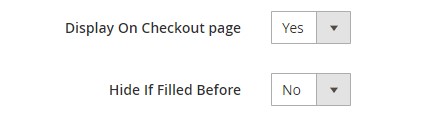
- M2 Customer Attributes: Carefully config the Customer Attributes function to give your customers the best shopping experience! Go to Customers ⇒ Customer Attributes. In each customer attribute, go to Display Configuration:
- In Display on Checkout Page: Choose Yes to make customer attributes be shown on the checkout page, choose No to disable this function.
- In Hide If Filled Before: Choose Yes so that if customers fill the customer attribute for the first time, it will not display after that. Choose No to always display the customer attribute whenever customers go to the checkout page.
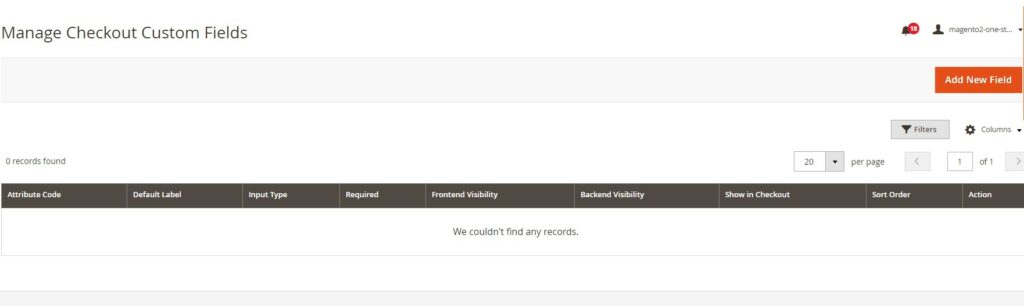
- M2 Checkout Custom Field: Go to Sales ⇒ Bss Commerce ⇒ Manage Checkout Custom Field ⇒ Add New Field to create a custom field for the checkout page.
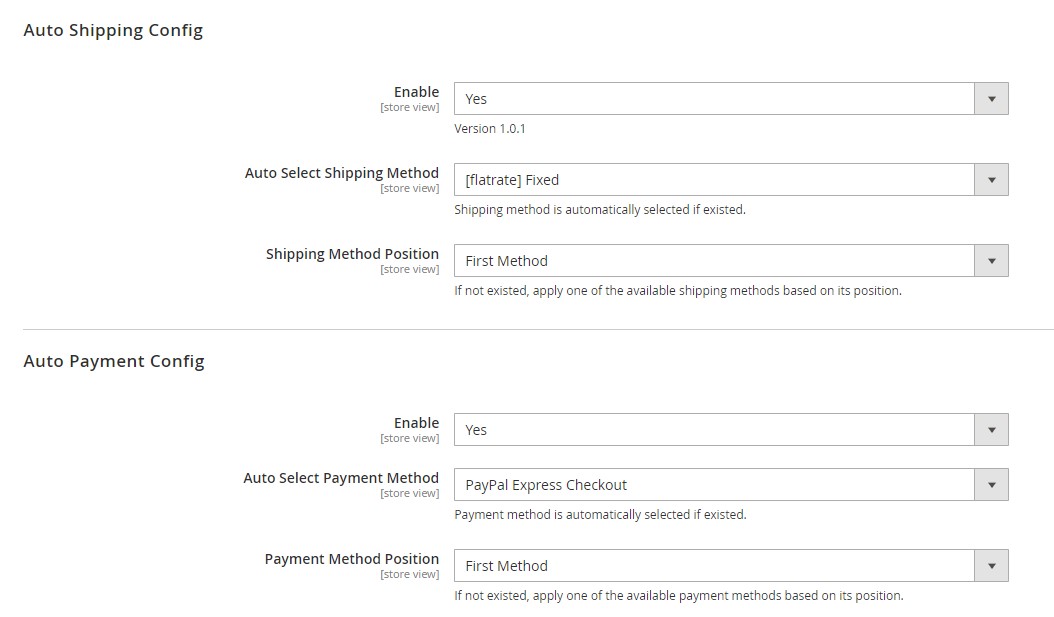
- M2 Pre-select Shipping/Payment: Go to Stores ⇒ Configuration ⇒ BSS COMMERCE ⇒ Pre-select Shipping/Payment to config the default shipping/payment method when customers enter the checkout page.
2.9 In Custom Style
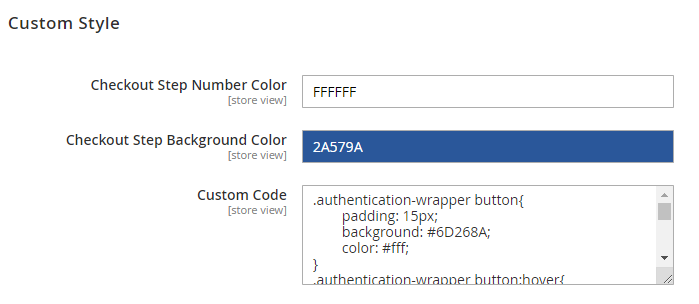
In Checkout Step Number Color: you choose the color for the checkout number steps.
In Checkout Step Background Color: Choose a color for the background of checkout number steps.
In Custom Code: you can add more code to customize about background color for the checkout page, “Sign in” button or text color and so on.
2.10 Somes notes
- Notes about custom code
+ Change background of the checkout page, you need to add more code:
body { background-color: #333333;

}
(#33333 is the color code which is corresponding to Black).
+ Change text color of the checkout page, you need to add more code:
body { color: #ffffff;

}
(#fffff is the color code which is corresponding to White).
+ Change Sign in to a button, you add more code:
.authentication-wrapper button{

 padding: 15px;

 background: #6D268A;

 color: #fff;

}

.authentication-wrapper button:hover{

 text-decoration: unset;

 background: #FF0000;

 color: #fff;

}
- Note about configuring payment method
+ You need to configure all payment methods that default Magento supports.
+ Current support payment methods:
- Amazon Payment
- Paypal, Paypal Braintree, Paypal Express Checkout, Paypal Payflow Pro & PayPal Payment Flow CreditCard
- Pay by Credit Eway
- Splitit Card-Based Installment Payment Solutions
- NMI payment Direct Post
- NEW! Sagepay payment (Ebizmarts_SagePaySuite
- Zalopay
- Pay by Card (Stripe), Credit Card
- Online banking, etc.
- Stripe official
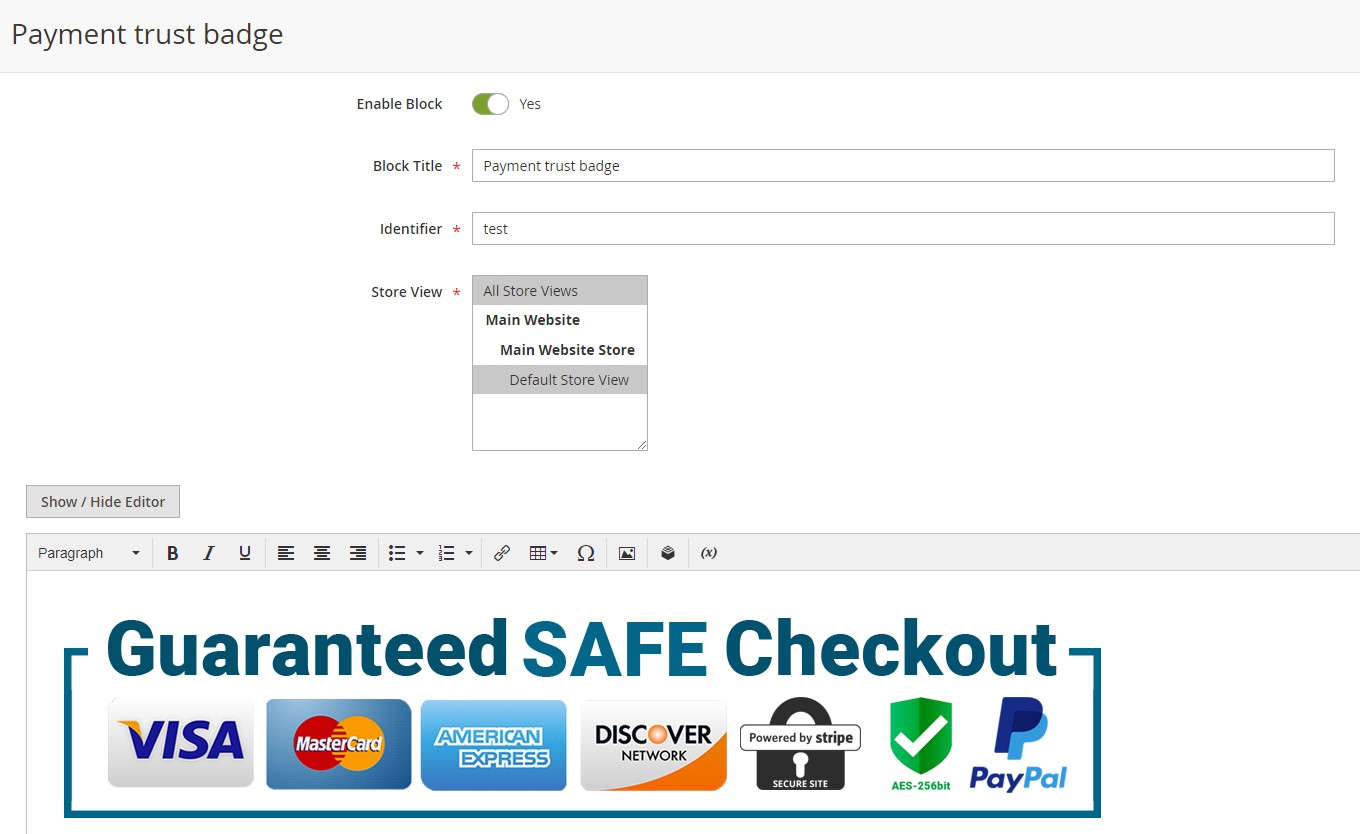
- Note about adding payment trust badge
Step 1: Go to Content ⇒ Blocks ⇒ Add New Block to create a new block for payment trust badge.
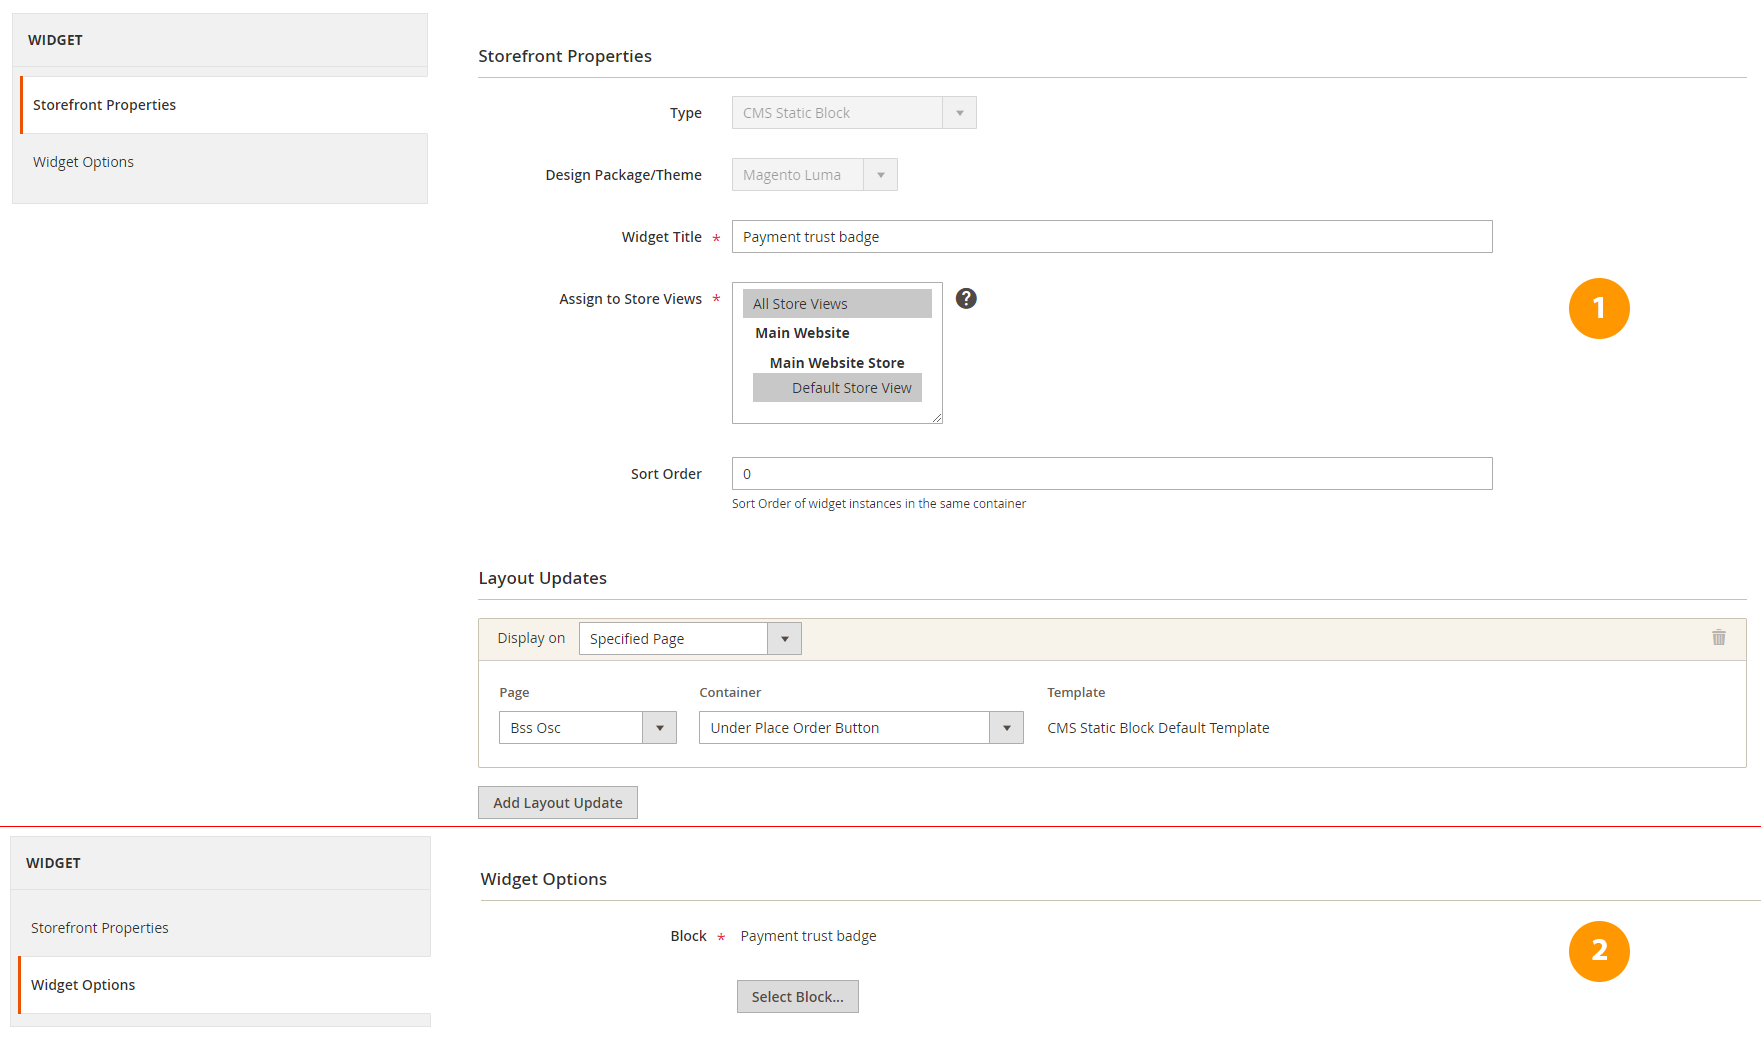
Step 2: Go to Content ⇒ Widgets ⇒ Add Widget to choose certain place to display the block of payment trust badge.
- Note about adding header/footer for the checkout page: Upload folder bss_onestepcheckout to app/design/frontend/theme_space/theme.
- To log in to Amazon Pay on the One step checkout page, you need to check and change the URL so that the URL of Router Name config in BSS One Step Checkout extension is the same as Magento Checkout Url Path one in Amazon.
Follow the steps:
Amazon config: Configuration > Sales > Payment Methods > Amazon Pay > Advanced > Developer Options > Magento Checkout URL Path.
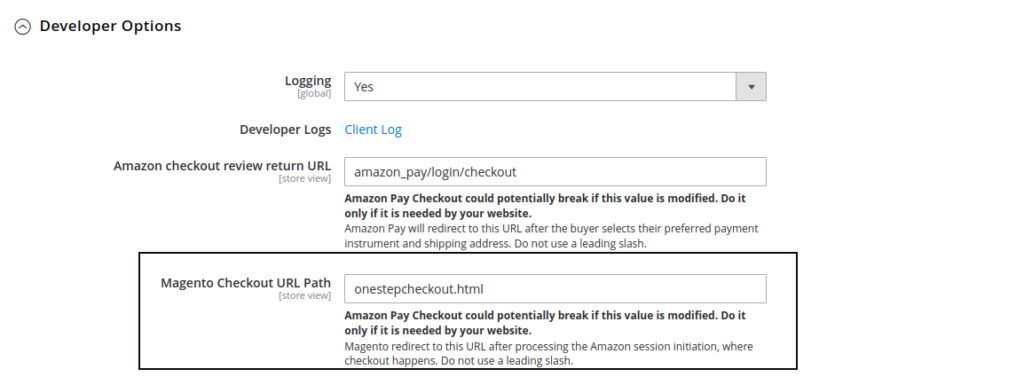
Bss config: Configuration > Bss Commerce > One Step Checkout > General > Router Name
*Note: This module supports the site that does not install Klarna payment method.
3. API Support
We provide you lists of Restful API and GraphQL API that our Magento 2 One Step Checkout extension supports.
*Note:
- Restful API support is included in the main module package (from One Step Checkout v2.1.9).
- GraphQL API support is included in the GraphQL package, acting as an add-on for anyone who needs to use GraphQL.
3.1. Restful API
| No | API | URL | Method |
| 1 | Update cart information in One Step checkout when customers change product quantity (for Not logged-in customers) |
{{base_url}}/rest/V1/bss-osc/guest-carts/:cartId/update-item |
POST |
| 2 | Update cart information in One step checkout when customers change product quantity (for logged-in customers) |
{{base_url}}/rest/V1/bss-osc/carts/mine/update-item |
POST |
| 3 | Apply Gift Wrap | {{base_url}}/rest/V1/bss-osc/giftwrap/apply/0 | POST |
| 4 | Validate Gift Wrap | http://one-step-checkout.demom2.bsscommerce.com/rest/V1/bss-osc/giftwrap/validate/:fee/:use |
POST |
| 5 | Add information about Order delivery date and delivery comment to orders when getting orders via /V1/orders/:id (default) |
{{base_url}}/rest/V1/orders/:id |
GET |
| 6 | Add information about Order delivery date and delivery comment to invoices when getting invoices via /V1/invoices/:id (default) | {{base_url}}/rest//V1/invoices/:id | GET |
| 7 | Add information about Order delivery date and delivery comment to credit memo when getting credit memo via /V1/creditmemos/:id (default) | {{base_url}}/rest/V1/creditmemos/:id | GET |
| 8 | Add information about Order delivery date and delivery comment to shipment when getting shipment via /V1/shipment/:id (default) | {{base_url}}/rest/V1/shipment/:id | GET |
| 9 | Get Store config of the module | {{base_url}}/rest/V1/bsscommerce/osc/storeconfigs/:storeview | GET |
| 10 | Add information about Order delivery date and delivery comment to the payment extension corresponding to the customer's current cart | {{base_url}}/rest/V1/bsscommerce/osc/deliveryinfo | PUT |
| 10.1 | Add information about Order delivery date and delivery comment to the payment extension by GUEST | {{ api_base }}/V1/bsscommerce/osc/deliveryinfoguest | PUT |
| 11 | Get information about Order delivery date and delivery comment from Quote | {{base_url}}/rest/V1/bsscommerce/osc/deliveryinfo/cart/:id | GET |
3.2. GraphQL API
| No | GraphQL API | URLs | Method |
| 1 | Add information about Order delivery date and delivery comment to orders when getting orders via customerOrders default | {{base_url}}/graphql | POST |
| 2 | Add information about Order delivery date and delivery comment to the payment extension | {{base_url}}/graphql | POST |
| 3 | Get information about Order delivery date and delivery comment from Quote | {{base_url}}/graphql | POST |