
Please follow the steps below:
1. Enable the app
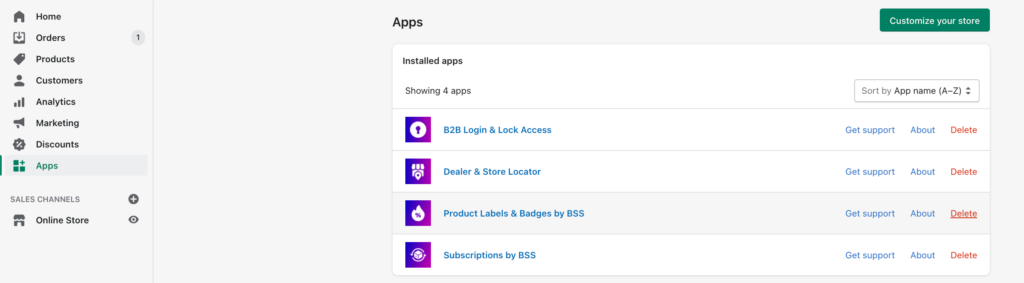
After installing the app successfully, please go to Admin ⇒ Apps ⇒ Product Labels & Badges to try adding catchy labels to your product pages.
Note:
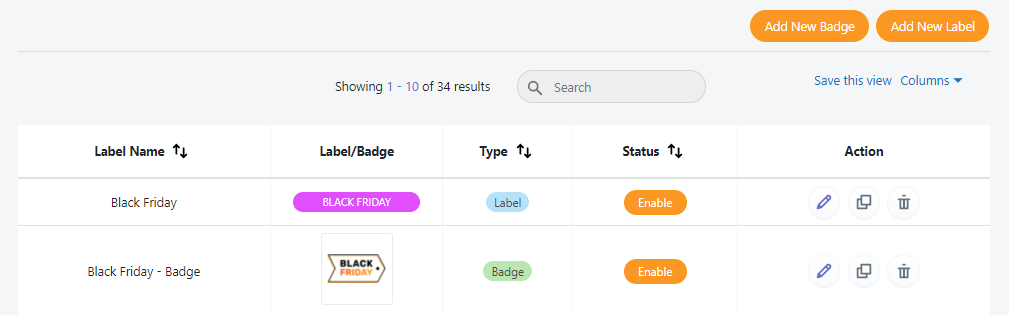
- Please note that the FREE Product Label plan is limited to 2 labels/badges. When you hit the limit, the Add New Label/Add New Badge button becomes inactive. If you wish to add more labels/badges, simply disable the ones you don't want or upgrade your plan.
- In addition, FREE Plan is limited to 20 specific products per label/badge rule. When you hit the limit, you cannot select more products. Please choose products wisely or upgrade to PRO Plan ($5/month) to apply unlimited specific products.
- After changing your theme, please return to the app and refresh it to allow the app to operate with your new theme (press Ctrl/Command + r).
2. Choose Between Badge or Label
To get started, you need to choose Add New Label or Add New Badge.
- The label is used to display inside the product images.
- The badge is used to display outside the product images, for example, under the product titles/prices/etc.
2.1. Add a new label
There are three tabs to set up the display of the label at hand.
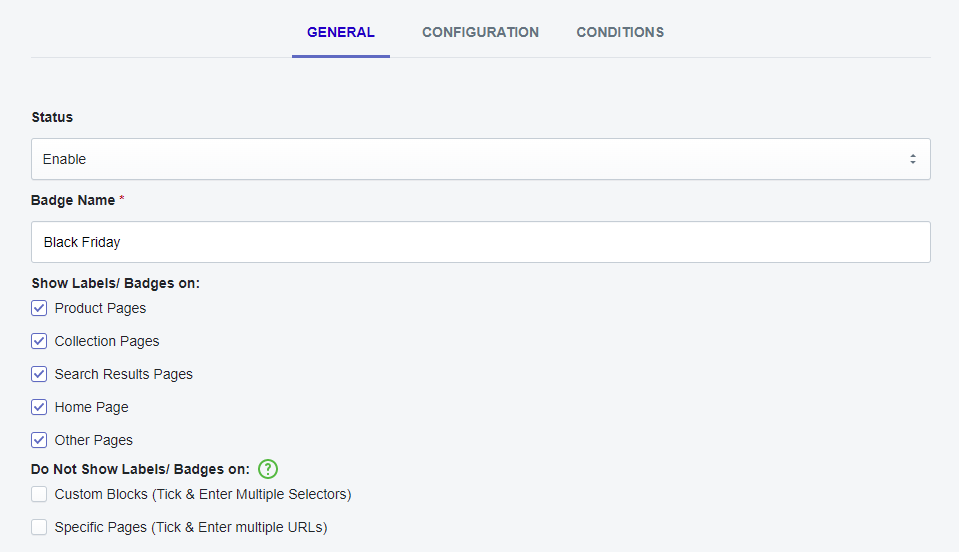
2.1.1 General
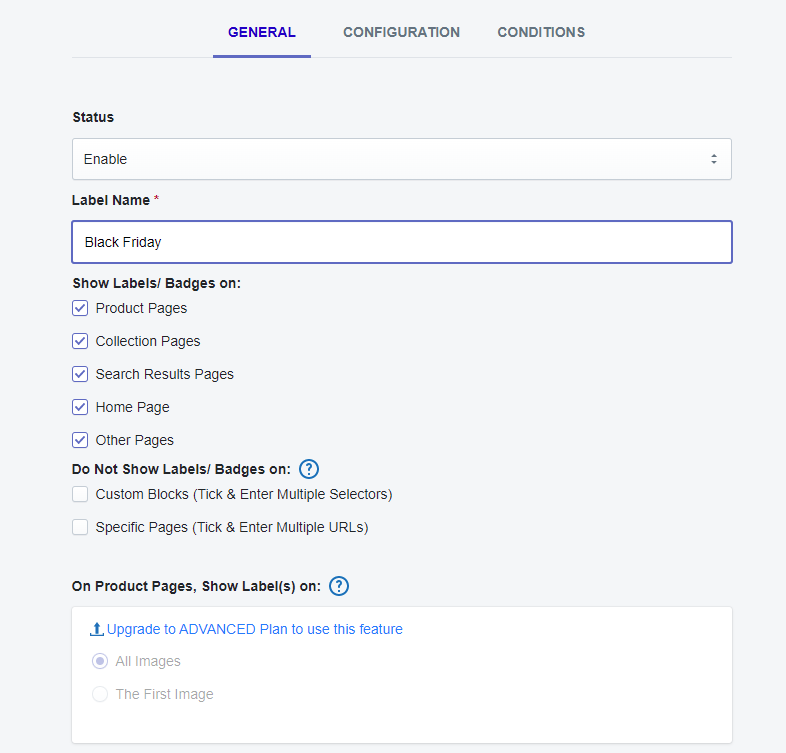
Under the General:
- Set the Status to Enable to display the label for products that meet the conditions of the label. Otherwise, choose Disable.
- Enter the Label Name to manage the label more easily.
- In Show on Pages, tick to choose the page types you want to show the label on.
- At the Do Not Show Labels/ Badges on, the Custom Blocks function will assist you in preventing/removing the label that appears in an unfavorable location by utilizing the CSS Selector. However, if you want the label to vanish on particular pages, select the Specific Pages option.
Notes:
- When you place several labels for the same product in the same position, they will overlap.
- If you choose the Custom Block but the label still appears, please contact our support team at sales@bsscommerce.com for assistance.
- If you want to show the label on the first image rather than all images, please upgrade to the Advanced plan.
2.1.2 Configuration
2.1.2.1. Use Image Label
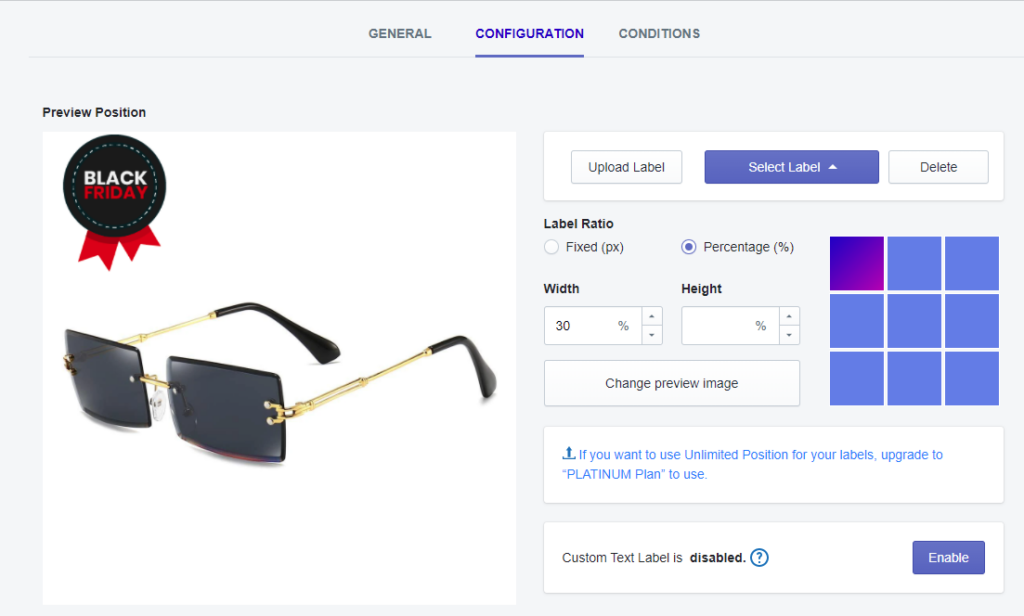
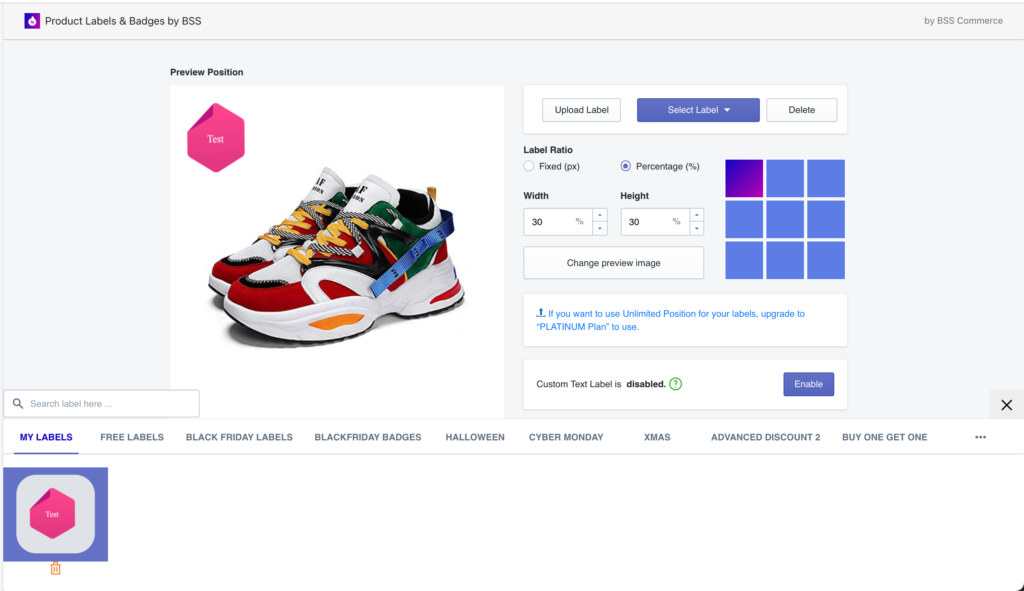
Now, switch to the Configuration tab.
- Upload Label a custom label from your device or Select Designed Labels. We have designed many beautiful labels that are ready to use on your website.
- Choose among 9 pre-defined positions to show off the label in the most user-friendly way.
- Remember to enter either height or width dimensions, or both.
Notes:
- Utilizing the Percentage dimension for image labels and the Fixed dimension for text labels.
- Enter the width only in case your images are not square so that the height will be auto-adjusted.
- Upload one image at a time.
- The image must be in JPG, SVG, PNG, or GIF format. The maximum size allowed is 2MB.
- For the Platinum plan ($20/month), you’re free to position your label/badge, drag and drop to move the label/badge anywhere on the product image as you want. Also, you can adjust the size of the label and the width height will be automatically updated when manipulated.
2.1.2.2. Create a custom-text label
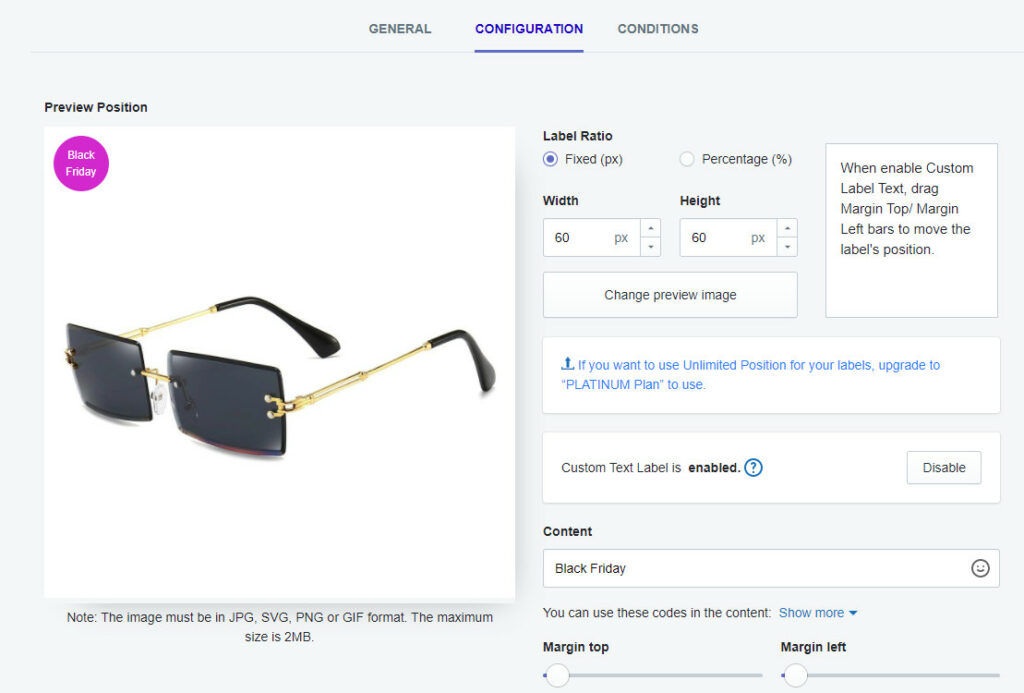
If you want to create a simple label with text, or you want a more flexible position, we would suggest using the Custom Text Label.
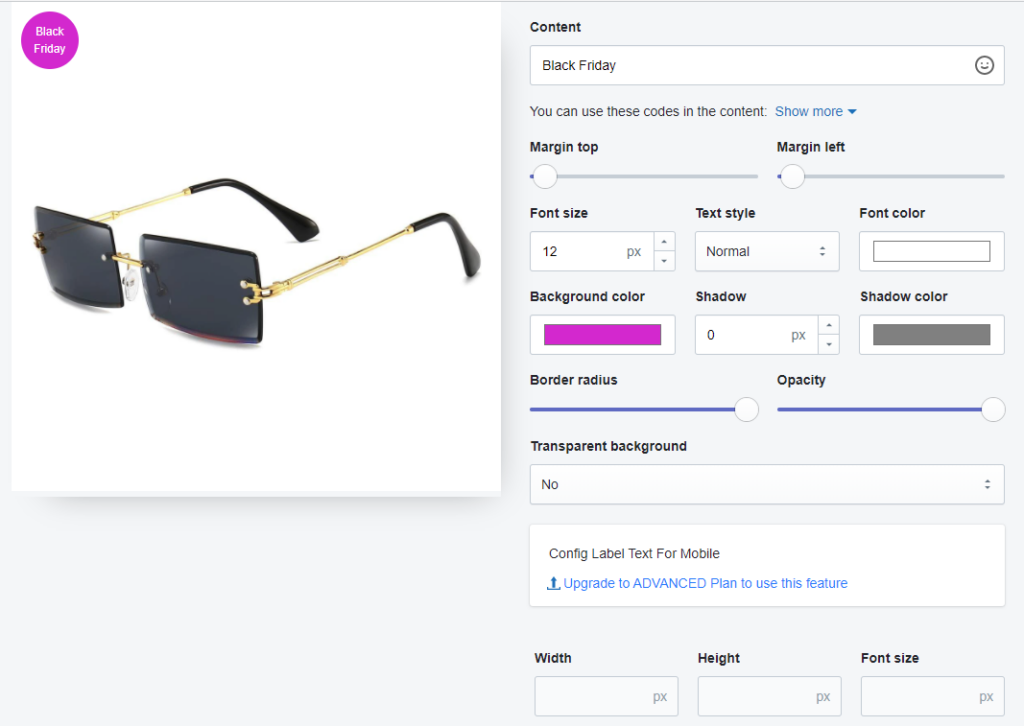
- Enter the text of the label.
- Set up the color, text style, font color, background, shadow, radius, and opacity as you wish.
- Adjust the Margin top and Margin left to define the position of the label on the image.
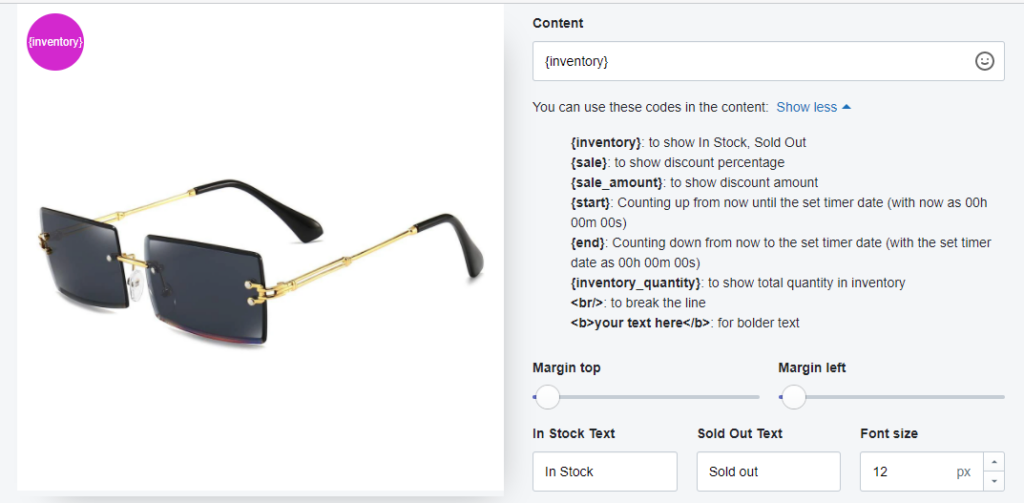
If you’d like to use Variable, simply click Show more right under the Content section, there are a bunch of variables you could use:
- {inventory}: to show In Stock, Sold Out
- {sale}: to show the discount percentage
- {sale_amount}: to show the discount amount
- {start}: Counting up from now until the set timer date (with now as 00h 00m 00s)
- {end}: Counting down from now to the set timer date (with the set timer date as 00h 00m 00s)
- {inventory_quantity}: to show total quantity in inventory
- <br/>: to break the line
- <b>your text here</b>: for bolder text
Note:
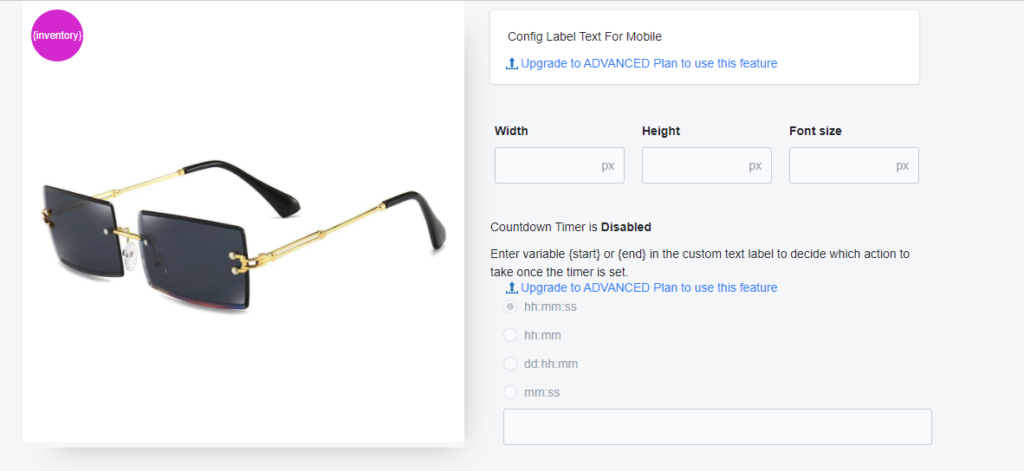
- Set the custom text to a fixed pixel to ensure a consistent display on the image.
- However, the fixed pixel means the label can be big on mobile. That time, the Config Label Text For Mobile is available from the ADVANCED plan ($10/month)
- The {start}/{end} variables are applied from ADVANCED plan ($10/month) and above.
- After setting up one configuration, please reload your frontend 1-2 times to see the latest change on your site.
2.1.2.3. Design your own label
You can even create your own label by going to the Make Your Own Label.
Step 1: Choose the background of the label.
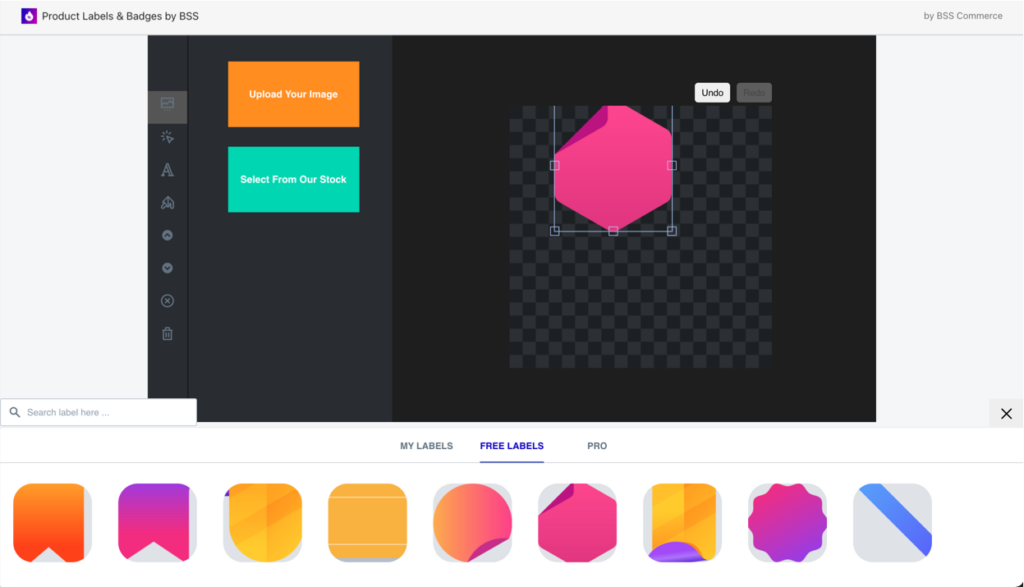
You can utilize the app's free label background by selecting Select From Our Stock or create your own label background by selecting Upload Your Image. Furthermore, you may easily drag and drop the background anywhere in the preview, as well as reduce and increase it to your liking.
To remove the background, select the label and use the (×) icon.
Step 2: Add label text
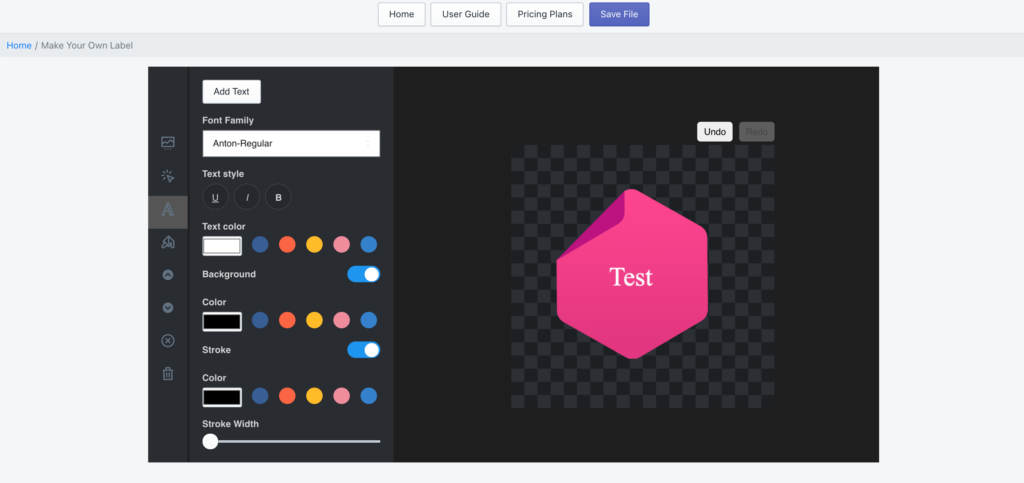
Kindly choose the text symbol (A) and click Add Text to make the content.
You can choose the font family, text styles, text color, background color of the text, and so on.
Step 3: Save the label to use later
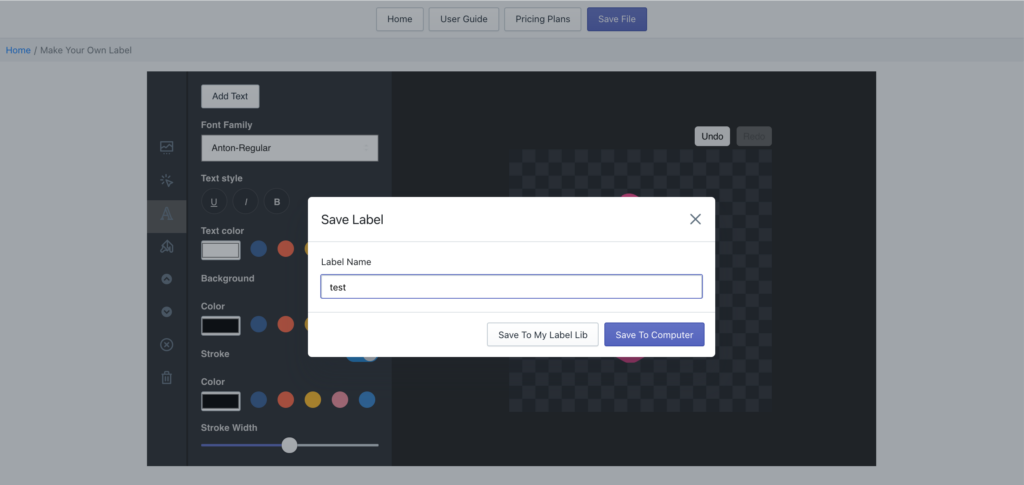
When you have done with the label, save it to your label lib and get back to the Configuration tab to use it.
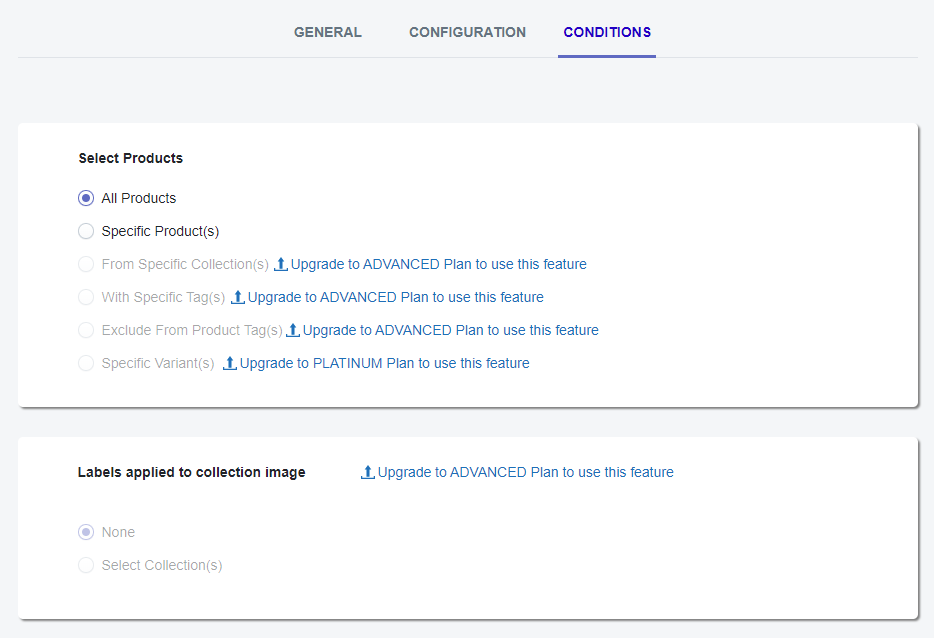
2.1.3. Conditions of the labels
Under the Conditions tab of this plan, you can add the label to All Products, Specific Product(s).
Finally, remember to save all settings.
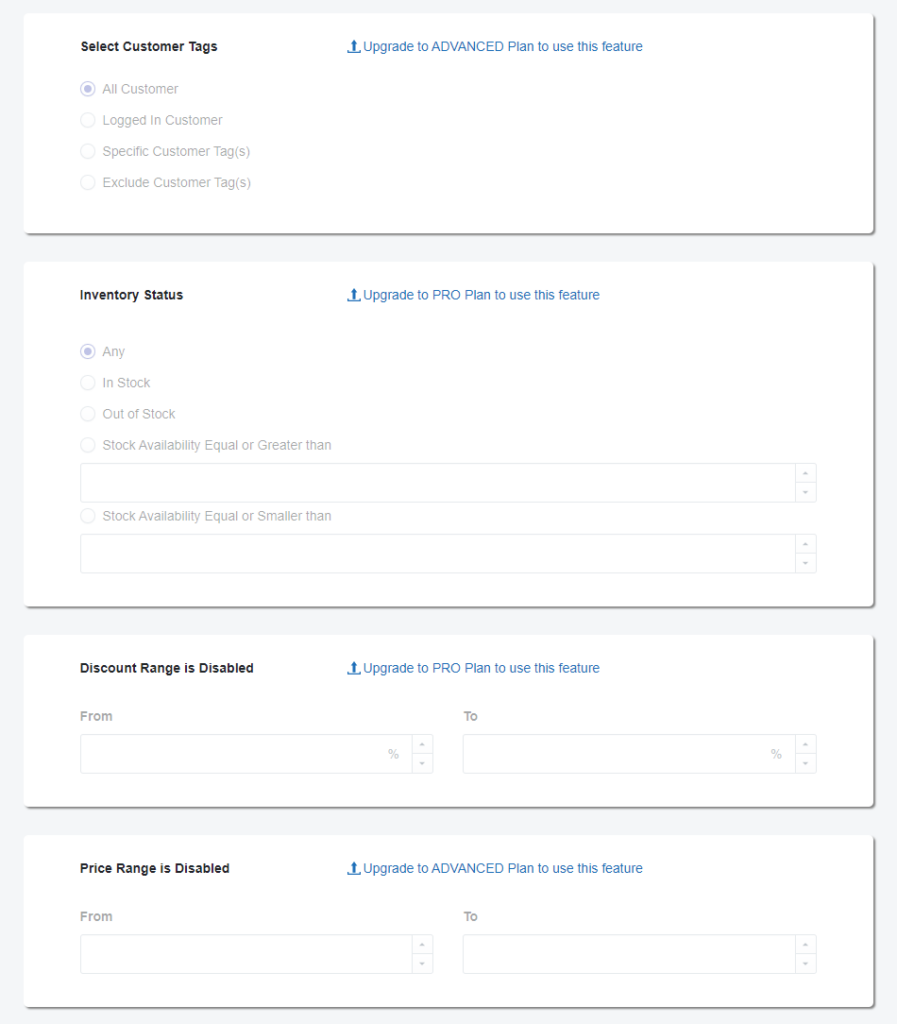
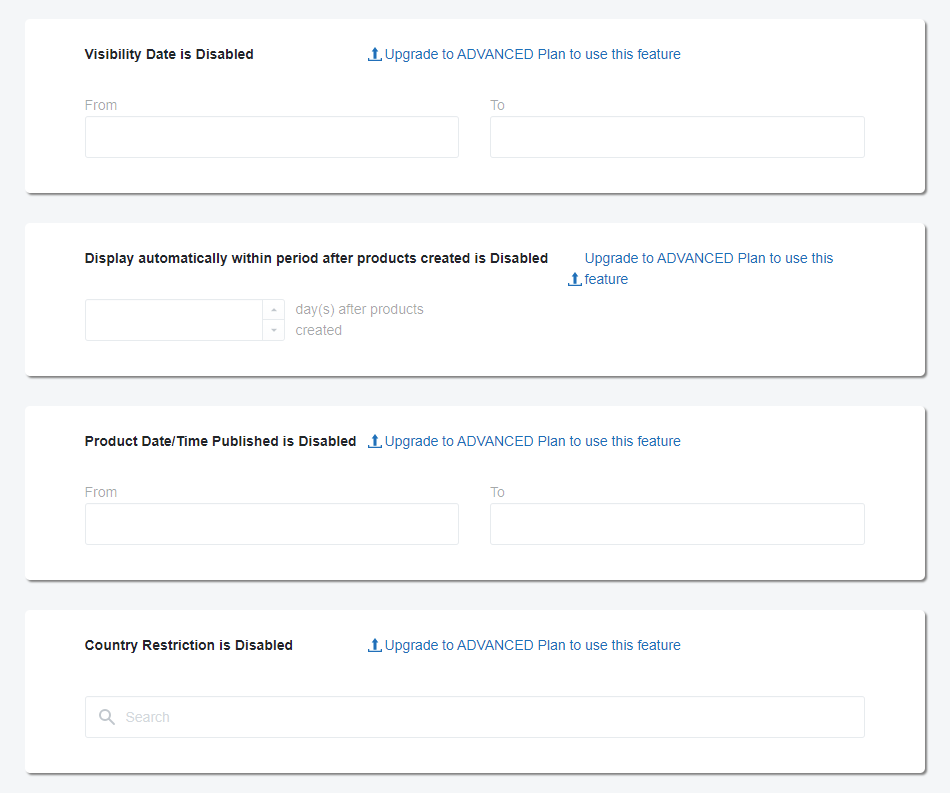
Note: Upgrade to Pro or Advanced Plan to get more convenient conditions and features:
- Unlimited labels
- 200+ FREE samples
- Custom text labels
- Labels for specific customer groups (based on tag)
- Labels for available and sold-out products
- Labels for discounted products
- Country restriction per label
- Label visibility within a period
- Lifetime update
- Premium support
2.2. Add a new badge
2.2.1. General
Similar to the label, you can choose to show the badge on specific pages.
2.2.2. Configuration
You can use either the image or the text as above.
The difference is the position of the badge. You can choose three positions available.
- Under product title
- Under product name
- Under product price
Note:
- If you choose pre-defined selectors but they are not working, please contact us at sales@bsscommerce.com.
- Otherwise, you can use the custom selector, following the guide:
2.2.2. Conditions
Choose products to add the badge as above.
3. Labels/badges grid
4. Labels in the storefront
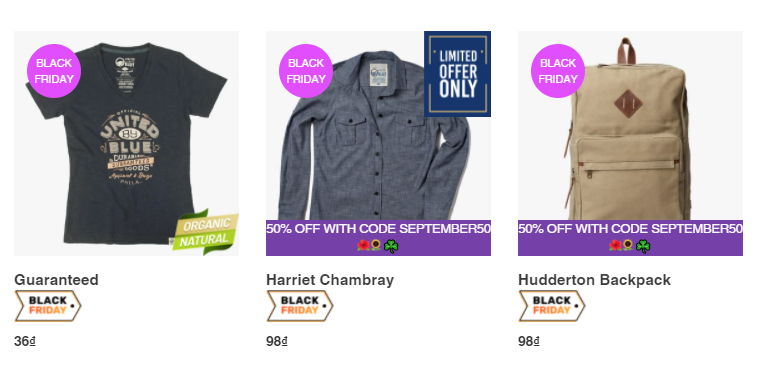
Our Product Labels & Badge app works with:
- All product types: Products, Products with Variants, Gift Card, and Virtual Products.
- All pages: Homepage, Collections, Product Pages, Cart Page, and Search Results Page based on your settings.
5. Uninstallation of the app
To uninstall the app, please go to Admin ⇒ Apps ⇒Product Labels & Badges.
In case you forget to Restore all content from the theme, you can delete the code by editing the theme.
Go to file: layout/theme.liquid
Find the code {% include 'bss-product-labels-configs' %} and remove it.
Also, remove:
templates/search.bss.product.labels.liquid
snippets/bss-product-labels-configs.liquid
Then, Delete the app.
Let us know at sales@bsscommerce.com or via Live Chat if you need further help.