
Guide videos
Here're the two guide videos you should watch:
- Shopify Product Labels & Badges - How To Setup Labels - YouTube
- Shopify Product Labels & Badges - How To Setup Badges - YouTube
Step 1: Create new label
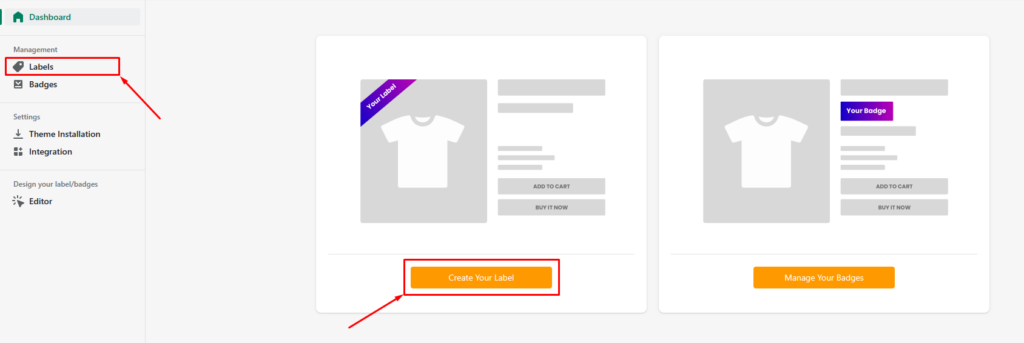
To create a new label, on Dashboard, you should click on Create new Label button or navigation to Labels page by clicking on the Labels item on the app's navigation.
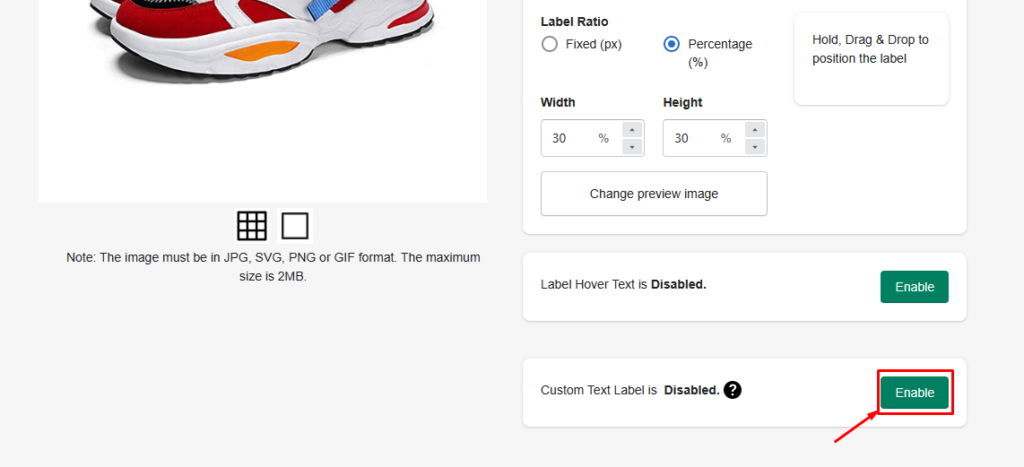
Step 2: Configure text label
At Configurations tab, Enable Custom Text Label to change your label type to text
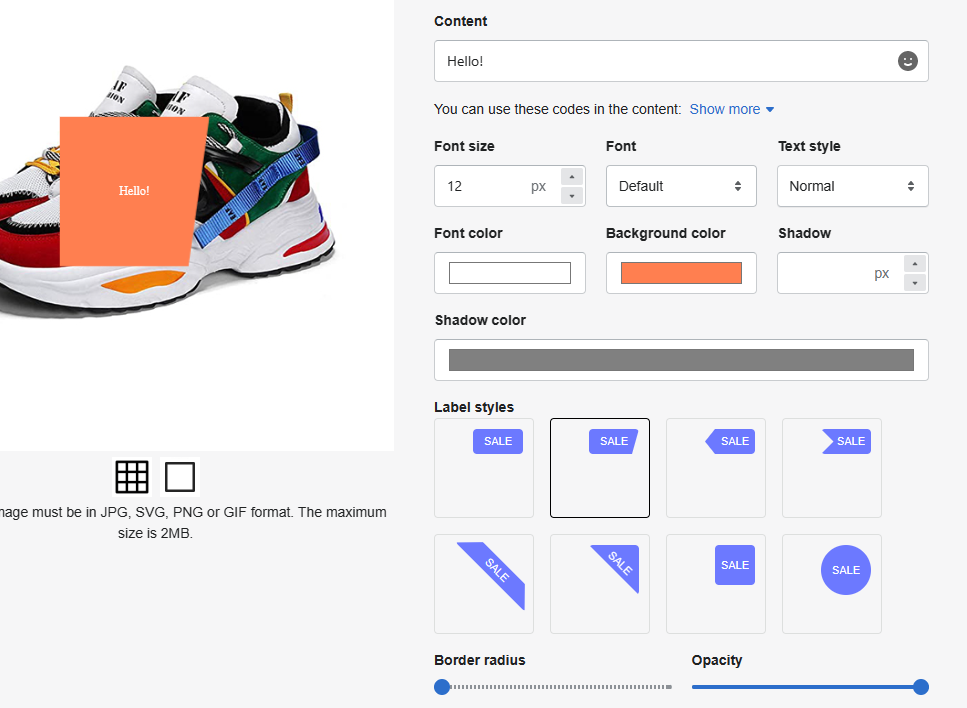
The Text configuration section provides several options, including Font, Background, Label style, and more, that allow you to customize labels according to the context.
Step 3: Save and view
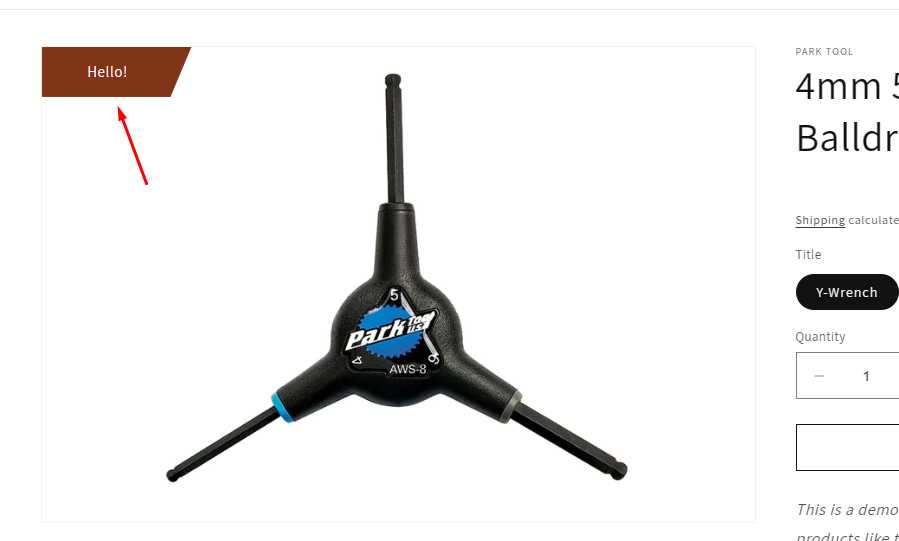
Once you have finished configuring your label, simply click the Save button located in the top bar to complete the creation process.
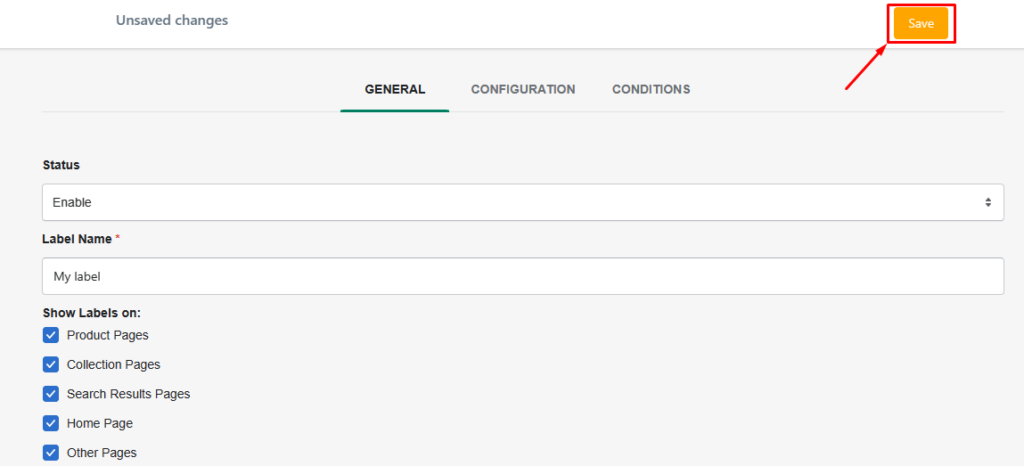
Once configured, your label will appear on your store within a few minutes.
If you have further question, feel free to contact us at sales@bsscommerce.com