
1. Overview
Shopware 6 Checkout Custom Field extension allows store owners to custom fields (can add or cut information fields) that customers need to fill on the checkout page.
2. How does it work?
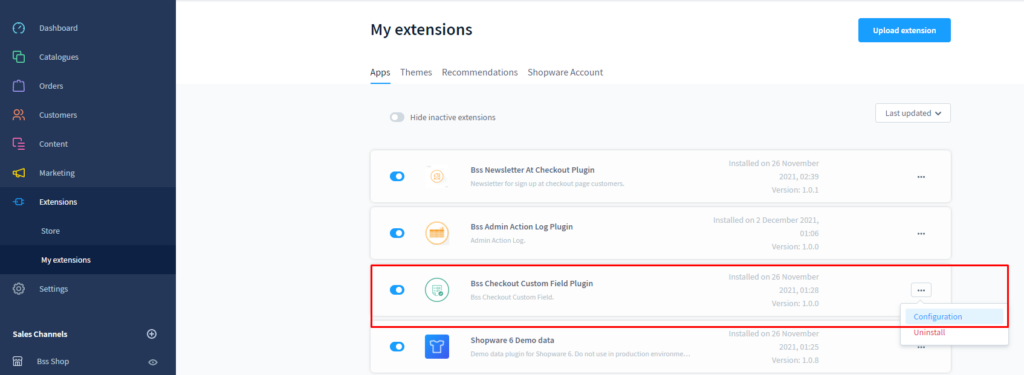
- Step 1: Enable plugin:
Go to My extension > Apps > Bss Checkout Custom Field Plugin > Enable the plugin > Configuration.
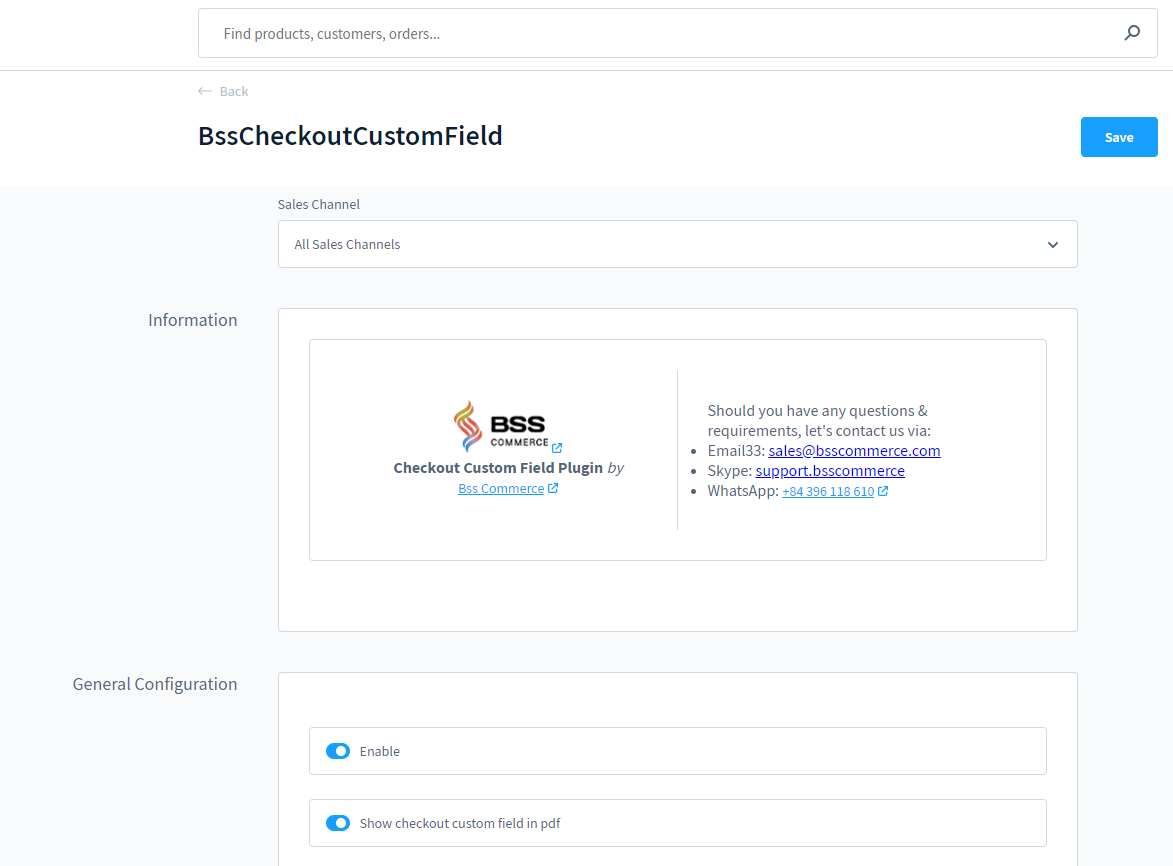
Choose the “Sale channel” and Enable plugin at the “General Configuration”.
Enable/ Disable "Show checkout custom field in pdf" (the pdf is the document created from each backend order)
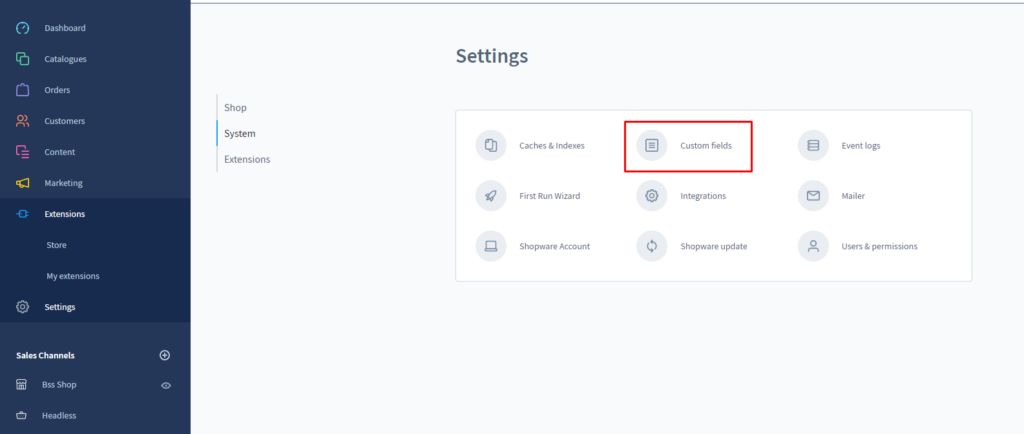
- Step 2: Choose the custom field to show at the checkout page:
Go to Setting > System > Custom Fields > Choose/ or create custom field set > Edit.
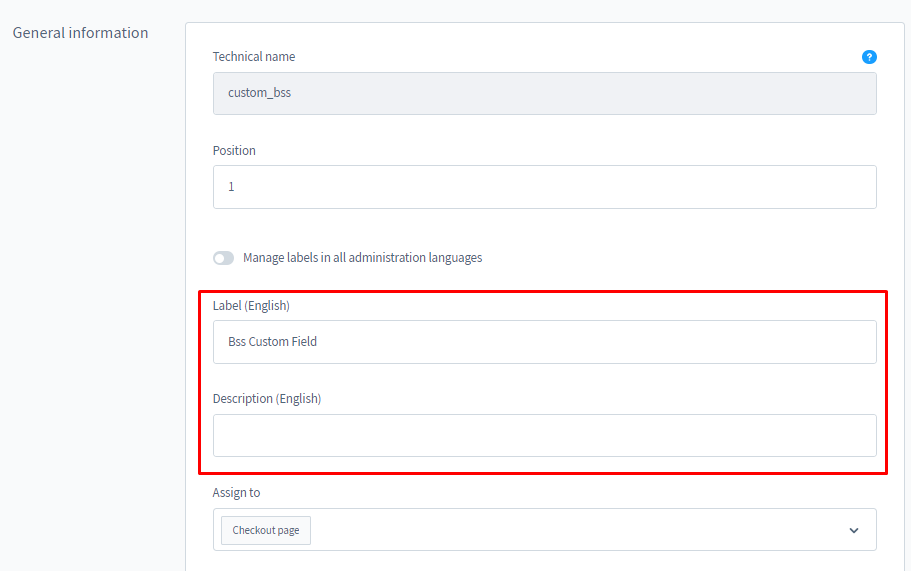
At “General information” :
+ Type text in "Label" to add the name of custom field set. Add the detailed information for each set in "Description" field.
+ "Assign to" > Choose “Checkout page”.
Choose customer group to show these custom fields at "Select customer group".
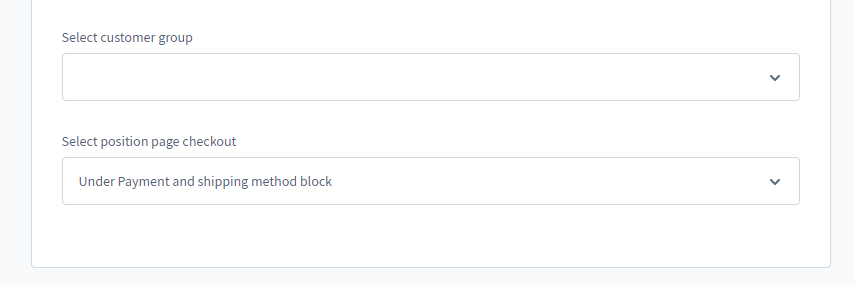
Select position to place the form at "Select position page checkout":
+ Under Terms and conditions block
+ Under address block
+ Under Payment and shipping method block
+ Under product list block
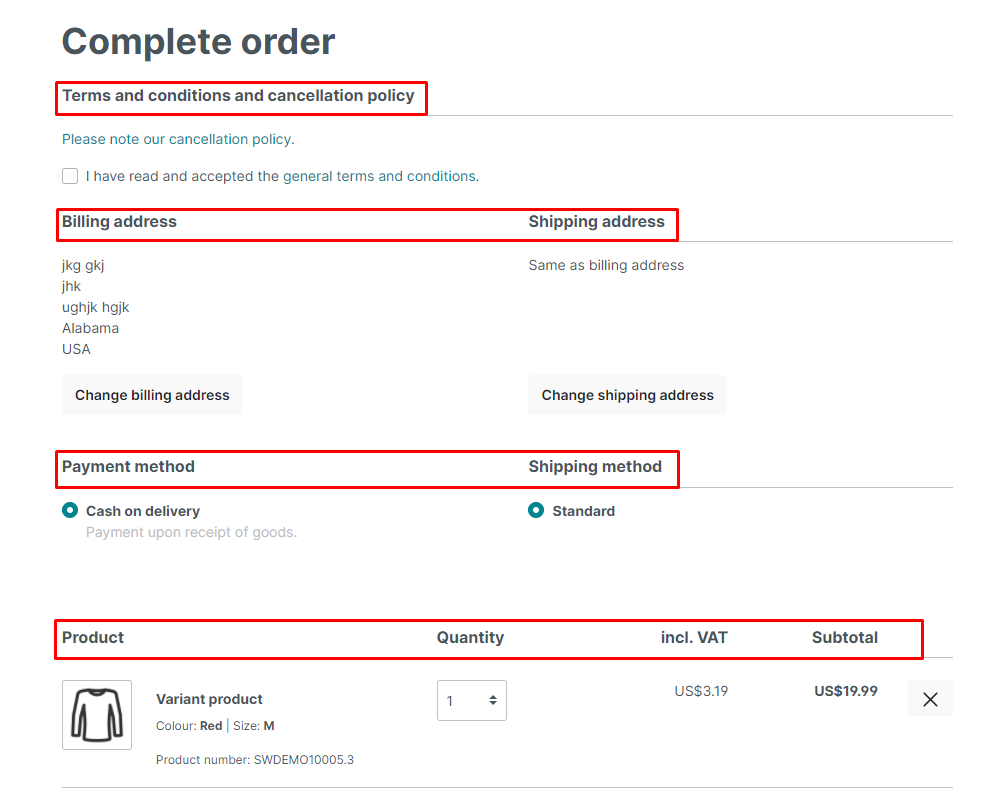
4 positions to place custom fields
*Note: Checkout custom fields are displayed on Complete order page.
- Step 3:
Choose "New custom field" button to add checkout fields.
There are 8 field types that can be added: Text field, Number field, Select field, Date/time field, Colour picker, Active switch, Checkbox, Text editor, Active Switch.
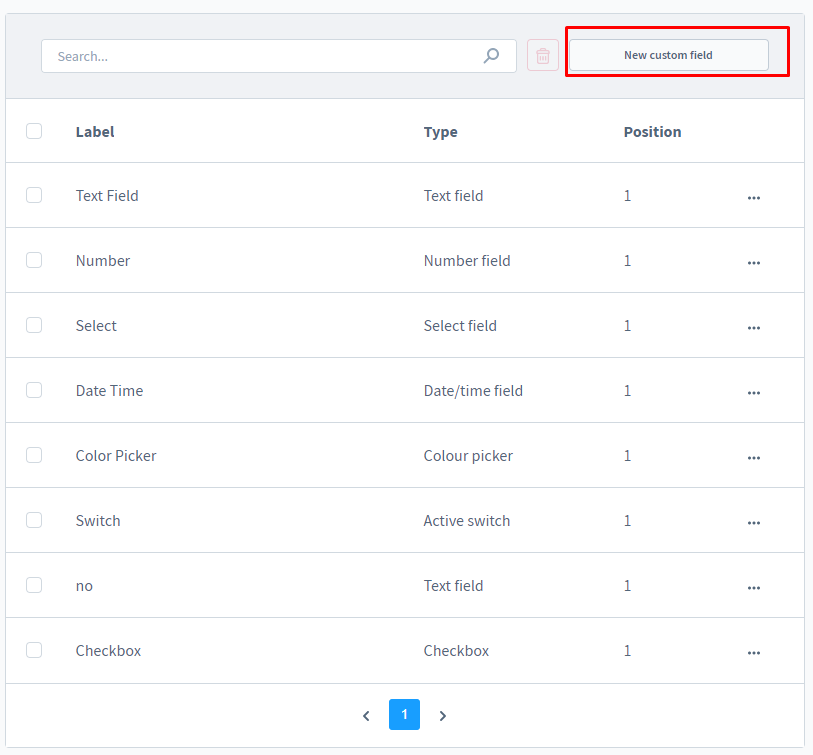
Save the change.
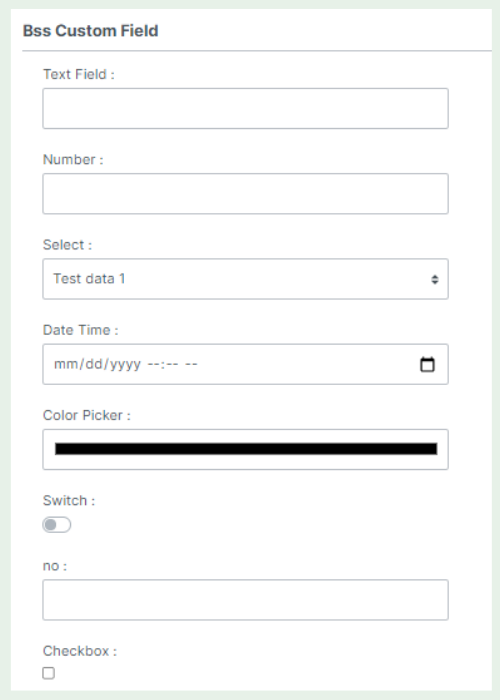
- Result:
Your checkout page (complete order page) will show your custom fieldset, after filling in the custom fields, the order detail page will show the custom field’s information.
3. Add custom fields to the email
Easy to add custom fields to the email by adding the below code to the config email template.
*Note: The position place the code is optional.
{% if config('BssCheckoutCustomField.config.active') and bssCustomFields %}
    <div class="order-detail-content-row">
    {% for label, bssCfDatas in bssCustomFields %}
        <div>
            {% if label %}
            <strong>{{ label | replace({'_': ' '}) }}:</strong>
            {% endif %}
            <div class="order-detail-content-row">
            {% for title, bssCf in bssCfDatas %}
                <div>
                    {% if bssCf['title'] %}
                        <span>{{ bssCf['title'] | replace({'_': ' '}) }}:</span>
                    {% elseif title %}
                        <span>{{ title | replace({'_': ' '}) }}:</span>
                    {% endif %}
                    {% if bssCf['type'] == 'colorpicker' %}
                        <div title="{{  bssCf['data'] }}" style="background: {{ bssCf['data'] }};width: 30px;height: 30px;"></div>
                    {% elseif  bssCf['type'] == 'date' %}
                        {{ bssCf['data'] | format_date('medium') }}
                    {% else %}
                        {{ bssCf['data'] }}
                    {% endif %}
                </div>
            {% endfor %}
            </div>
        </div>
    {% endfor %}
    </div>
{% endif %}