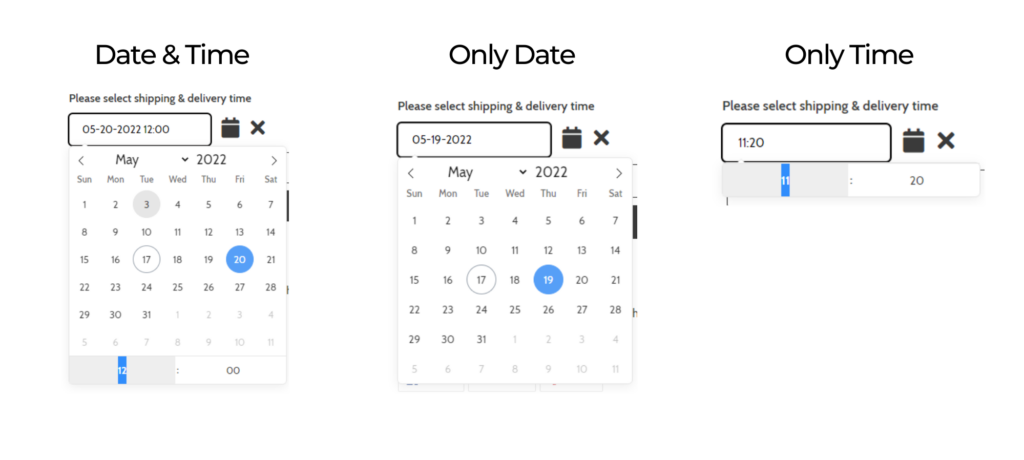
This is a quick overview of Date & Time Picker option.
Please subscribe to Advanced Plan ($10/month) to use this option type.
Step 1: Please create an option set (follow this guide for more details)
Step 2: Choose option type: Date & Time picker and set the General Information

Step 3: Set the Active Dates (Optional)
Under the Active Dates section, you can set the active dates as you want. This feature allows you to set up date & time that customers can select.
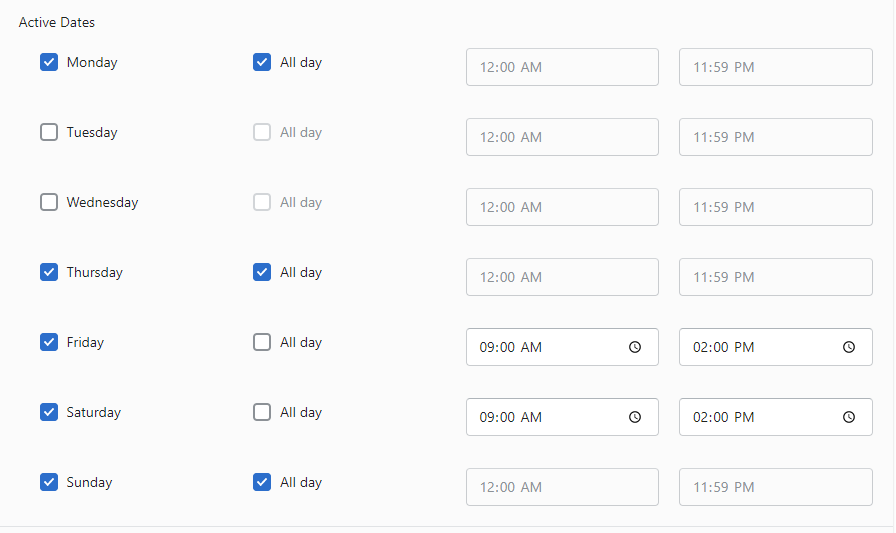
In the image above, store owner restricted customers from selecting Tuesday & Wednesday. On Friday & Saturday, customers can only select the time between 09:00 AM and 02:00 PM.
On the Online Store, customers can select valid date & time only.
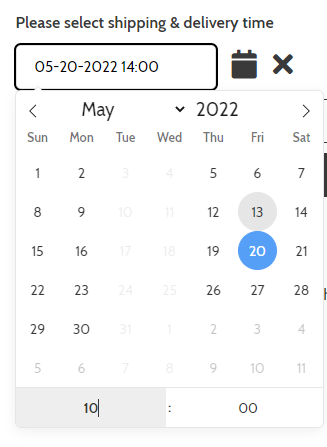
Step 4: Choose disabled dates (Optional)
You can disable past dates to disallow your customers to choose these dates. In the image below, the customers only can select the date from 5 days after the current date.

If you set up the conditions as follows: cut-off time = 5 days (current date: 14th December 2022), customers only can select the date starting from 19th December on the Online Store.
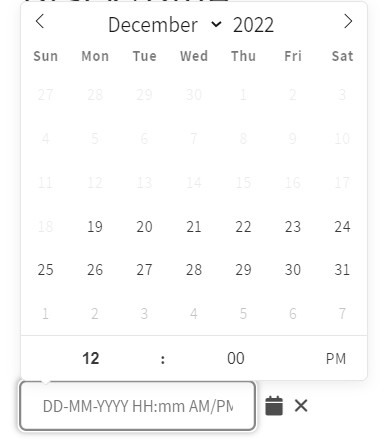
Besides, you can also disable multiple specific dates as you want.
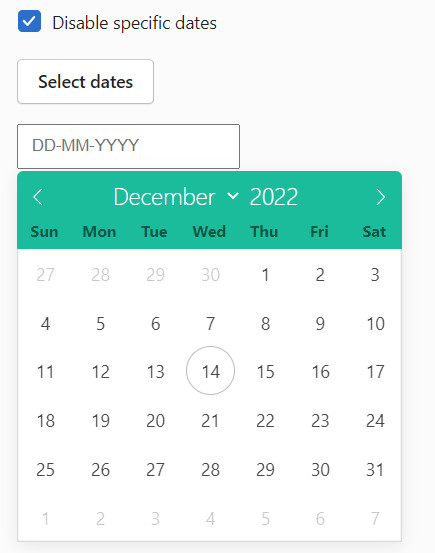
For example, you want to disable 15th December and 20th December:
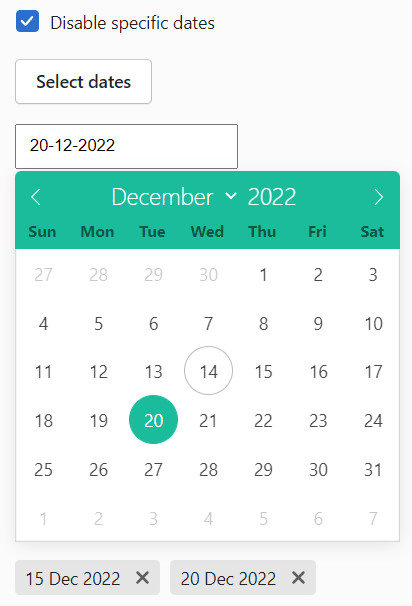
On the Online Store, customers cannot select these 2 days.
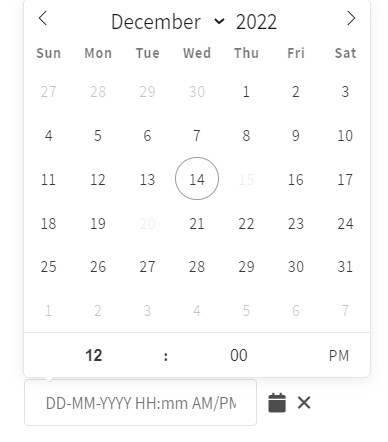
Step 5: Choose the Display Date/Time type. You can choose between 3 types:
-
- Date & Time
- Only Date
- Only Time

You can also choose the time format for each Date/Time Type.
Here is an example of how the Date & Time Picker looks in your store:
