
Using the app, you can easily add your store addresses to the app and make it searchable at the customers’ fingertips.
Step 1: Enable the App & Enter API Key
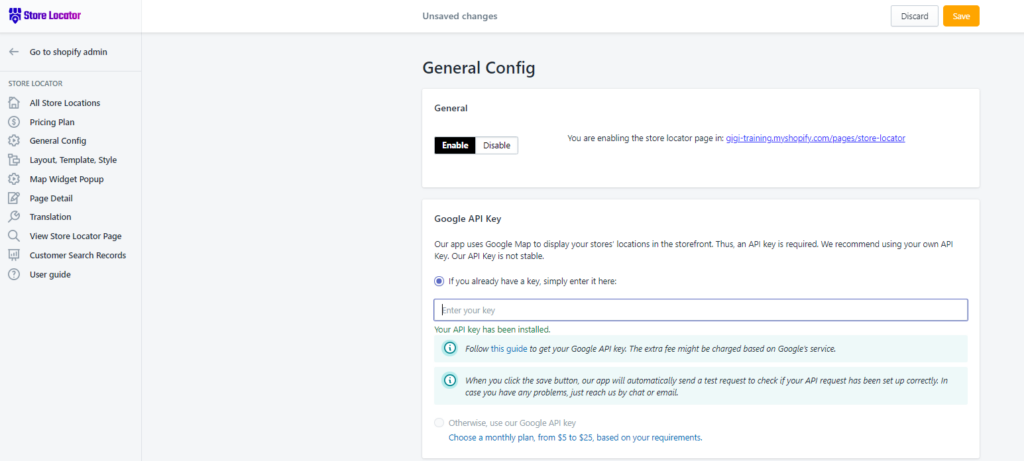
Please go to Admin ⇒ Apps ⇒ Dealer & Store Locator app and open the General Config.
When you install our app, it is automatically enabled and creates a new Store Locator page as seen below:
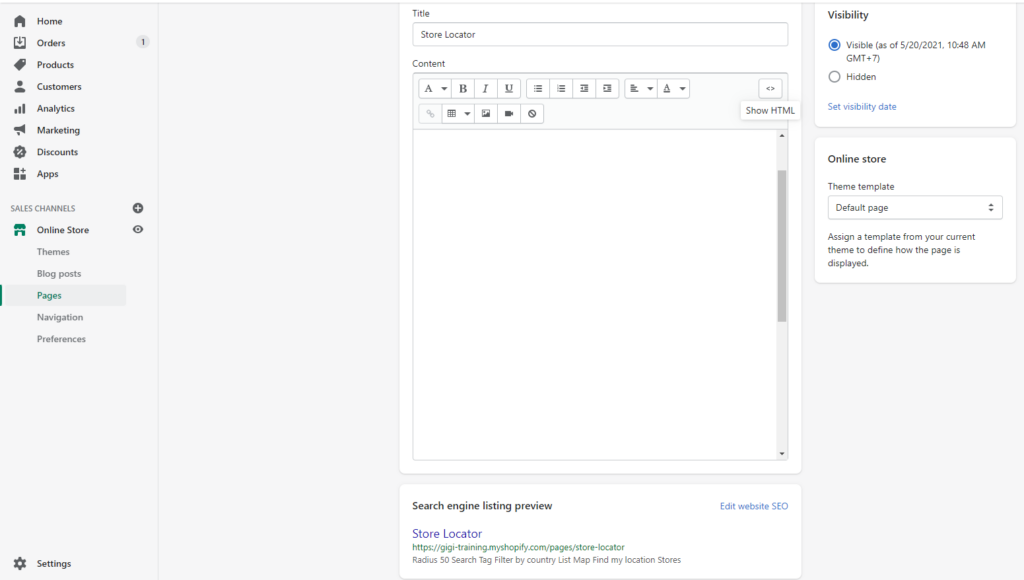
We propose going to Online Stores ⇒ Pages ⇒ Store Locator and updating the page to make it more user- and search-friendly.
However, if you wish to update the page's basic content, you must do so; otherwise, the app may not function correctly. Please contact us ahead of time if you want more customization.
Moreover, whenever you change the store theme, please Upgrade Config here.
Step 2: Enter the API Key
You have two options:
- Create your Google API key and enter the key.
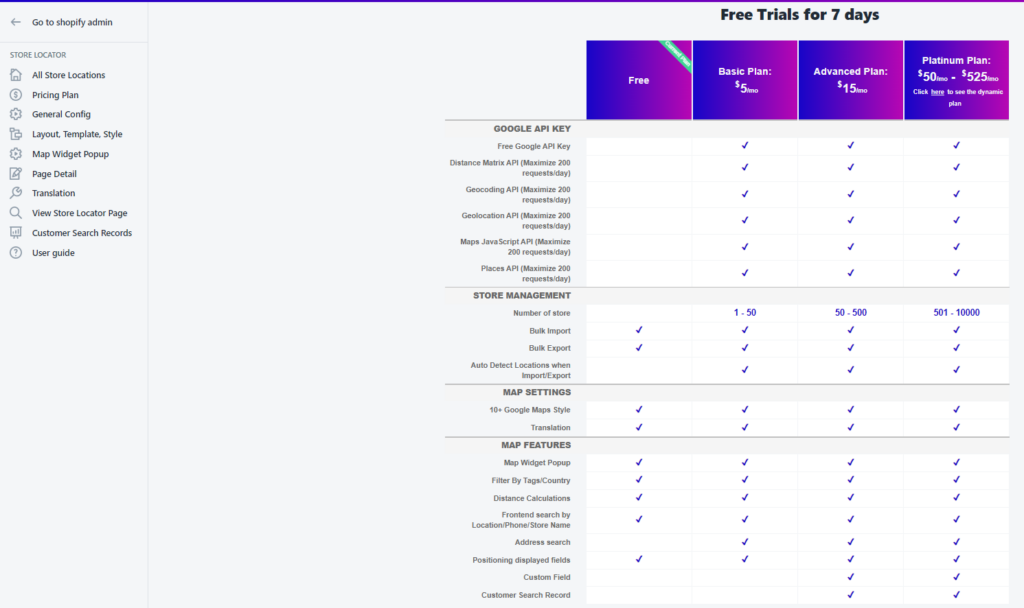
- Subscribe to one of our paid plans to use a pre-created API key and get dedicated support.
Please go to the Pricing Plan page and choose the plan.
Step 3: Add General settings
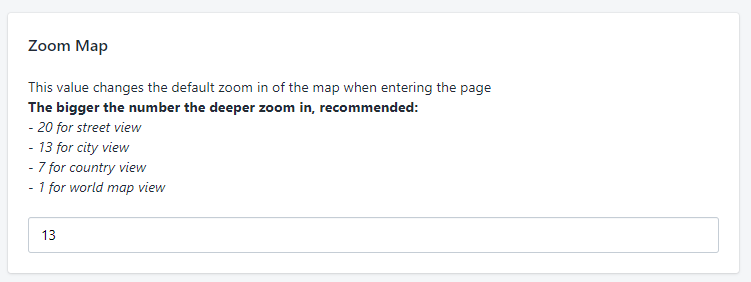
When a customer enters the Store Locator page for the first time, his/her location will be detected and the map will be zoomed in based on your settings.
Please enter a number.
We suggest some zoomed-in ratios for your references:
- 1 for world map view
- 7 for country view
- 13 for city view
- 20 for street view
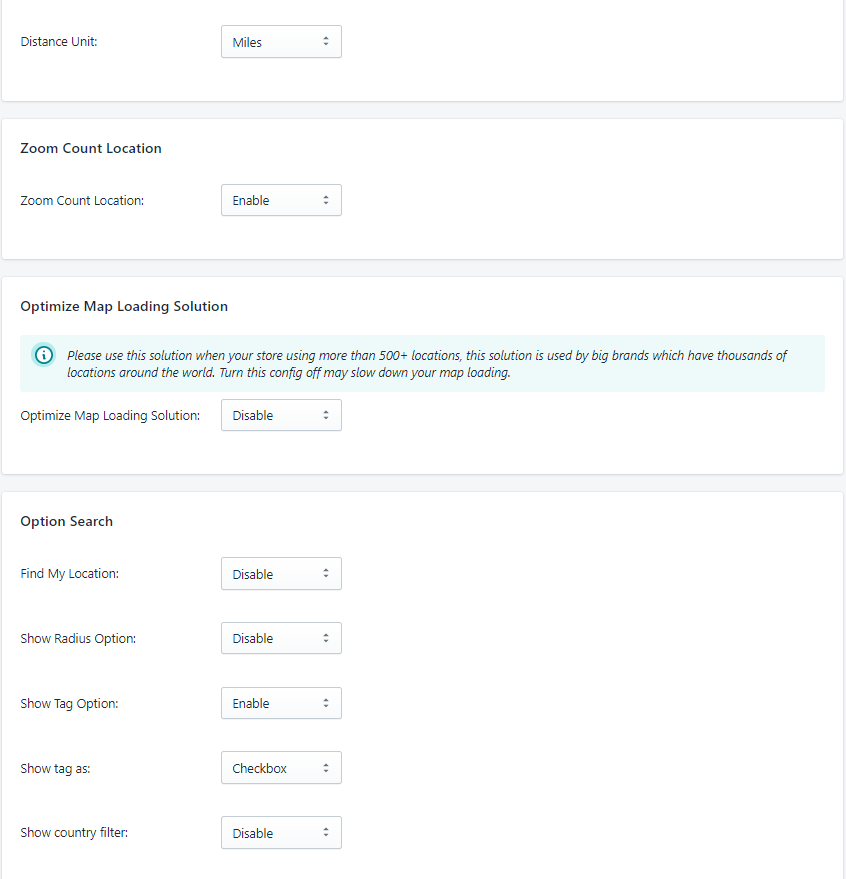
In the Distance Unit, choose Miles or Kilometers.
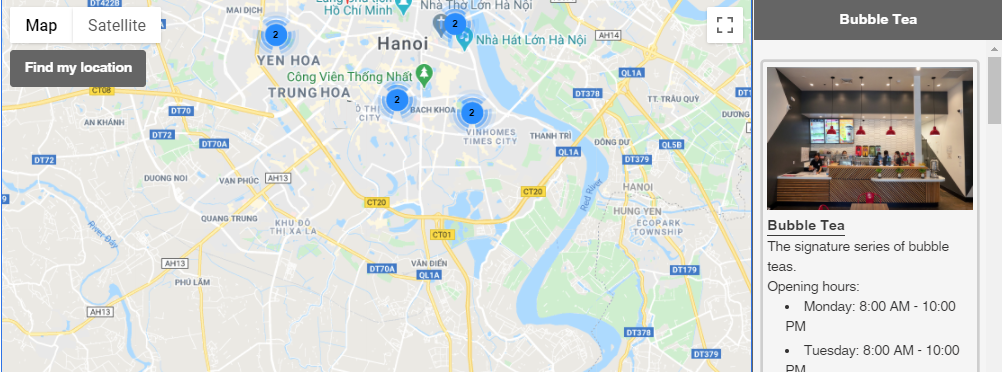
In Zoom Count Location, choose Enable to show the locators in number when the zoomed distance is too small. Here you see:
Under Option Search, choose what you want customers to filter their desired locators.
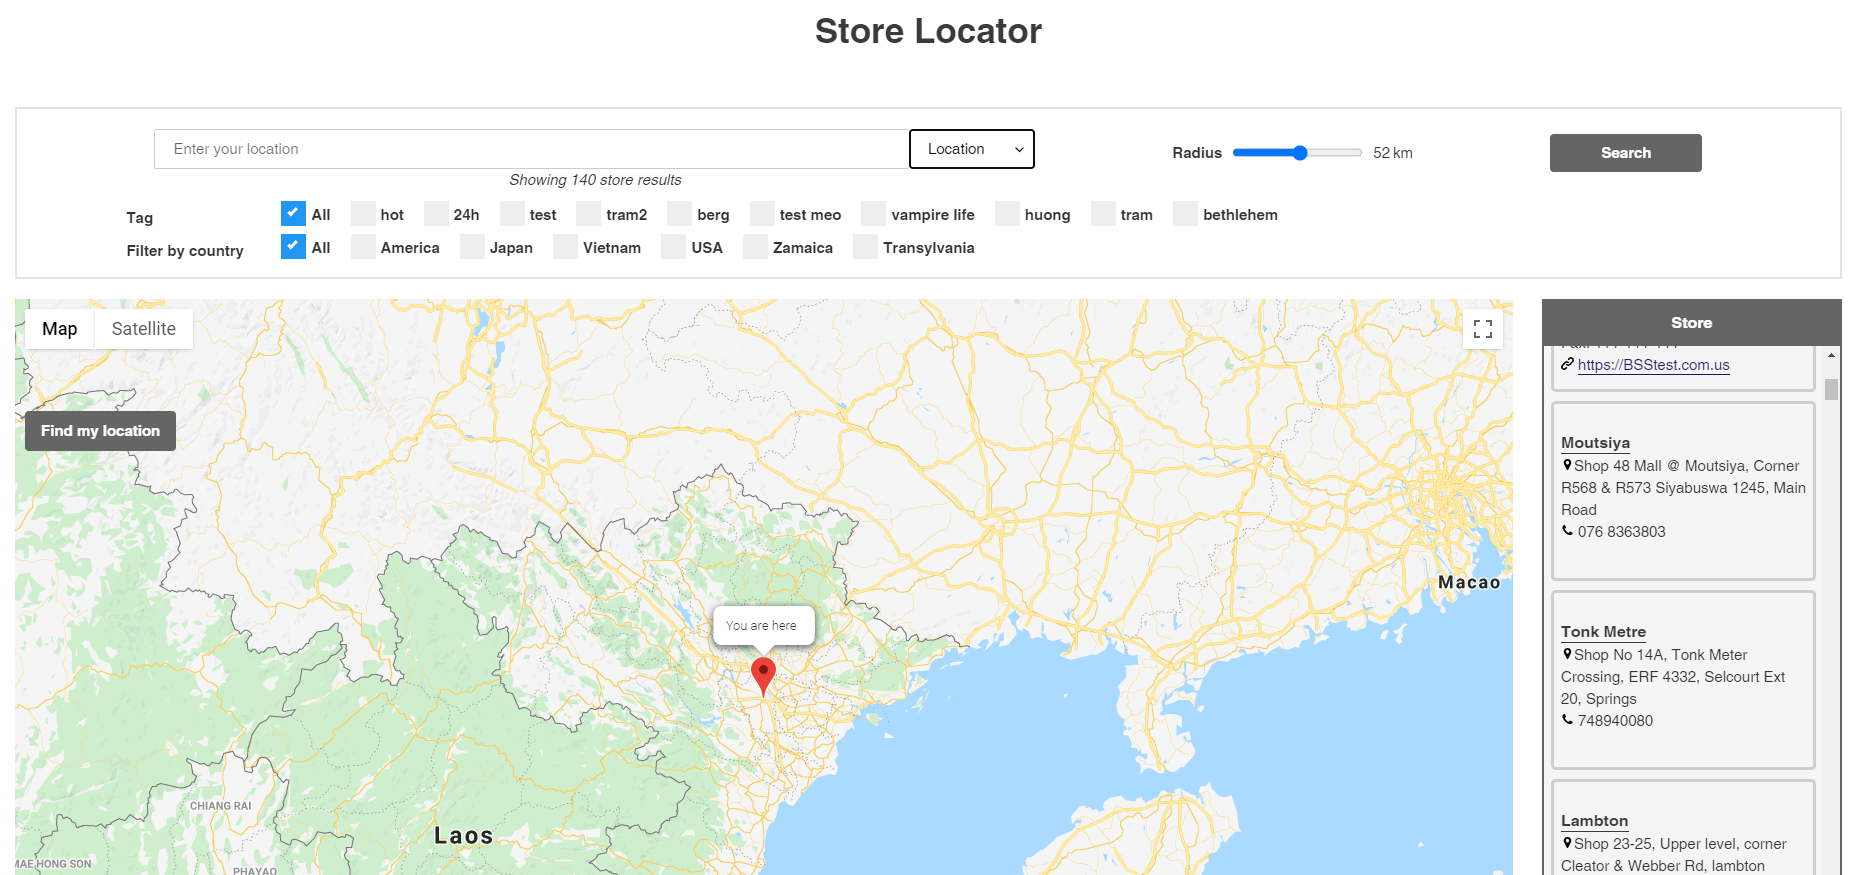
Auto-detects customer's address on first-time loading: The system will detect your customer location and display the results accordingly.
Show Radius Options: You can change the searching area's radius with this option. If this option is disabled, the default search area is unlimited.
Show Tag Options: Your customer will be able to filter the store locations according to Tags.
Find My Location: Add a Find my location button, which will provide your customer with their location on the map.
Show Country Filter: Filter your store locations according to the country field in each store location.
Under Allow Customer to search by section, choose the type of search you want your customers to use to search for their desired locations.
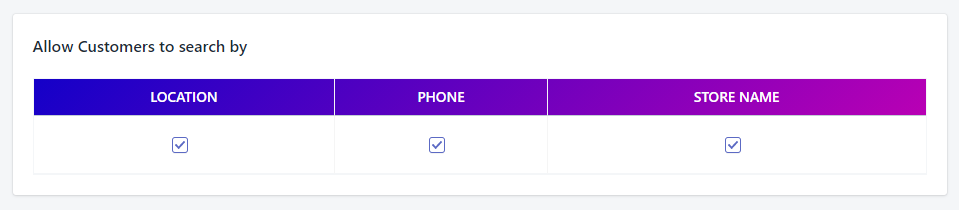
The search will be displayed in dropdown options: Location/Phone/Store Name.

You can also add working hours to the Store Locator page.
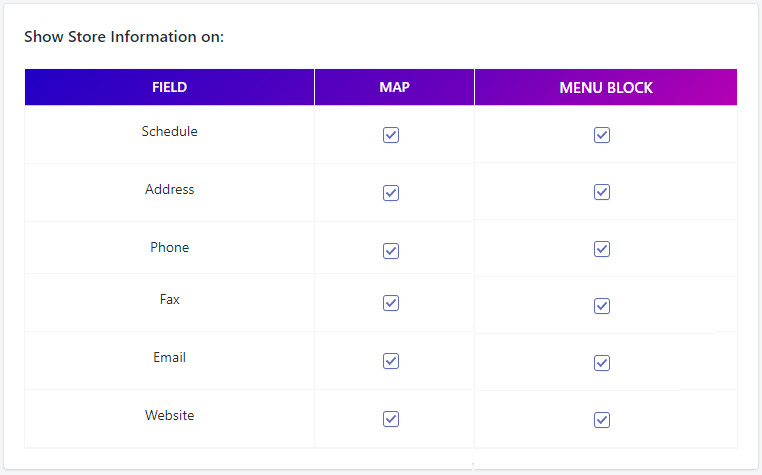
Also, choose to show or hide some additional information as follow:
Step 4: Choose a Layout & Theme
Scrolling down the General Config to select a Layout and Theme that match your website the most.
4.1. Page Template
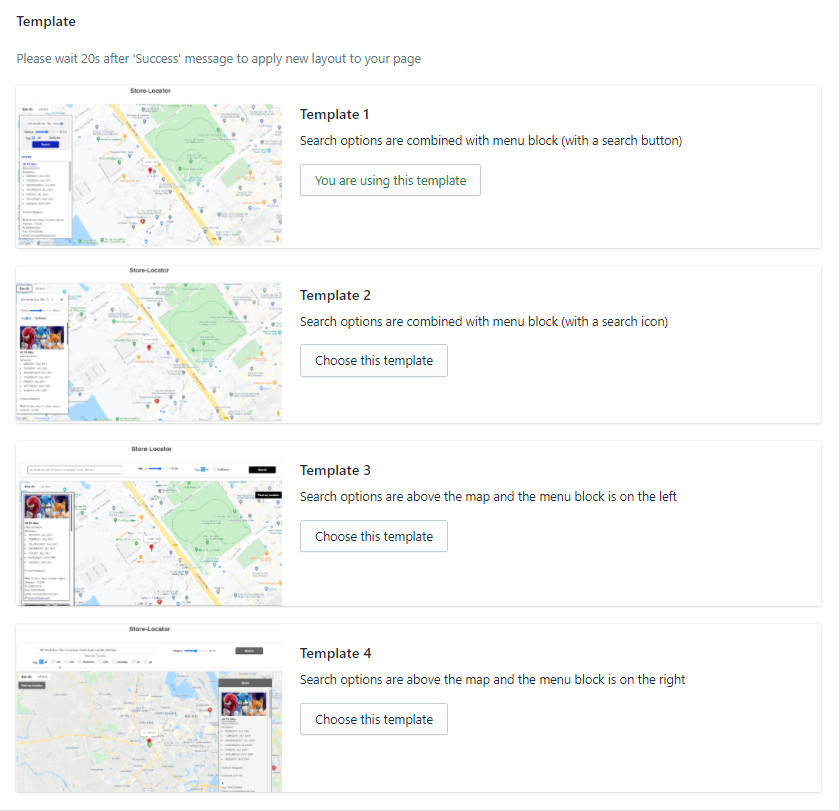
Choose a template to make it convenient for the customers to search for the locators.
We have built four templates for your references. Let us know at sales@bsscommerce.com if you have ideas for more templates.
4.2. Page Layouts
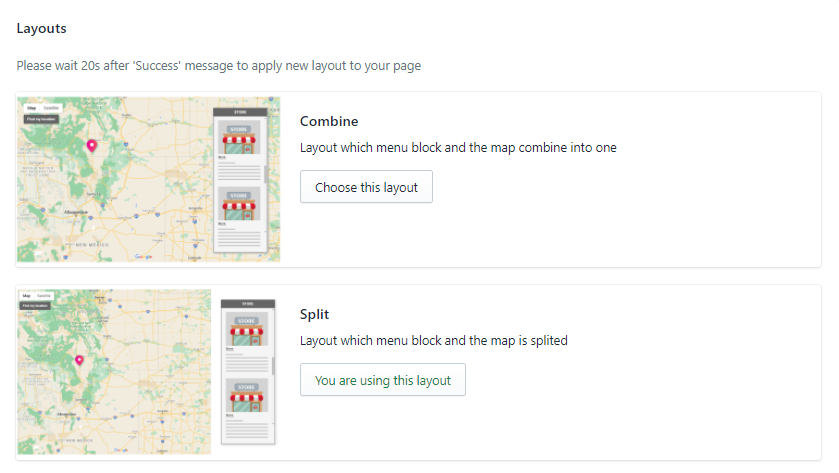
The layouts will decide the positions of the menu block on the page - you can place it over the map or beside the map.
4.3. Map Styles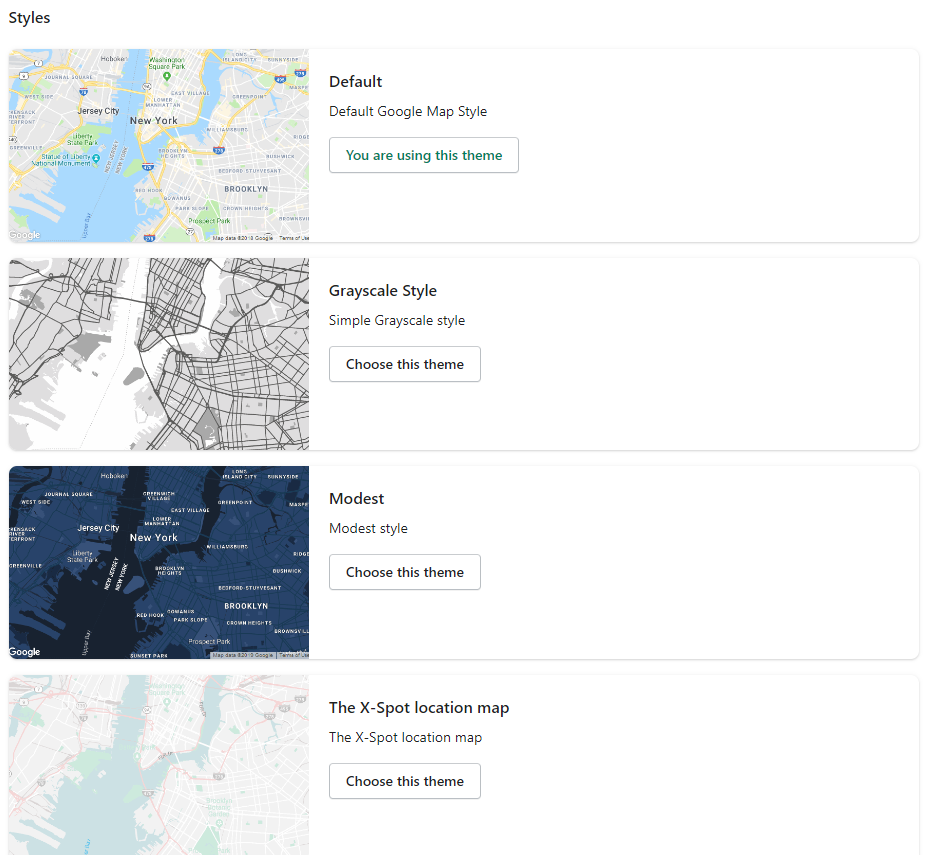
We provide the 10 common map styles that will make your store locations visible and searchable. You can take a minute to try all the themes and pick up your customers’ preferences.
Step 5: Add Your Location Stores
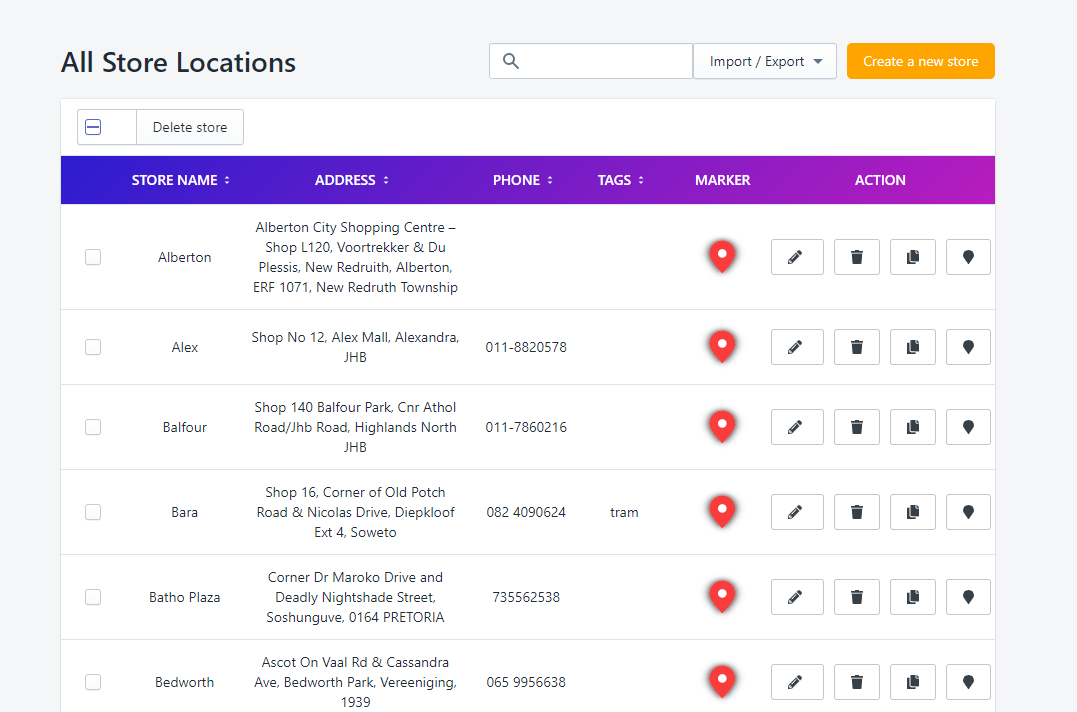
Go to the All Store Locations tab, here you can choose to Create a new store
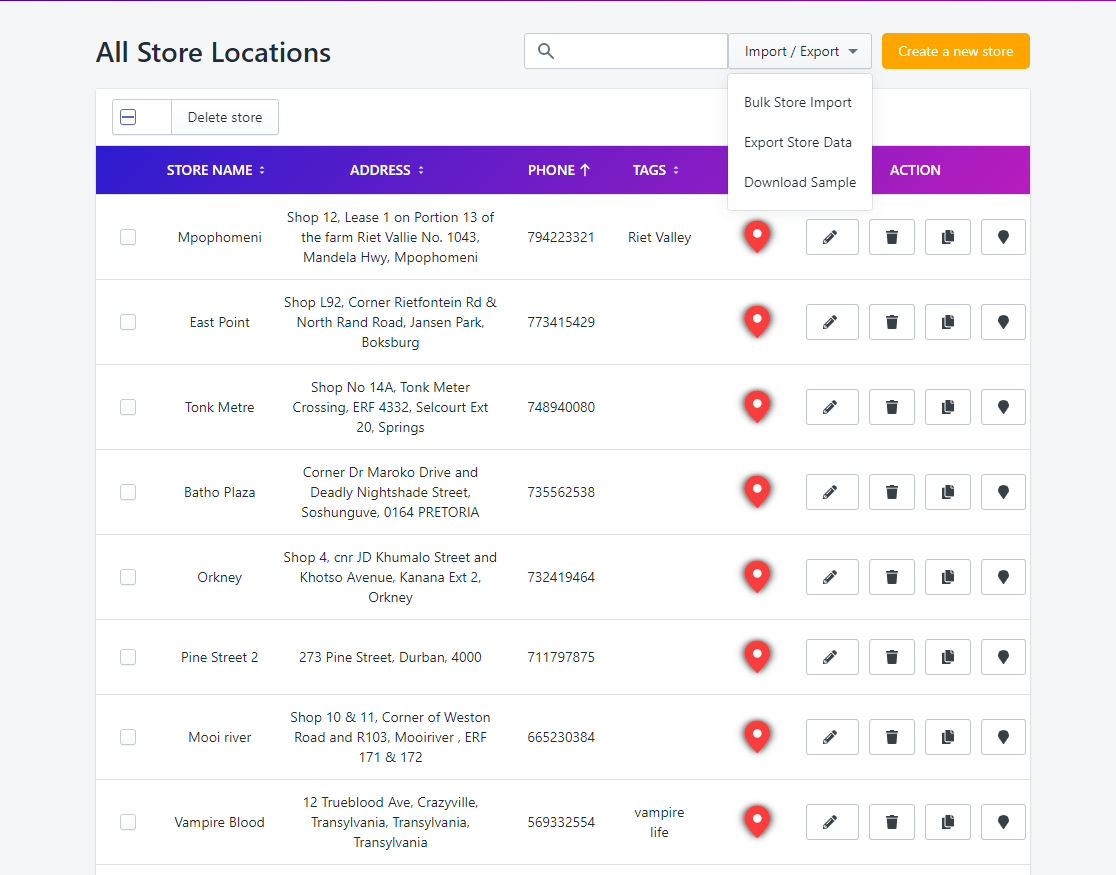
Or Download Sample CSV files and Import Bulk Stores.
It's easy enough with only a few dozen stores at hand, but what about hundreds or thousands to manage?
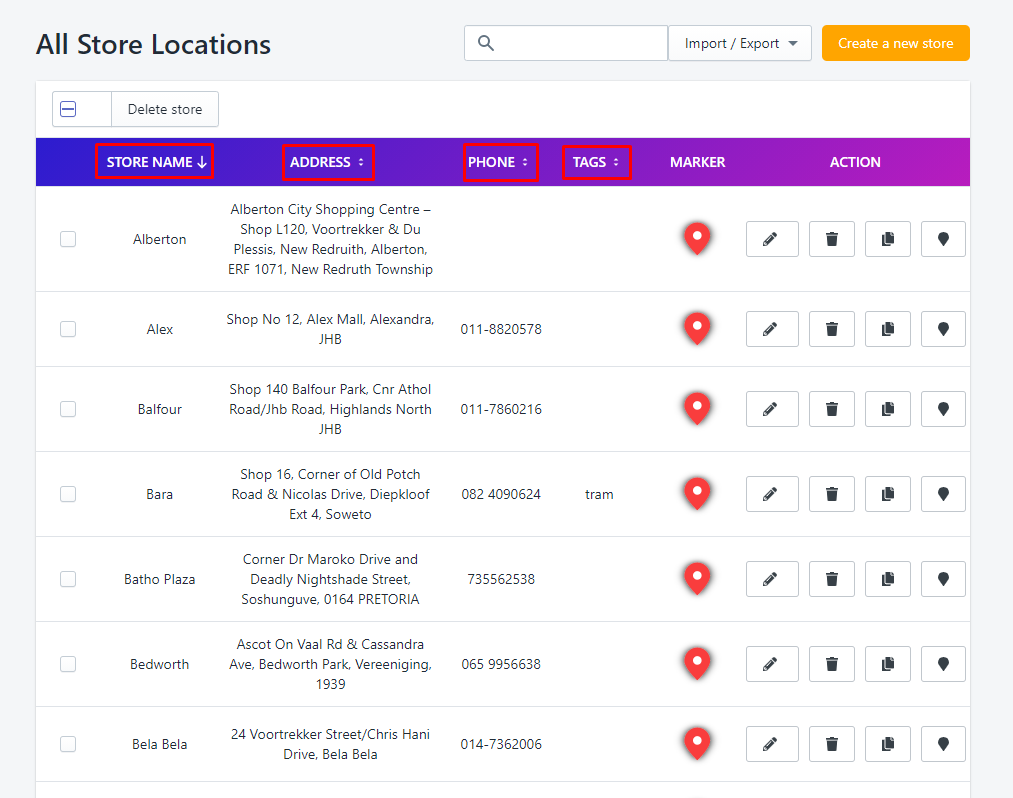
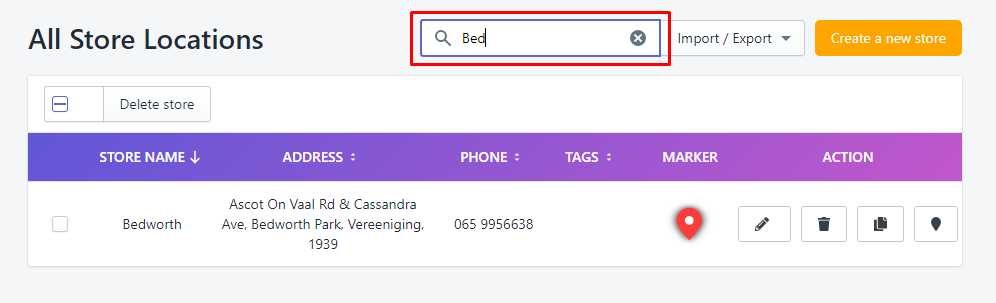
If you want to find a specific store location among the stores to edit, you can sort them in alphabetical order or search for a store that you have in mind according to four fields: Store Name, Address, Phone and Tags.
5.1. Store general information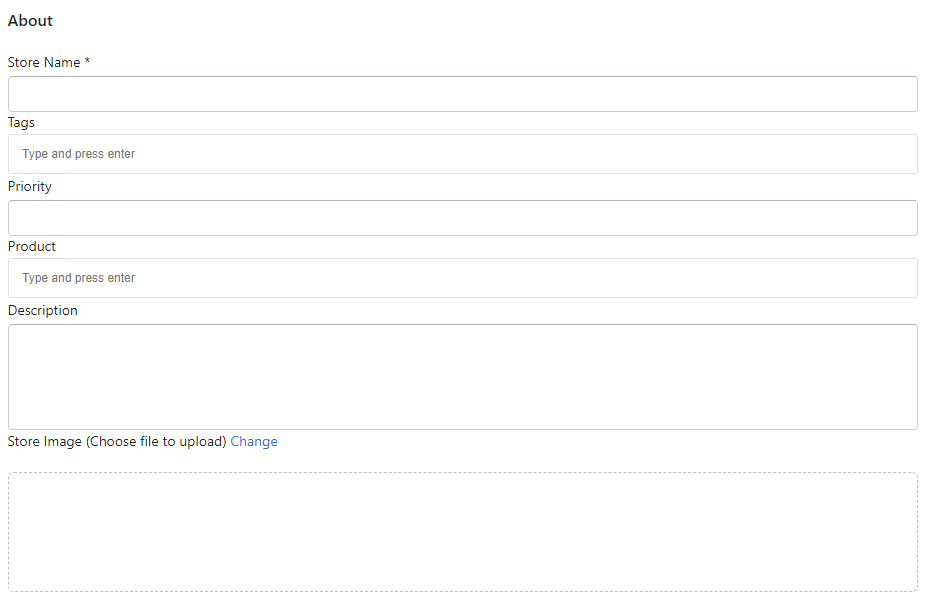
- Store Name: Enter the name of the store
- Tags: Add some tags that refer to the outstanding features of the store locations. Please enter one tag at a time and enter. These tags are to filter on the Store Locator page.
- Products: Give a brief of the products in the stores.
- Description: Tailor a short description of the store as well and upload the image of the store.
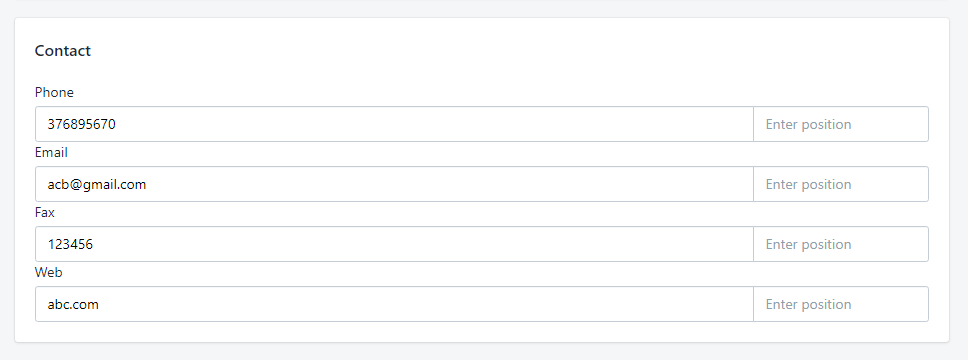
5.2. Store contact information
It is the best practice to show contact information such as phone number, email, fax, and website.
You can enter a position for each field to appear in the order that you want to highlight important information.
5.3. Store location on the map
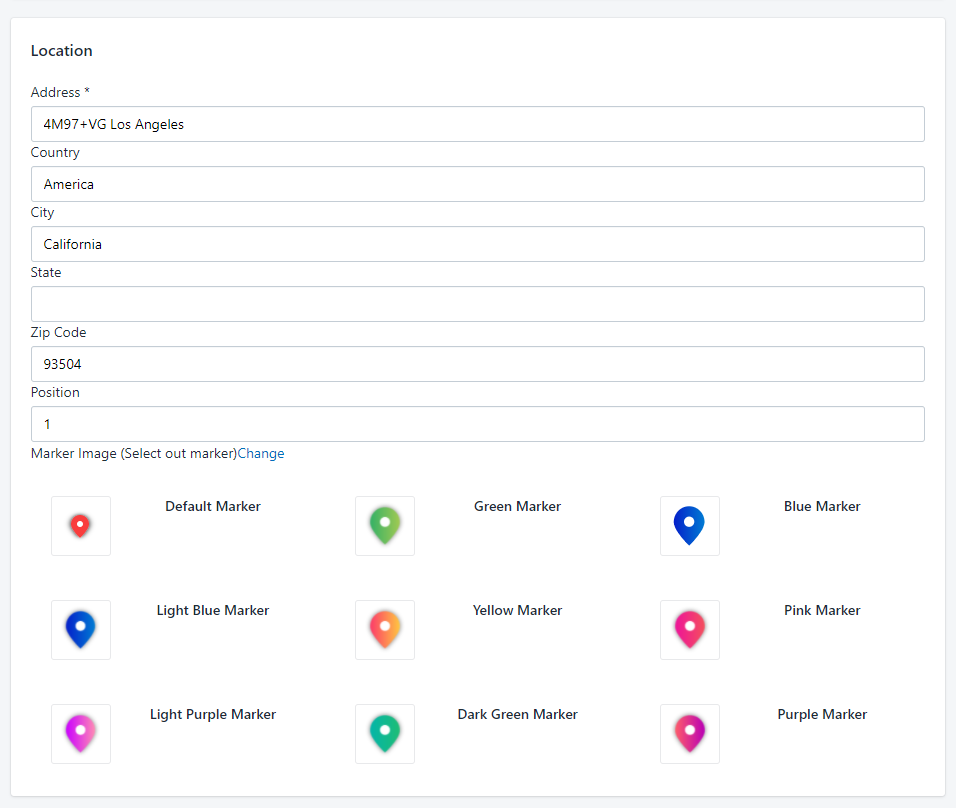
Enter the location of the store locator and add an eye-catchy marker so that the store will be spot on the map.
You can also add the position of the location field to decide where you want to put your address under the store name.
5.4. Store schedule
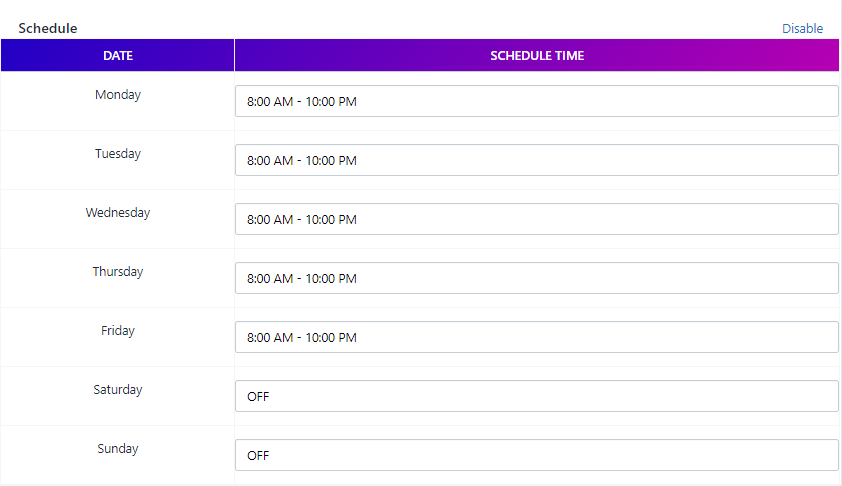
Also, specify the opening time and closing time of the store. Our Dealer & Store Locator app allows doing so with several inputs.
5.5. Find your place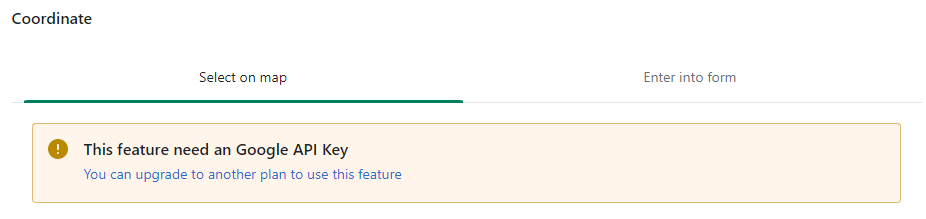
Under Coordinate, you can find your place to add the marker to the map.
Step 6: Translation The Store Locator Page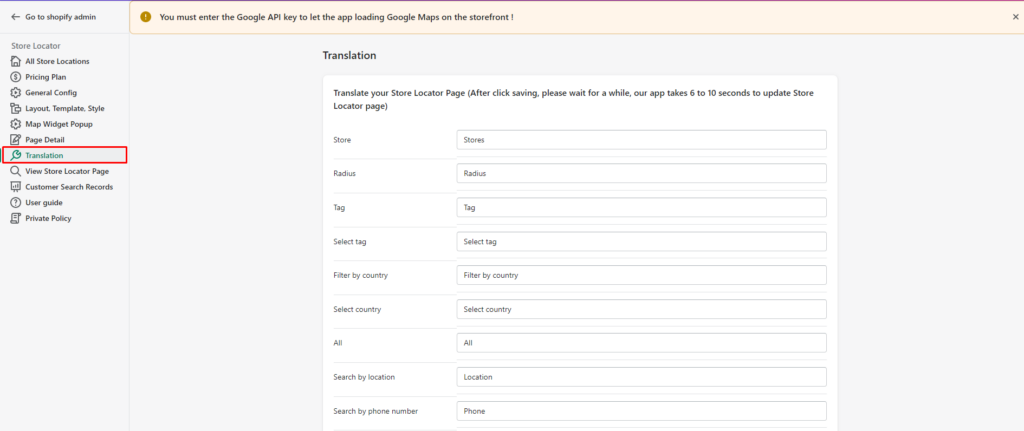
You can display the page in the language of your choice and also customize the text on the page more communicably to “invite” customers to your physical stores.
For example, instead of the traditional “Search” button by “Find Nearest Store.”
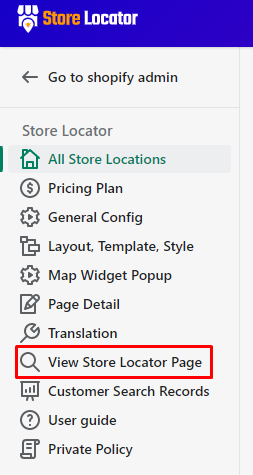
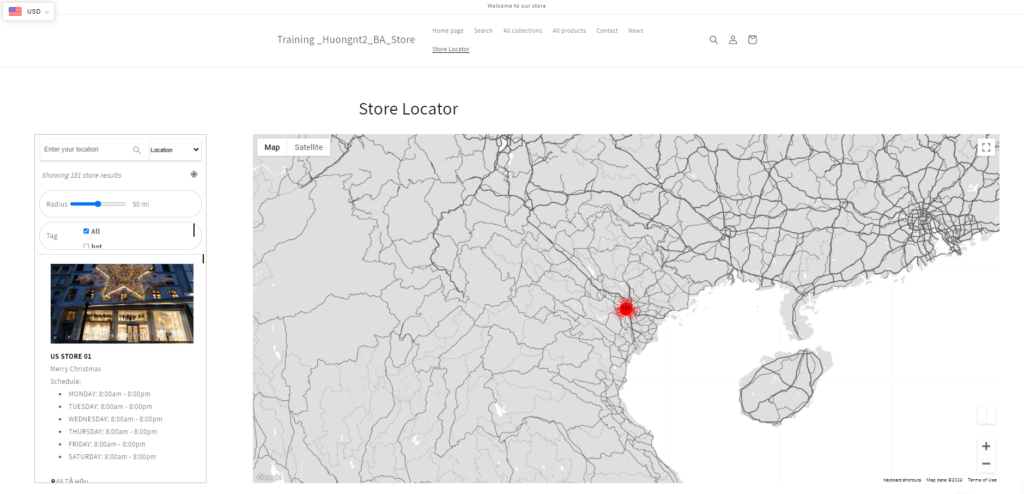
Step 7: Check The Store Locator Page
Once you complete all the settings and add all store locators, you can check the storefront display of the page. Simply, click on View Store Locator Page.
Step 8: Check Customers’ Search Records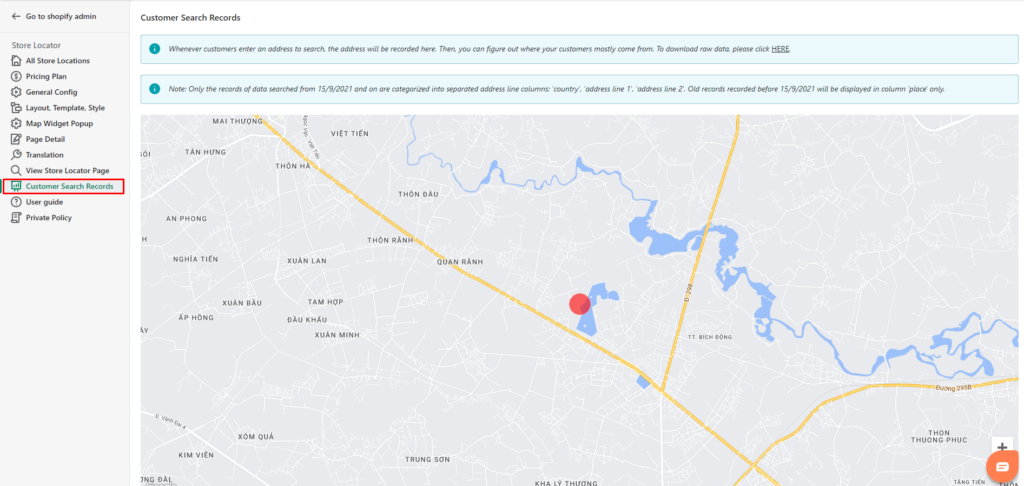
This feature is available in the Advanced plan and Platinum plan.
Go to the Customer Search Records tab.
Whenever customers enter an address to search, the address will be recorded here. Then, you can figure out where your customers mostly come from.
All settings are done!
If you have any further questions, feel free to contact us at sales@bsscommerce.com.