
Our Shopify B2B/Wholesale Solution app allows showing different prices for a specific product for specific customers or groups of customers, for example:
- All (logged-in and non-logged-in customers)
- Logged-in customers
- Non-logged-in customers
- Specific customers
- Customer tags
Of all the conditions, customer tags are the most commonly used. The tags are helpful to categorize customers in groups - based on their characteristics and management purposes. Then, you can apply the pricing rules to those customers in bulk.
For example, you sell for both B2C and B2B customers. Then, it makes sense to offer them different prices for a specific product. Meanwhile, you are running a promotion campaign for VIP customers by offering them discounted prices.
There are different ways to help you do so:
1. Add the tags to customers manually
Go to the Admin panel > Customers.
Search and choose customers you want to add tags > Expand the More Actions, select Add tag.
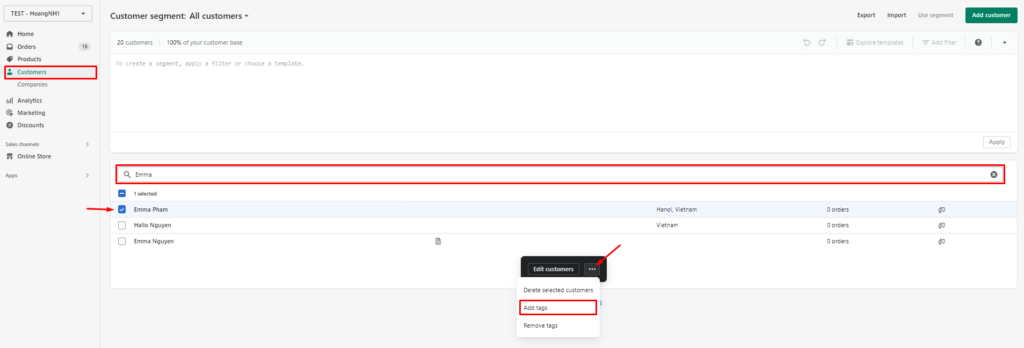
Then, you search to find or create tags > Click Save

Next time, when there is a new customer you want to add a tag, you can simply search the email and add the tag.
2. Add the tags to products manually
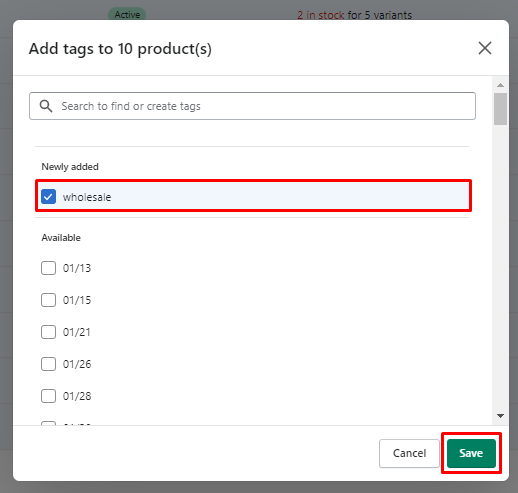
Similarly, go to Admin > Products and gather the wholesale products under a tag.

Next, you search to find or create tags > Click Save
Or, you can add the tag on product edit pages.
Then, you can use our B2B Wholesale/Solution app to set up wholesale pricing for those products.
3. Add the tags to customers automatically
Besides setting up different prices for specific products based on the customers, our B2B Solution app also allows adding the tags to customers automatically to save you time and effort to add the tags manually as above.
Under AUTO TAG, go to Auto Tag Rules and choose Create new tag rule.
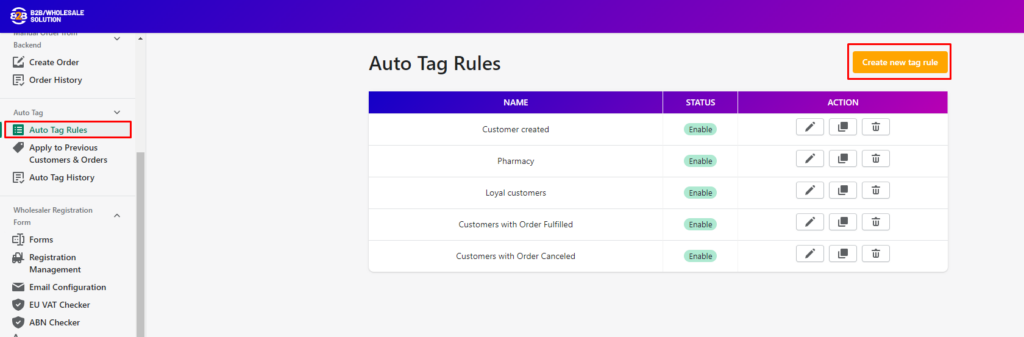
In General information, enter the Name of the rule for easy management. Also, Enable to activate the rule.

In Events, choose one of the 5 events available. Then, the tag will be assigned to the selected customers when the event happens.

- Customer Created
- Order Created
- Order Paid
- Order Fulfilled
- Order Cancelled
In Apply to Registration Form, you can choose a desired registration form.

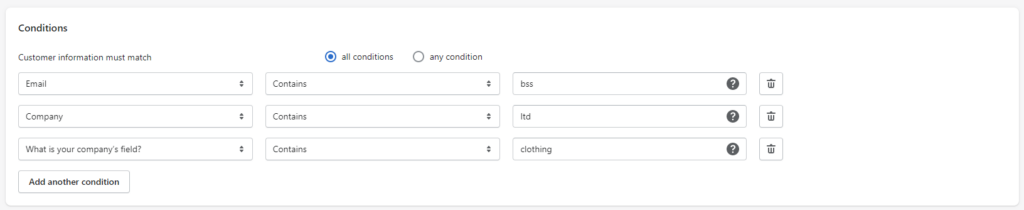
In Conditions, multiple conditions are allowed and you can choose to detect customers based on all or any conditions. Conditions are based on the Events for different criteria to sort out customers.
In Actions, for all selected customers, you can take actions to them, including:
- Add Customer's Tag
- Add Customer's Note

Finally, Save to activate the tag rule.
4. Apply the tags for previous customers and orders
In case you want to add tags for previous customers or orders, please go to AUTO TAG > Tag previous customers & orders.
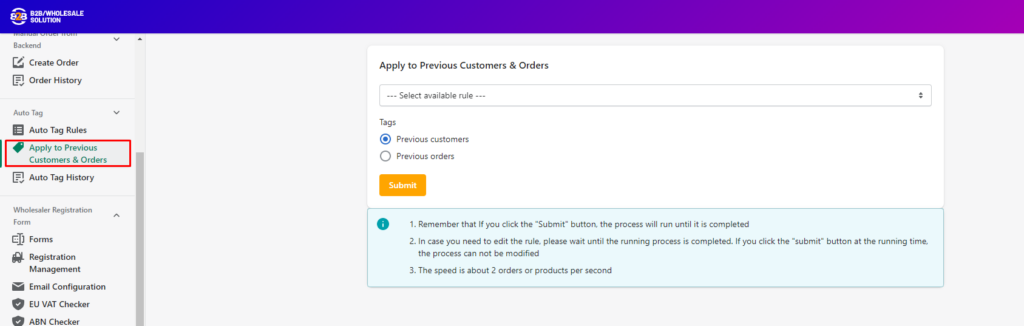
Select one among created tag rules to apply for previous customers or previous orders. This feature is available on Essential plan ($25/mon) and Advanced plan ($50/mon).